Do you want to design a brochure template? You may need to create a brochure template for your business. In this article, we will show you how to create a brochure template in Photoshop.
You should know few things before starting to create a brochure template, including the size, number of folds, and shape of the brochure.
For the purpose of this tutorial, I will create a brochure template with 3-folds, front & back design and vertical shape, so it will have 6 sides. You can see this sample brochure template below:
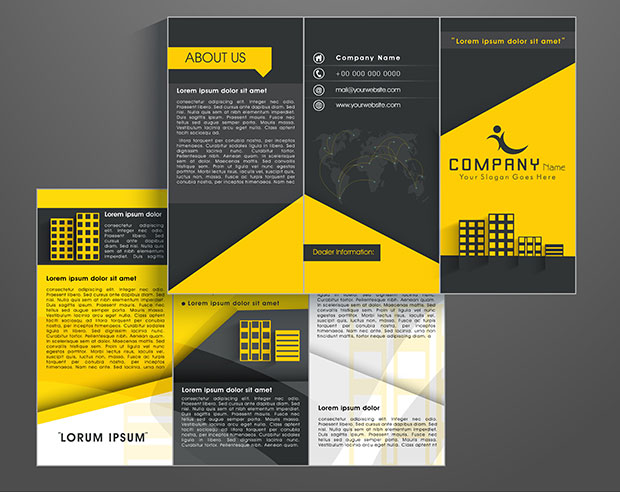
Lets take a look at the steps to design a brochure template like this.
Create a Brochure Template
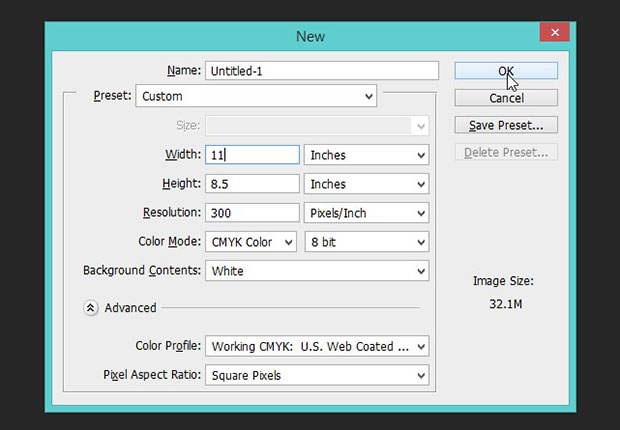
First thing you need to do is open a new document in Photoshop. You should set the Width to 11″ and Height to 8.5″.
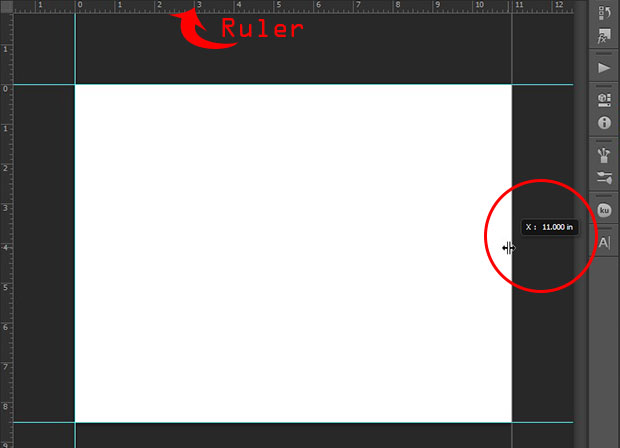
To make sure that your design covers the main area of the brochure, you should drag guides from your ruler onto the page. These guides will not be a part of your printed brochure, and you can hide them at any time. They are simply there to ensure that you don’t place text or graphics outside the printable area of the page.
Simply press Ctrl + R to make the rulers visible and press V to activate the Move tool. Drag and drop the rulers to the four sides of the document.
Now go to Image » Canvas and add 1″ to both Width and Height. This sets the Width to 12″ and Height to 9.5″.
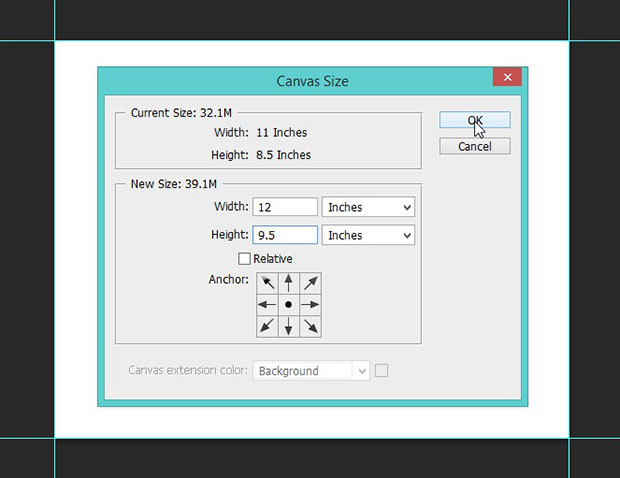
You will see that a space of 0.5″ is added to all four sides of the document to bring the guides equally inside it.
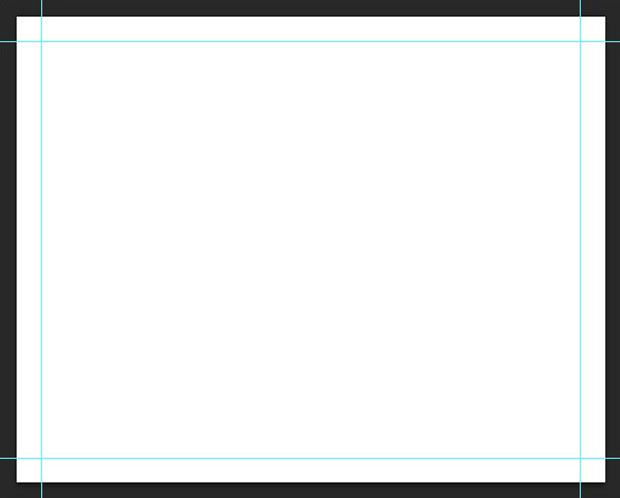
Next, drag two more guides on all four sides around the main area, so your document will look as shown in the image below:
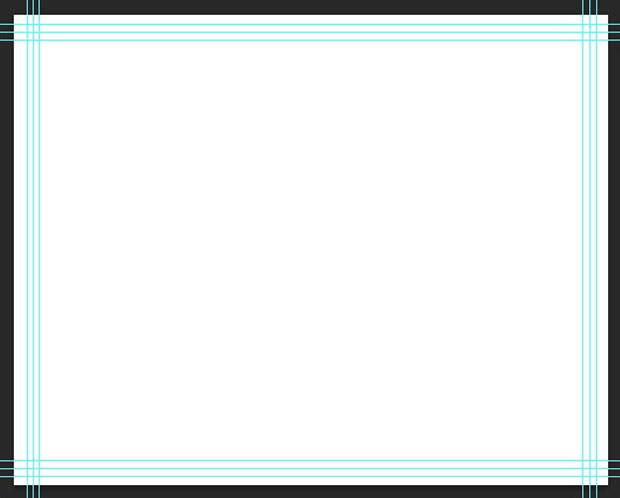
These guides will help you to balance the design of the brochure template (you’ll see how as we move through this tutorial).
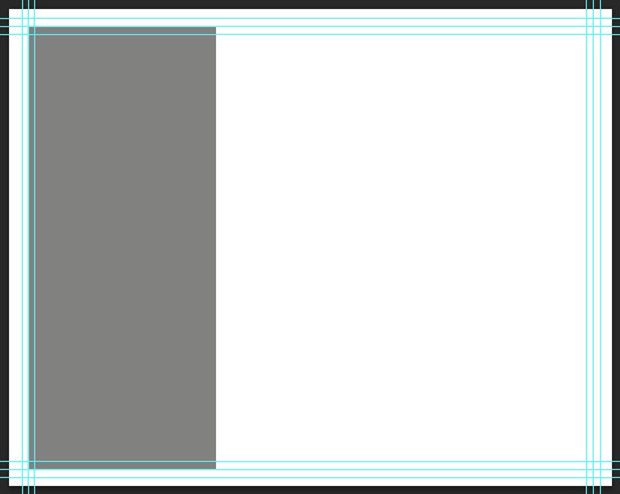
Next, you’ll need to select the Rectangle tool from the toolbar on the left side of your Photoshop screen. Draw your first vertical rectangle in proportion to 1/3 of your document.
Make sure that the first rectangle starts from the main area that intersects the inner guides, as in the image below:
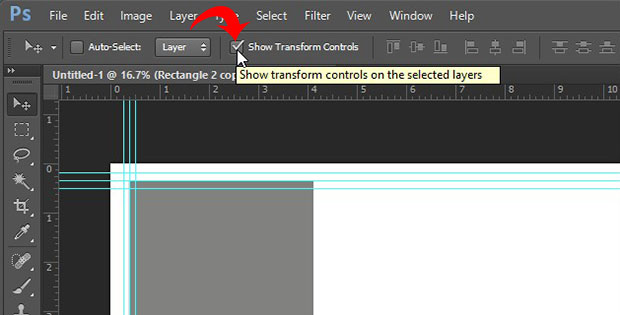
Now you should select the Move tool from the tool bar and check mark the Show Transform Controls inside the tool options.
Select the Rectangle shape layer in the Layers panel and hold Alt + Click to drag the rectangle and create a copy of it right next to the first rectangle.
Repeat the same process with the second rectangle, and you will see that three folds are created. Change the color of the middle rectangle so you can see the break in between folds.
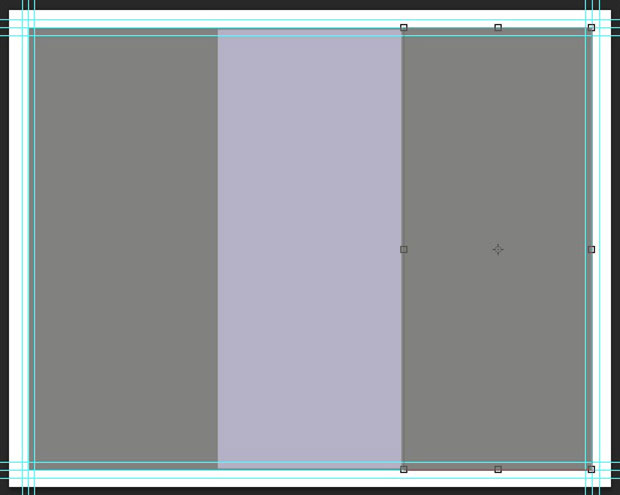
You should add column guides before moving on to the next step. Simply drag the guides from the rulers to break the document into three equal columns.
Now, go ahead and hide the visibility of rectangle shape layers. Now, you will only see the guides in the document.
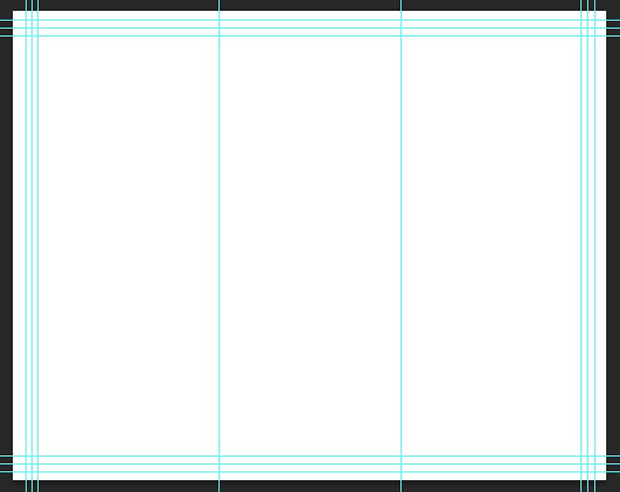
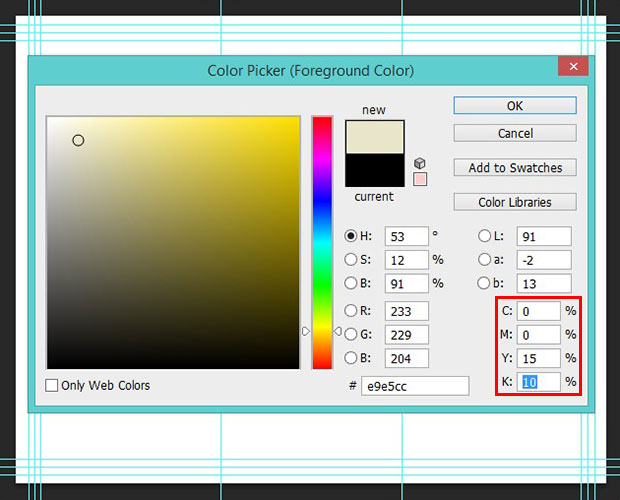
Now that your columns are ready, you should add the background color to the document. To add the color, click on foreground color picker. In CMYK, you can set the Yellow to 15% and Pink Black to 10%.
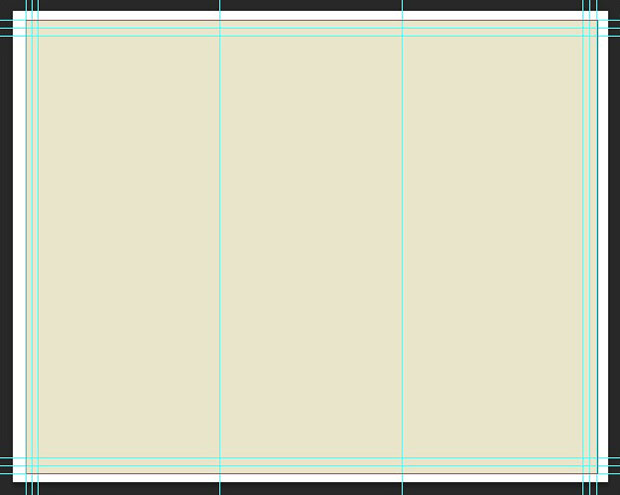
Next you should select the Rectangle tool. Draw a rectangle from the guide in the top left corner and end it on the guide in the bottom right corner.
It will automatically fill the background with the color that you picked in the previous step. (If it doesn’t fill with color, you can double click on the thumbnail of the Rectangle shape layer and choose your color again).
Now set the foreground color to black and select the Line tool. Simply draw lines over the main area guides and column guides. Press Ctrl + ; (semicolon) to make the guides invisible, so you can see the lines.
Tip: to draw perfectly straight lines, press the Shift key while drawing them.
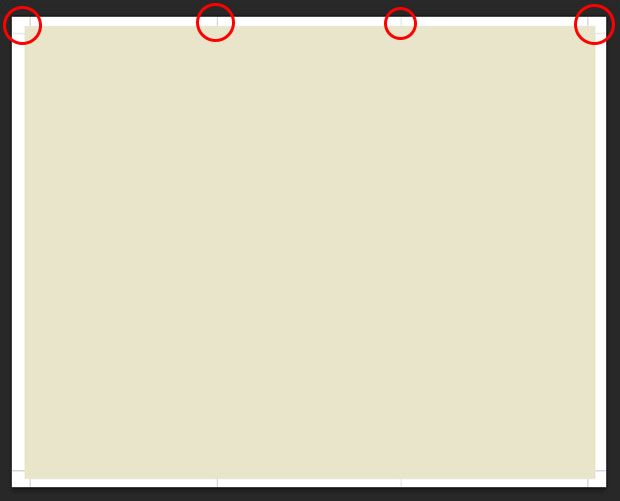
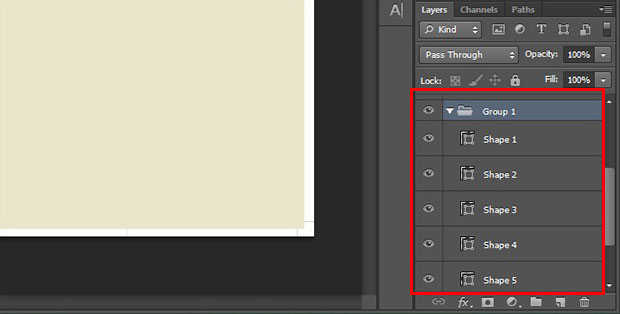
Now, you have finished creating the folds and structure of the brochure template. Compile all the layers of lines into one group, as shown below:
Next comes the design for the brochure template.
To start with the design, you can add a texture or solid color to the background. I added a solid color.
Simply select the Rectangle shape layer in the Layers panel that you used for the background in the previous step. Double click on its thumbnail to open the color picker window and select your color.
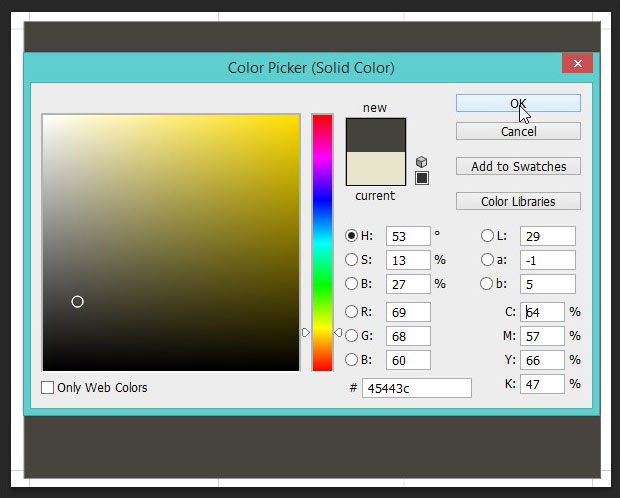
I will add a few stripes with different colors using the Rectangle shape tool. I’ll also rotate them in multiple directions for a more interesting look.
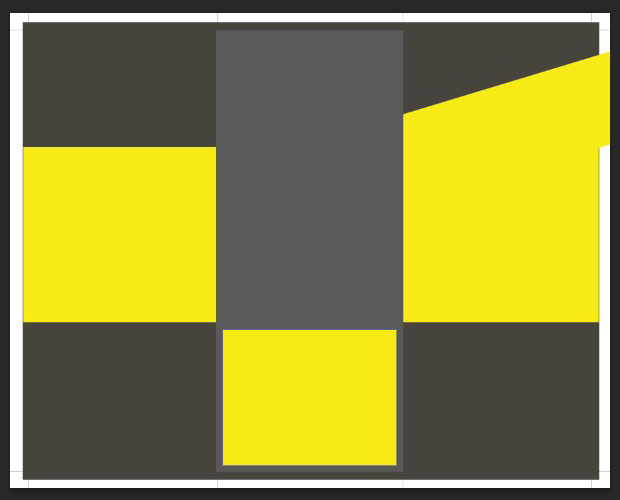
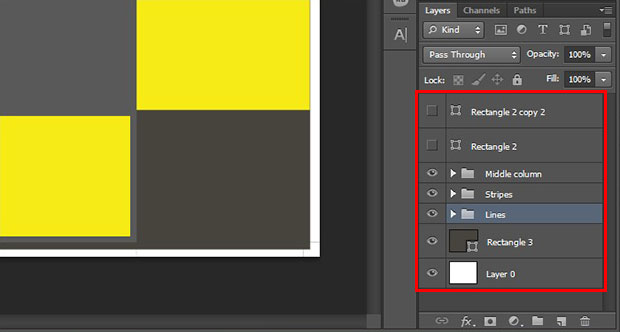
After creating your design, file the layers into logical groups, so your Layers panel will be organized.
Now go ahead and add some text to complete your brochure template cover design. We recommend using different font sizes for the headings and folds.
You can also add images or vector designs to support the text.

Lastly, you’ll need to crop the design from the main area with the help of lines to complete your brochure template cover.

Now repeat the same steps above to design the back and inner sides of your brochure template. I created a basic model for you, but you can add more creativity and fun when creating your own template.
Comments
Post a Comment