If you are looking to learn about grungy metal, glass, water, clouds, fire, wet ink Photoshop text effect tutorials, you will find some by reading up on these tutorials. Try to play around with settings and colors on each of these to end up with your own look and feel.
Hopefully you find something that inspires you, plus maybe a trick or two on how to do something a bit different from what you’re used to. Here the best Photoshop tutorials for making text effects.
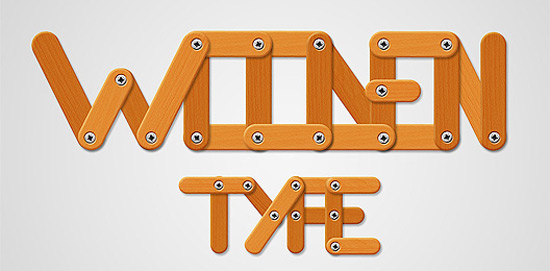
1. Wooden Type Treatment
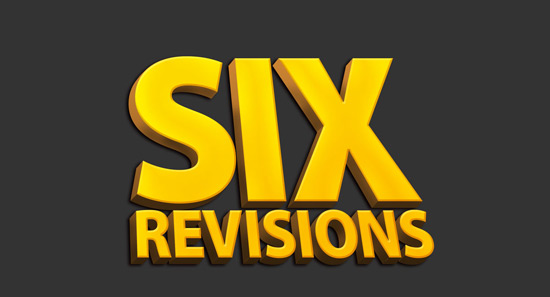
2. Remarkable 3D Text
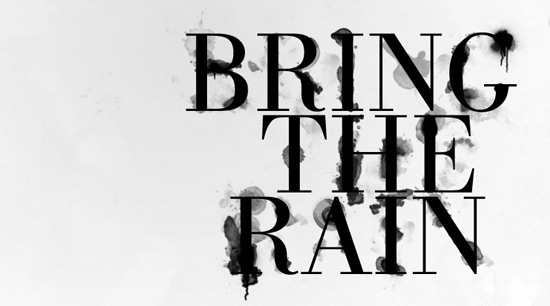
3. Cool Wet Ink Typography Effect
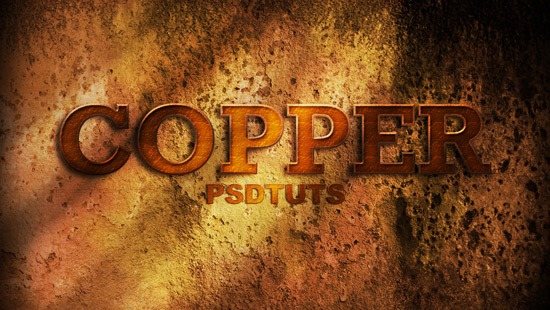
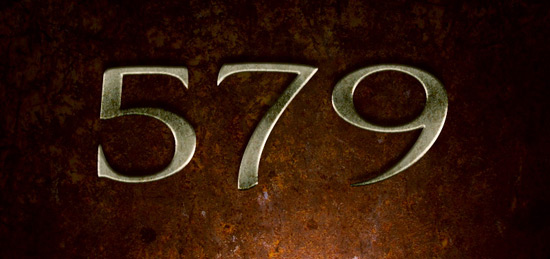
4. Copper Text Effect
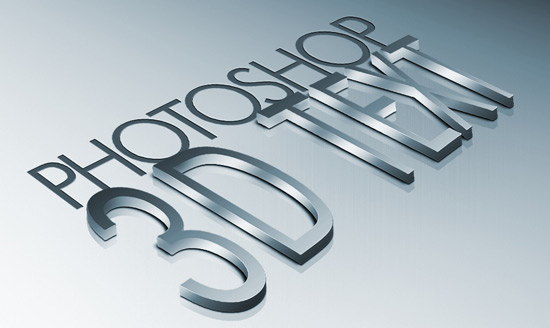
5. High Quality Metal 3D Text
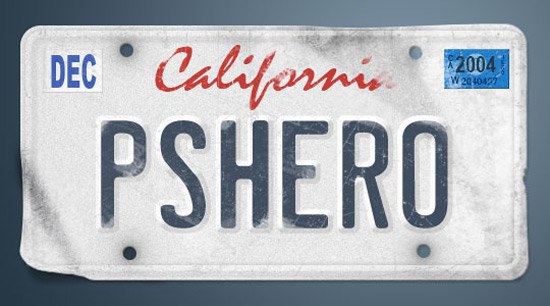
6. Vanity License Plate
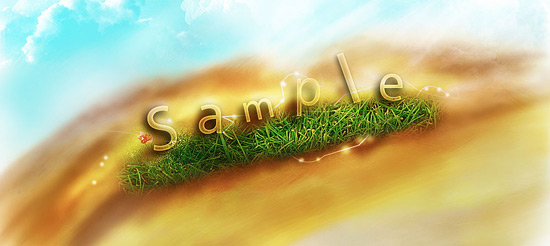
7. Transparent Text Effect with Fresh Grass
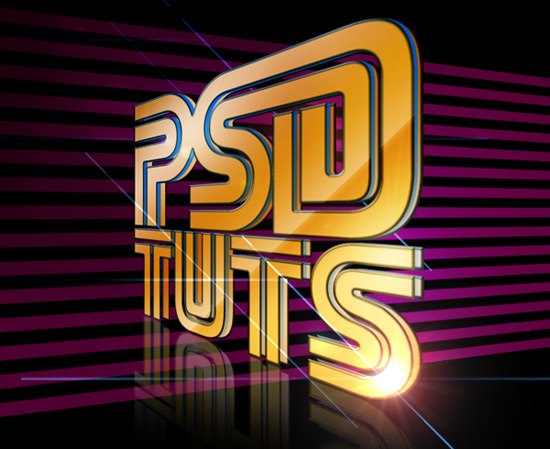
8. Retro Text Effect
9. Torn Paper Edges

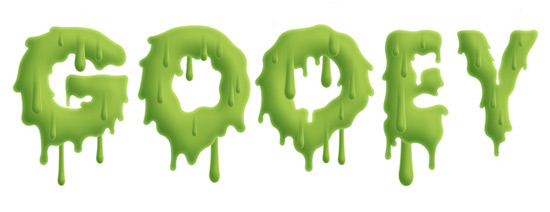
10. Gooey Text
11. Starry Text Effect in Photoshop

12. Patriotic Text

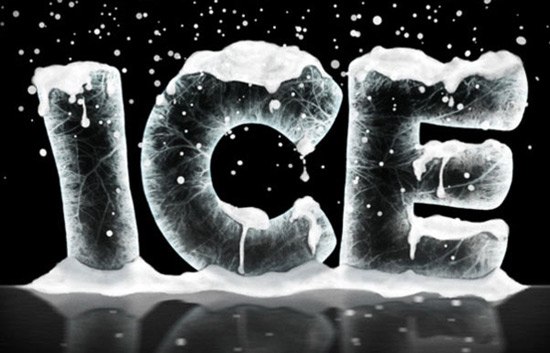
13. Ice Text Effect with Photoshop
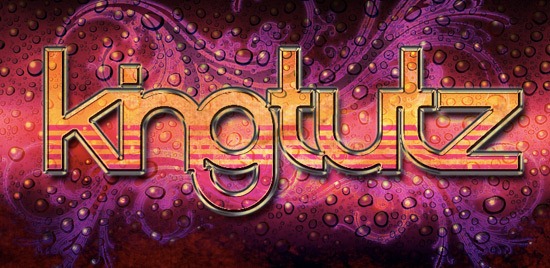
14. Stylish Retro Text Effect
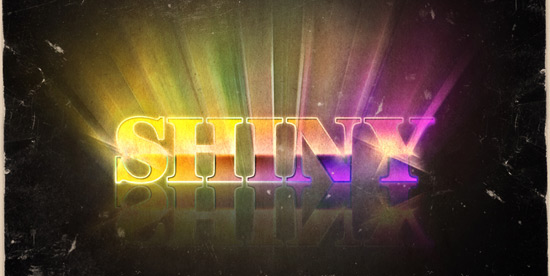
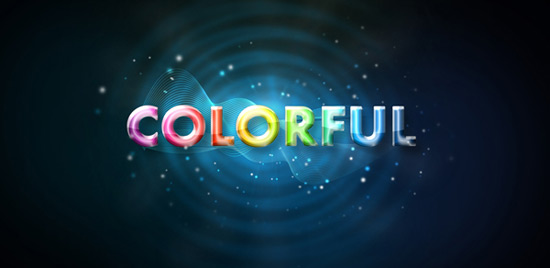
15. Colorful Glow
16. Semitransparent Amorous Text Effect

17. Eroded Metal with Photoshop
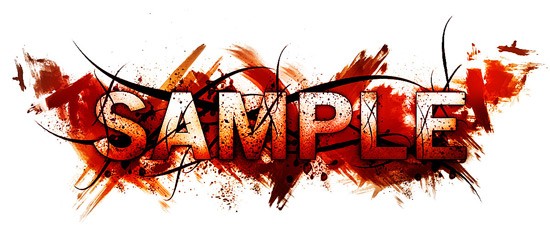
18. Horror Style with Dirt and Splatter
19. Papercraft

20. Grungy Metal
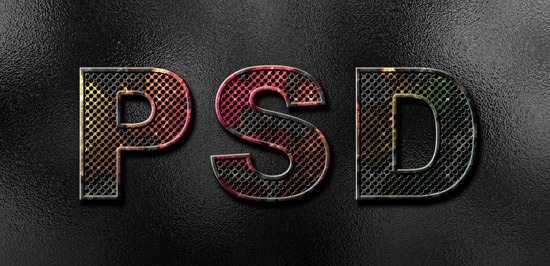
21. Luminous Glass

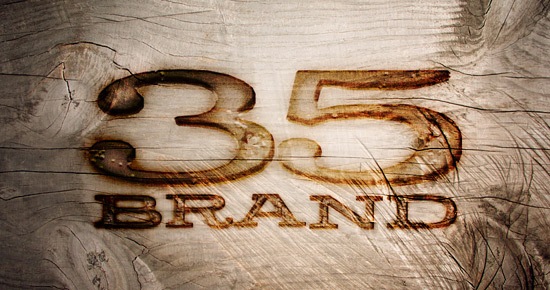
22. Burnt Wood
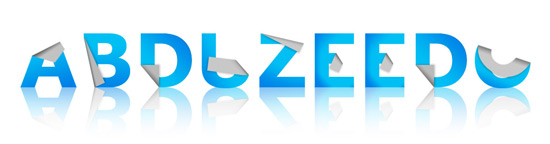
23. Abstract Text Effect
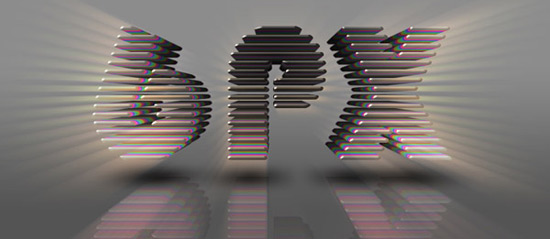
24. 3D Layered Text Effect
25. Metal Text Under 12 O’clock Spot Light

26. Folded Typo
27. Cloudy Text

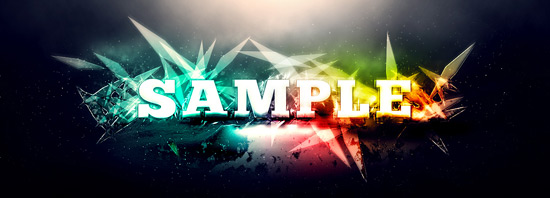
28. Glowing Text in Space

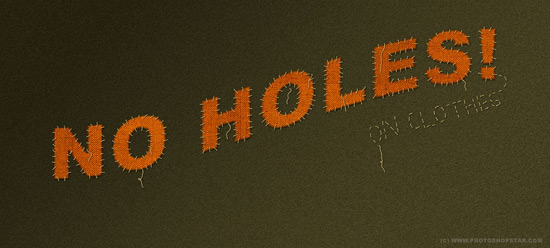
29. Patch on Clothes
30. Easy Neon Style

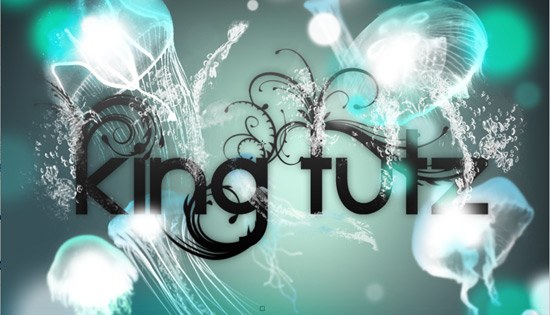
31. Jelly Fish Delight
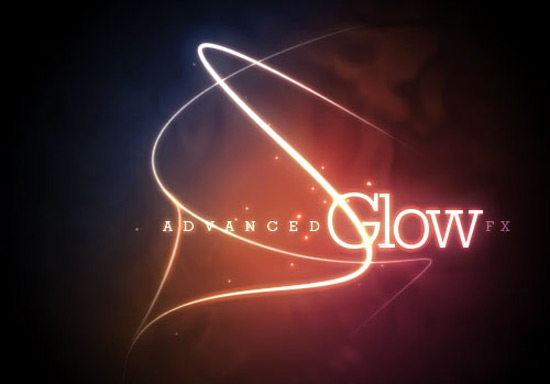
32. Advanced Glow Effects
33. Maddening Text Effect – Unlimited Variations
I hope you enjoy these tutorials and find them useful. Thank you for reading!
Comments
Post a Comment