How to make GIF in Photoshop?
GIF stands for Graphics Interchange Format, an image format, which is a series of images that loop continuously creating an animation effect. Many applications and software are available to create GIFs but there is an easy and quick way in Photoshop to make GIFs.
Before starting the tutorial on How to make GIF in Photoshop, prepare a series of still images that will be used while making GIF. These still images will create an illusion of movement.
Now let’s start with the GIF in Photoshop Tutorial.
Step 1
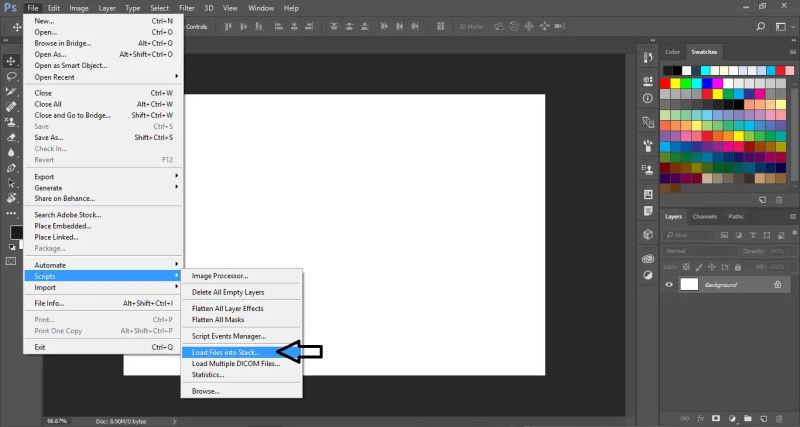
Create a new document in Photoshop and click on File. Now place the cursor on Scripts and select Load Files into Stack.
File > Scripts > Load Files into Stack
Step 2
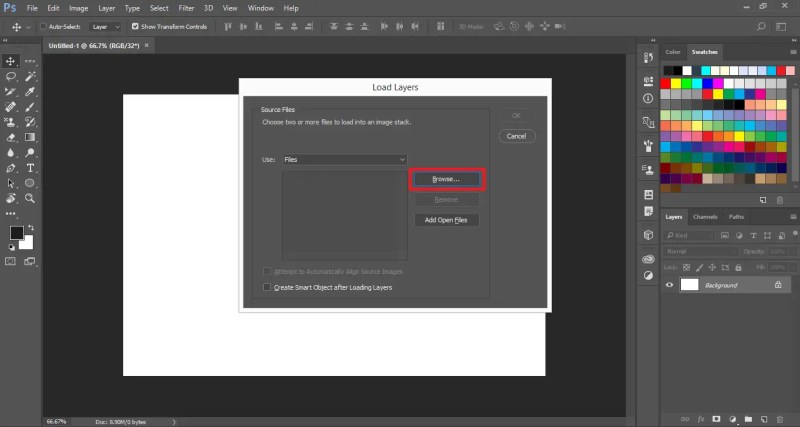
After selecting Load Files into Stack, Load Layers dialogue box will appear on the artboard. In that dialogue box, select the Browse button.
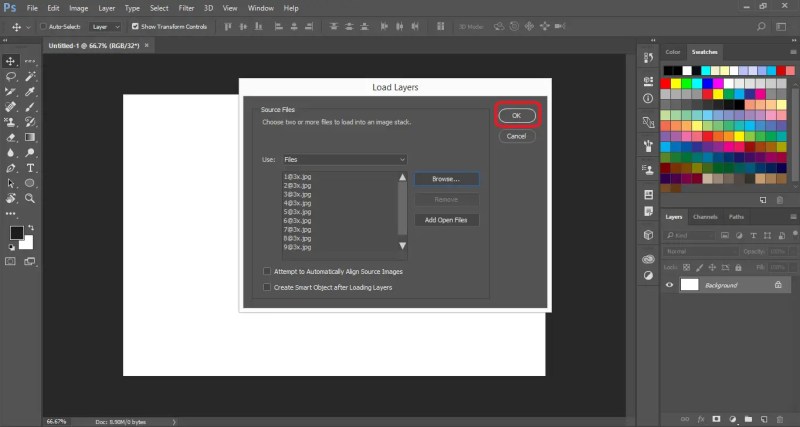
After browsing the images, click OK.
Step 3
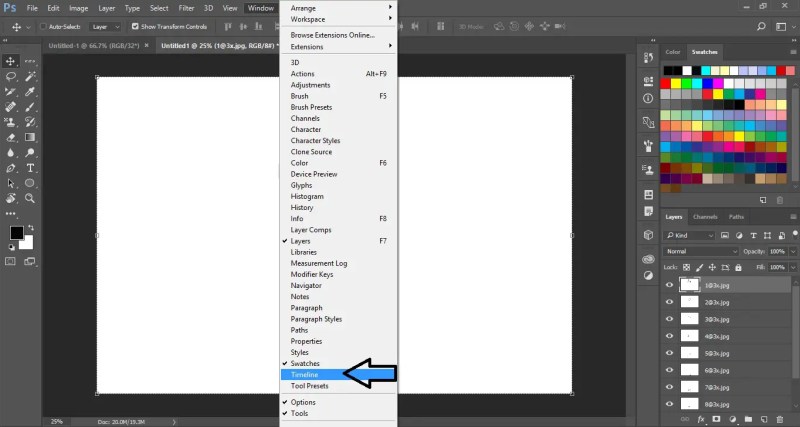
All the images will open as individual layers in the Layer Panel. Now click on Window in the Menu Bar and select Timeline.
Step 4
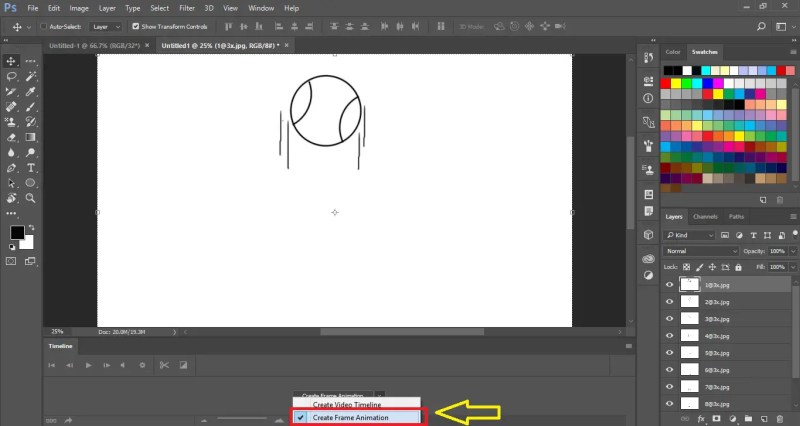
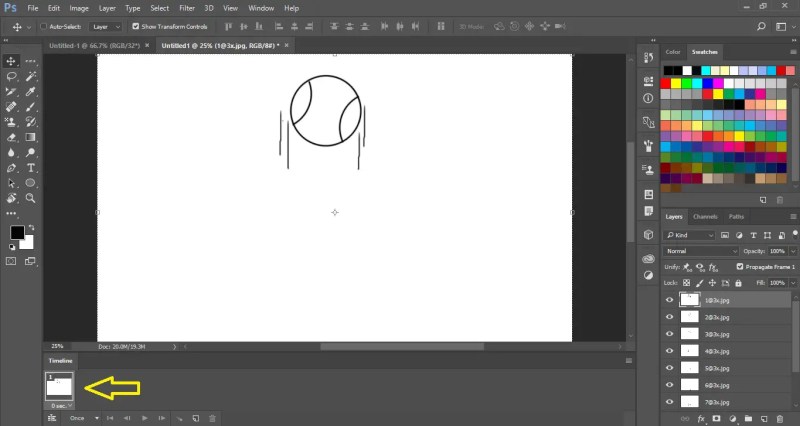
In the Timeline Window, select Create Frame Animation and a layer will appear as frame in the Timeline Window.
Step 5
Now select Make Frames From Layers by clicking on the options bar (three horizontal lines).
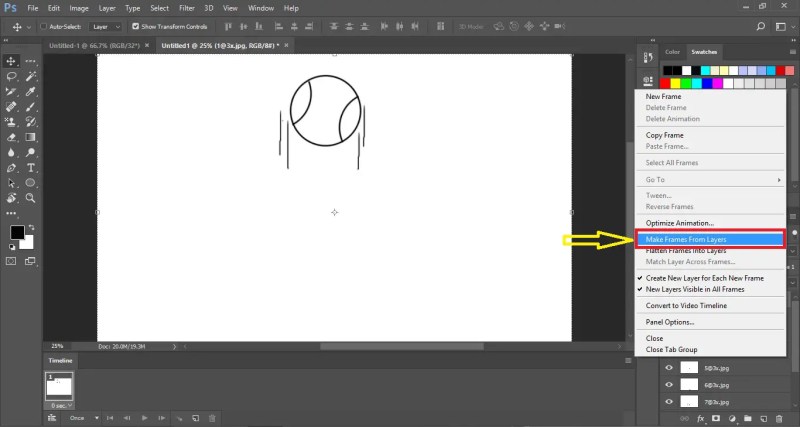
All the layers will appear as frames in the Timeline Window. If you want you can also reverse the arrangements of the frames by selecting Reverse Frames.

Step 6
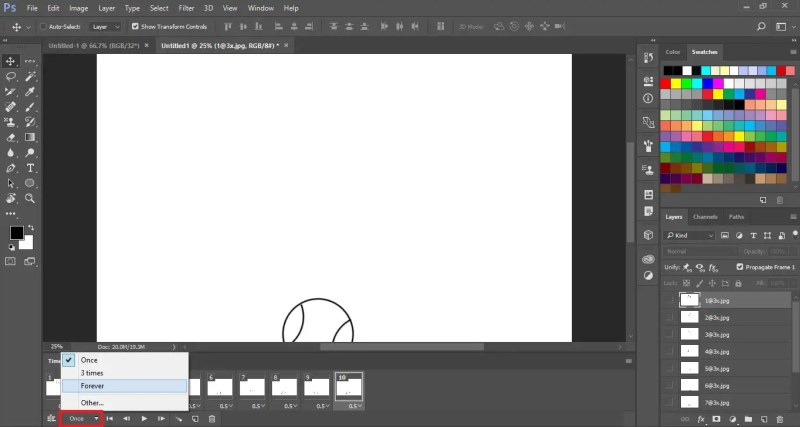
Now set the time below each frame and select how long you would like the frame to appear.
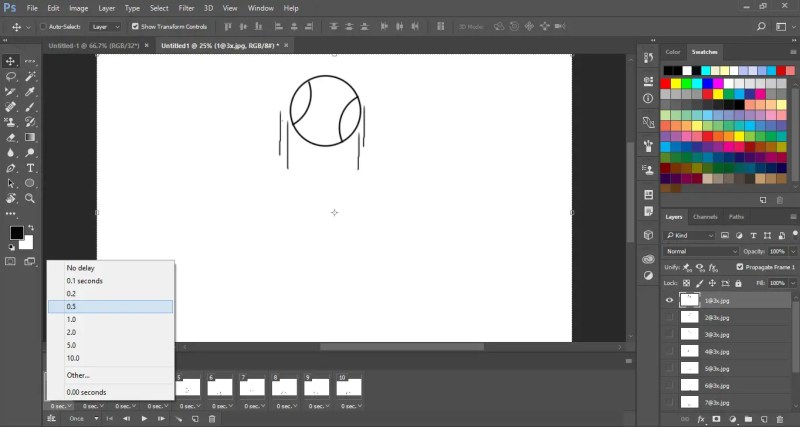
Now at the bottom of the toolbar select how many times you would like the frames to loop.
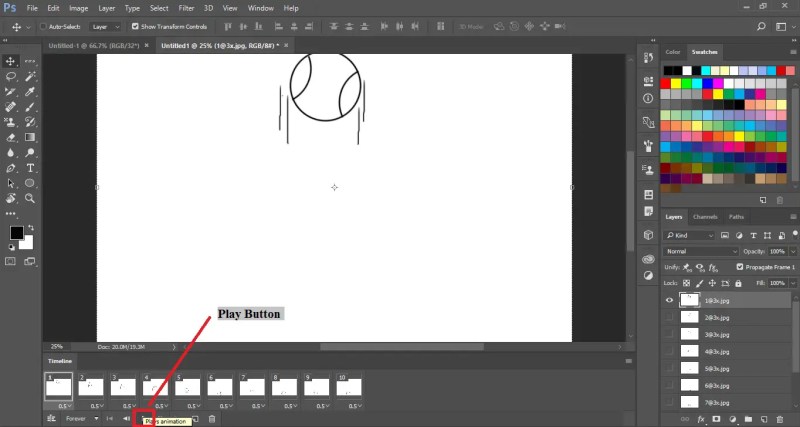
You can check the Preview of the GIF by clicking the Play button.
Step 7
If you want to save or export your GIF then click on File. Place the cursor on Export and select Save for Web (Legacy).

Now select the type of GIF file from the Preset dropdown menu. If the GIF has gradients then select Dithered GIFs to prevent color banding. You can also select No Dither if your GIF is of solid colors.
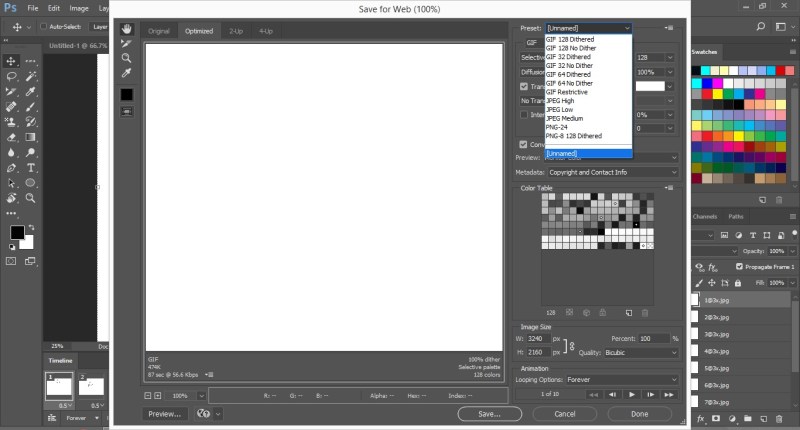
Click on Save to save the GIF in Photoshop.
So this is how you can make GIF in Photoshop. Now practice this tutorial and create your own Animated GIF in Photoshop.

Share your views in the comment section and also, share this Photoshop tutorial with others.
Comments
Post a Comment