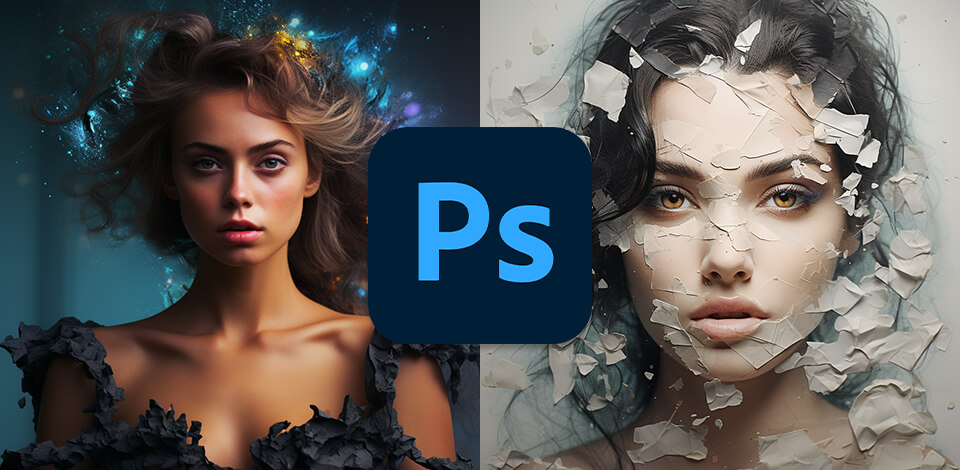
Watch and learn the best Photoshop tutorials to create anything your heart desires in Adobe Photoshop. It is truly the most powerful image editing tool, however, beginner users may find it quite daunting. I have gathered these 21 Photoshop lessons with short 10-steps video tutorials to help you along the way.
21 Best Photoshop Tutorials
Retouching face, hair, clothes, objects, as well as editing photos in a creative manner, is not that hard if you have clear and understandable tutorials for Photoshop at your disposal. Each of the lessons you will find below can help you create anything you want with your photos.
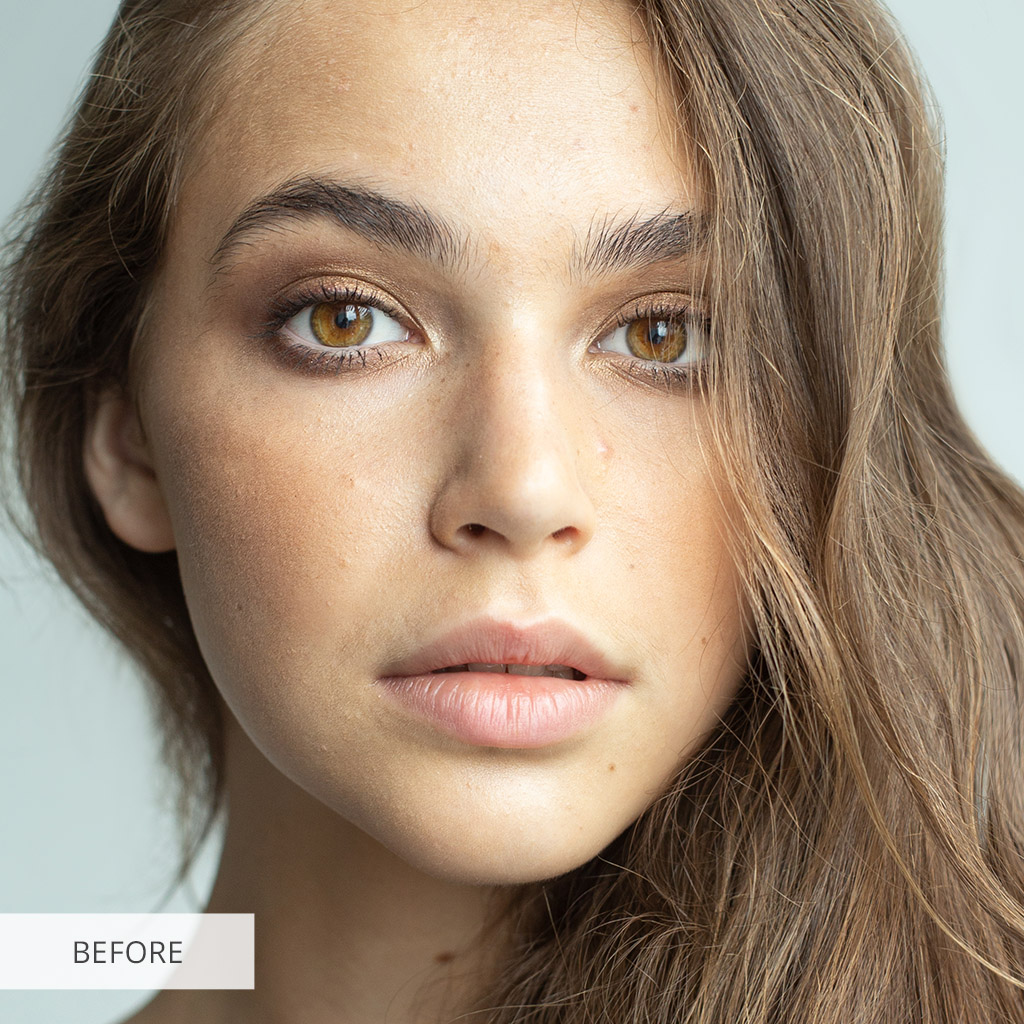
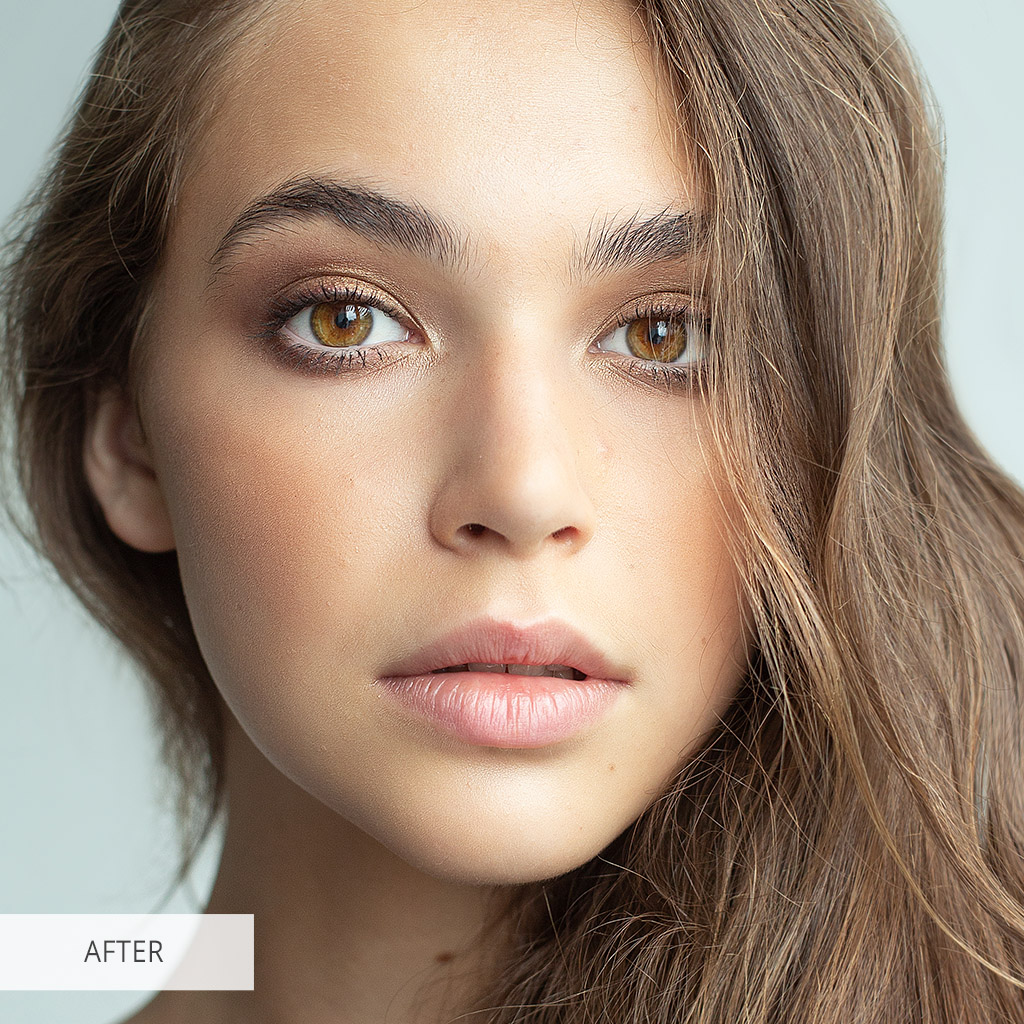
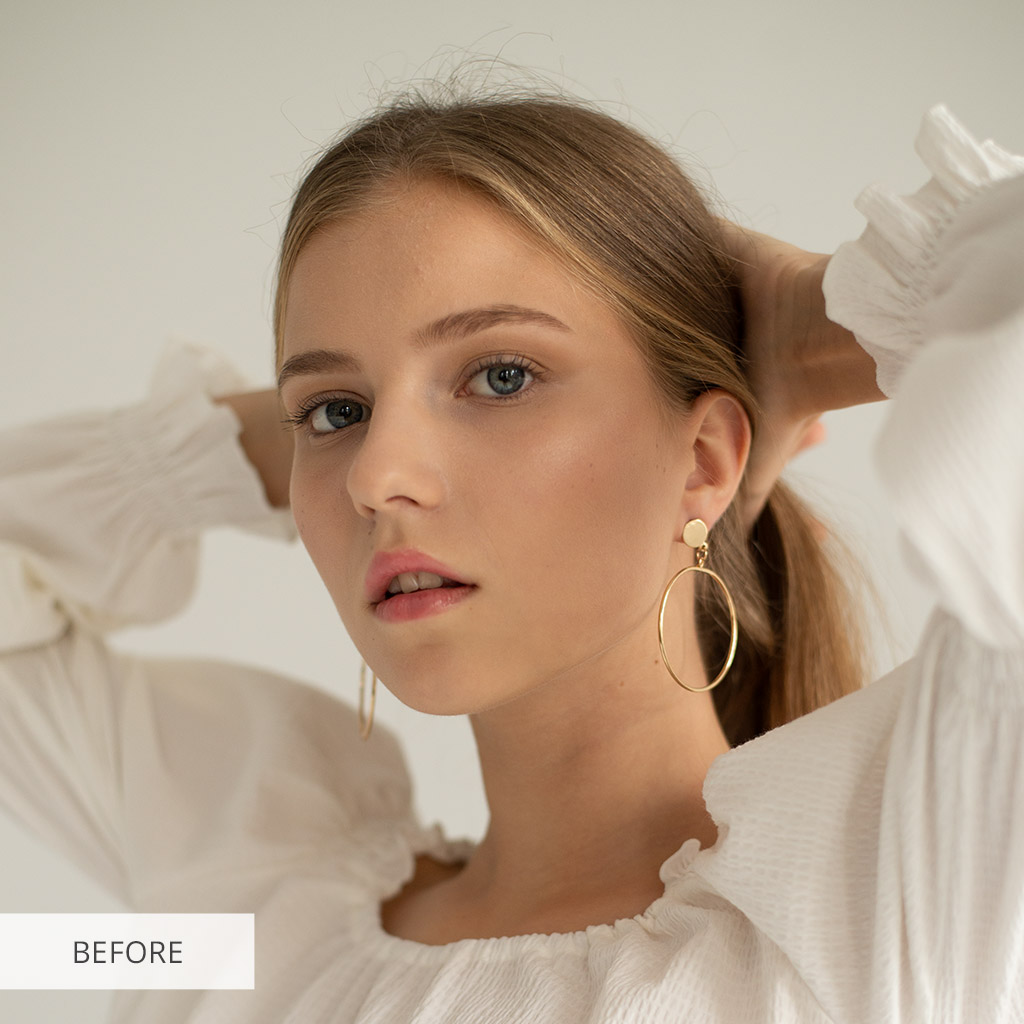
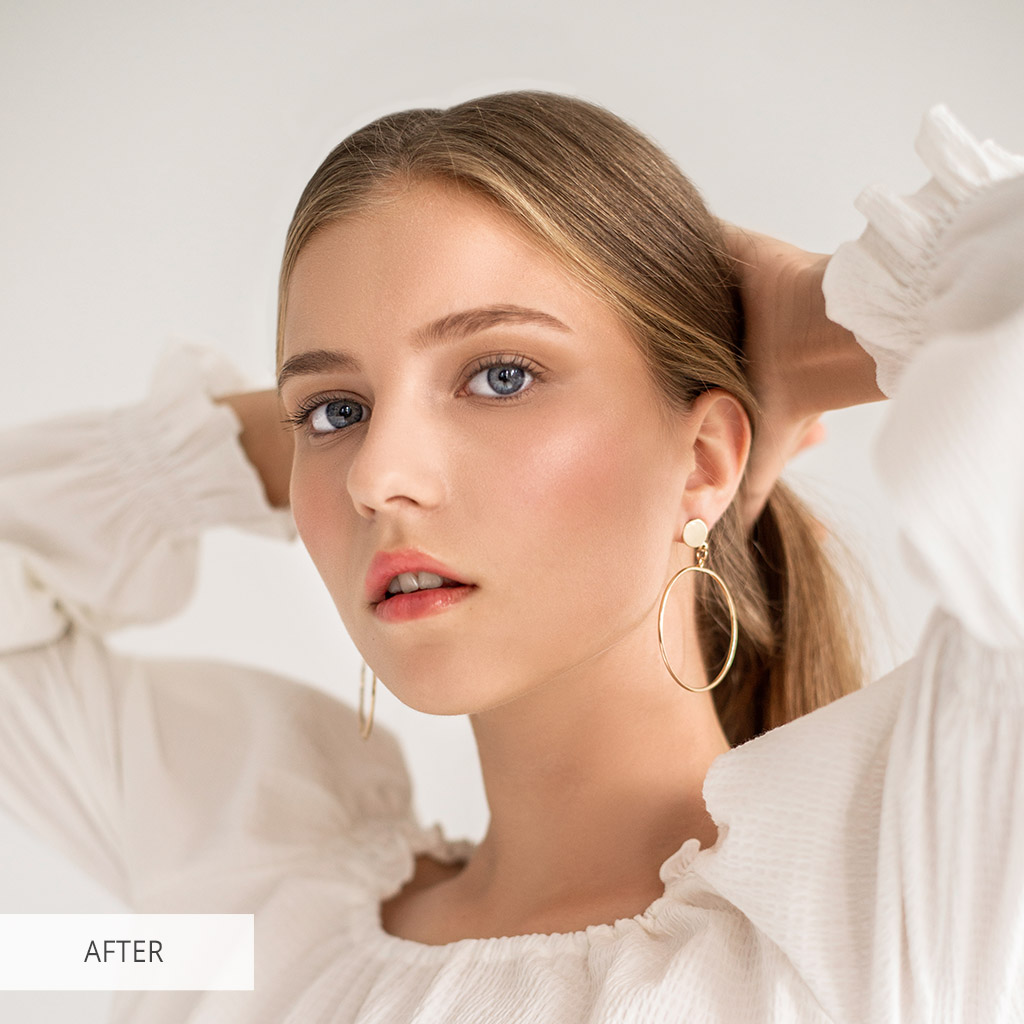
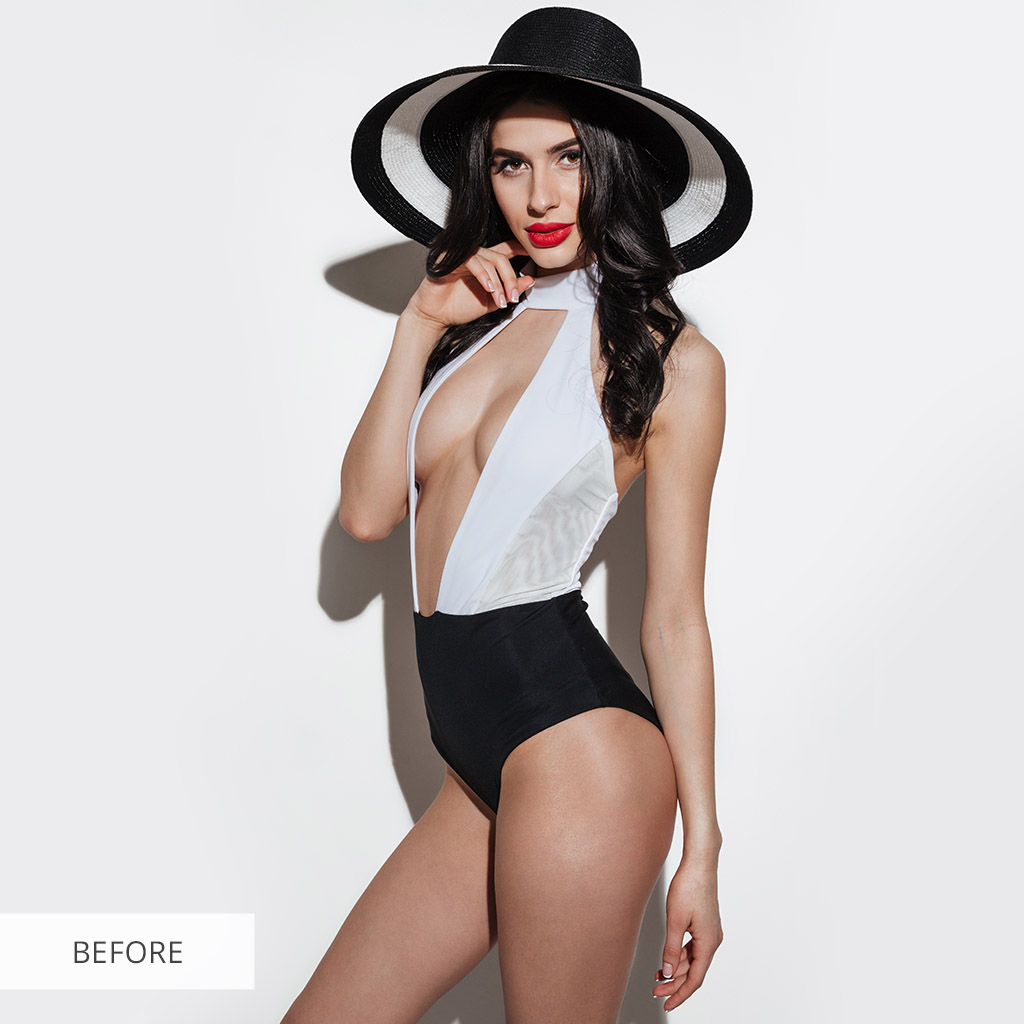
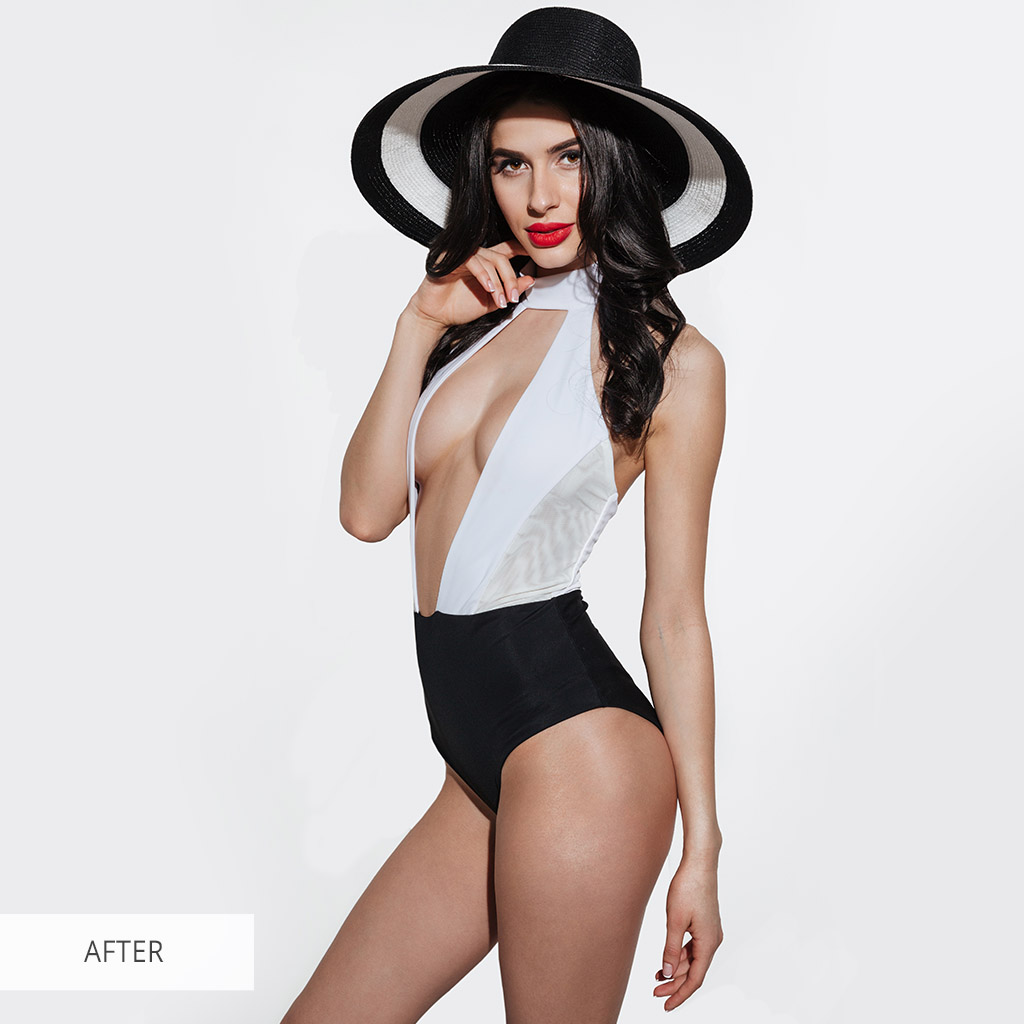
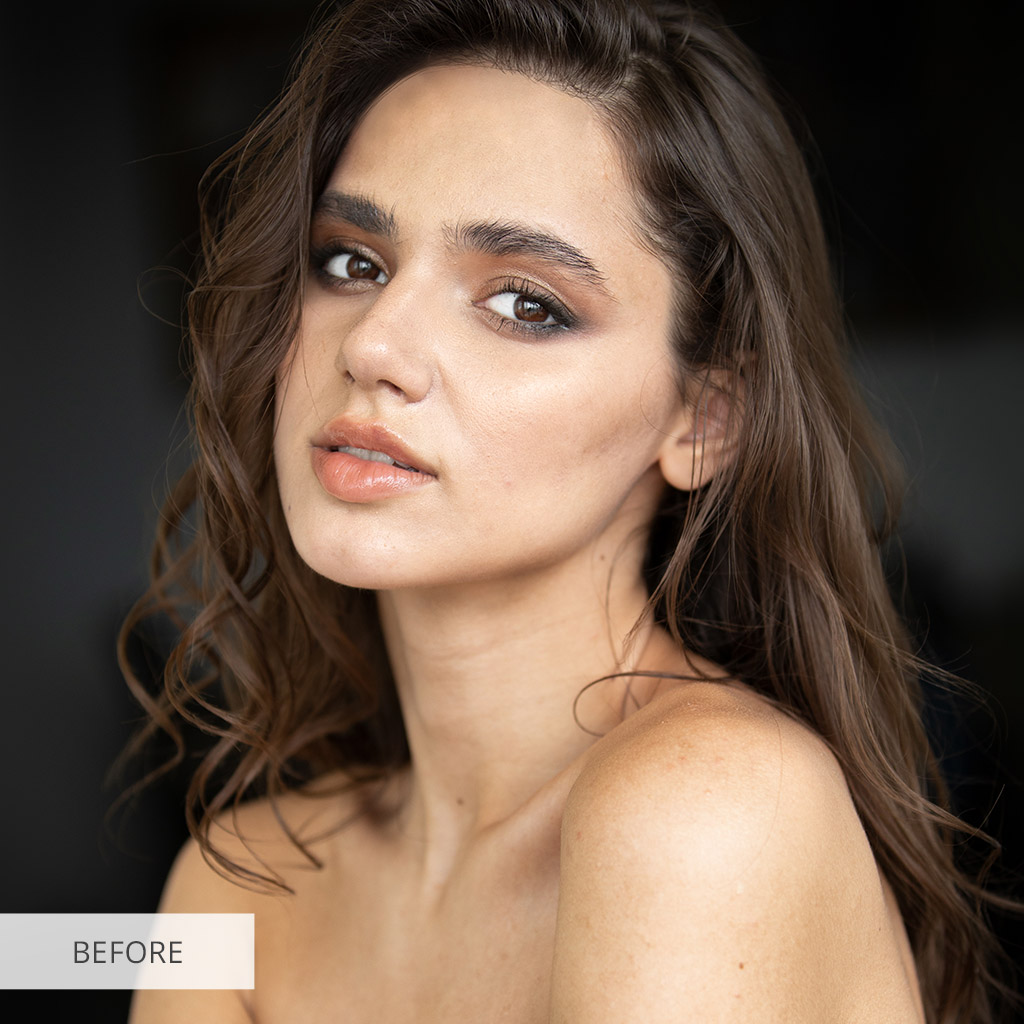
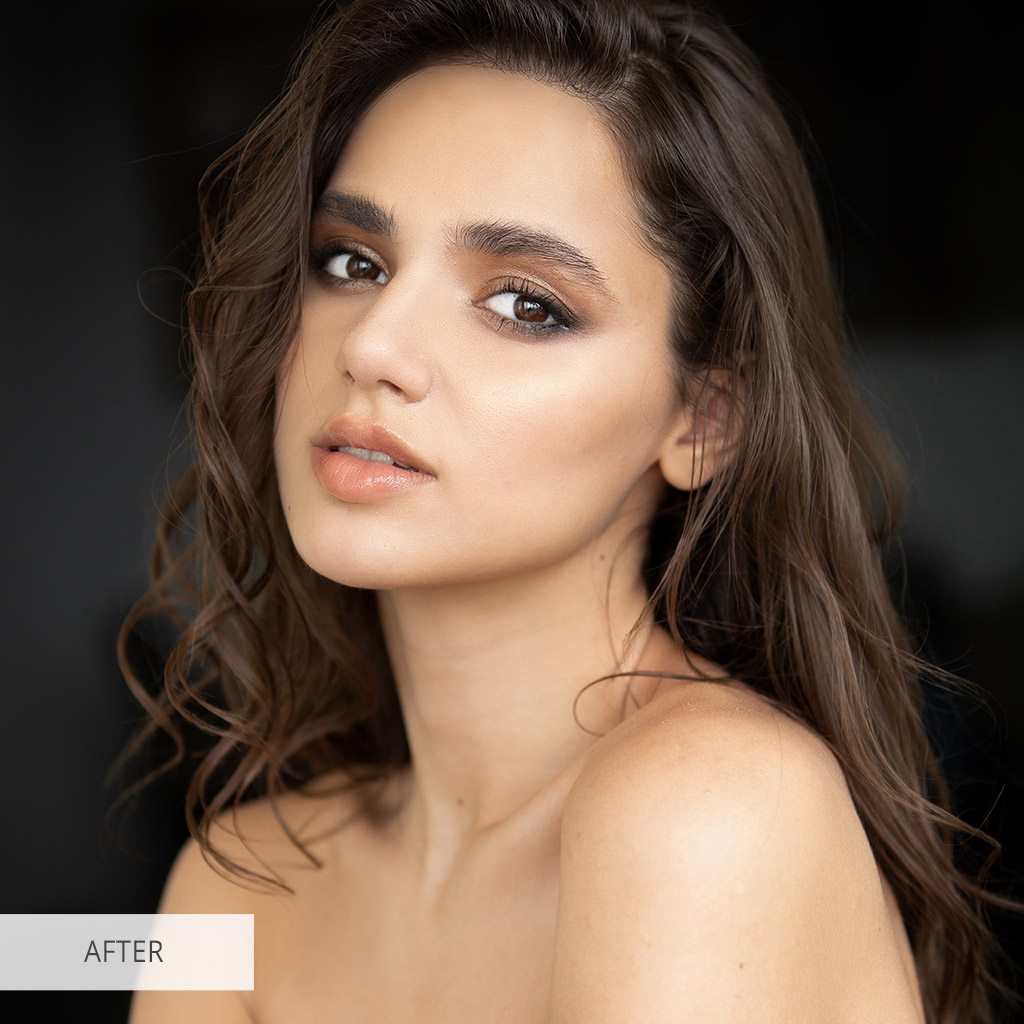
1. Smooth Skin in Photoshop
1. Duplicate layers (Ctrl + J)
2. Apply Gaussian Blur: Filter - Blur - Gaussian Blur
3. Work with High-Frequency Layer: Image - Apply Image
4. Switch to the Linear Light Blend Mode
5. Create a Correction Layer (Shift + Ctrl + N)
6. Use the Mixer Brush Tool
2. Apply Gaussian Blur: Filter - Blur - Gaussian Blur
3. Work with High-Frequency Layer: Image - Apply Image
4. Switch to the Linear Light Blend Mode
5. Create a Correction Layer (Shift + Ctrl + N)
6. Use the Mixer Brush Tool
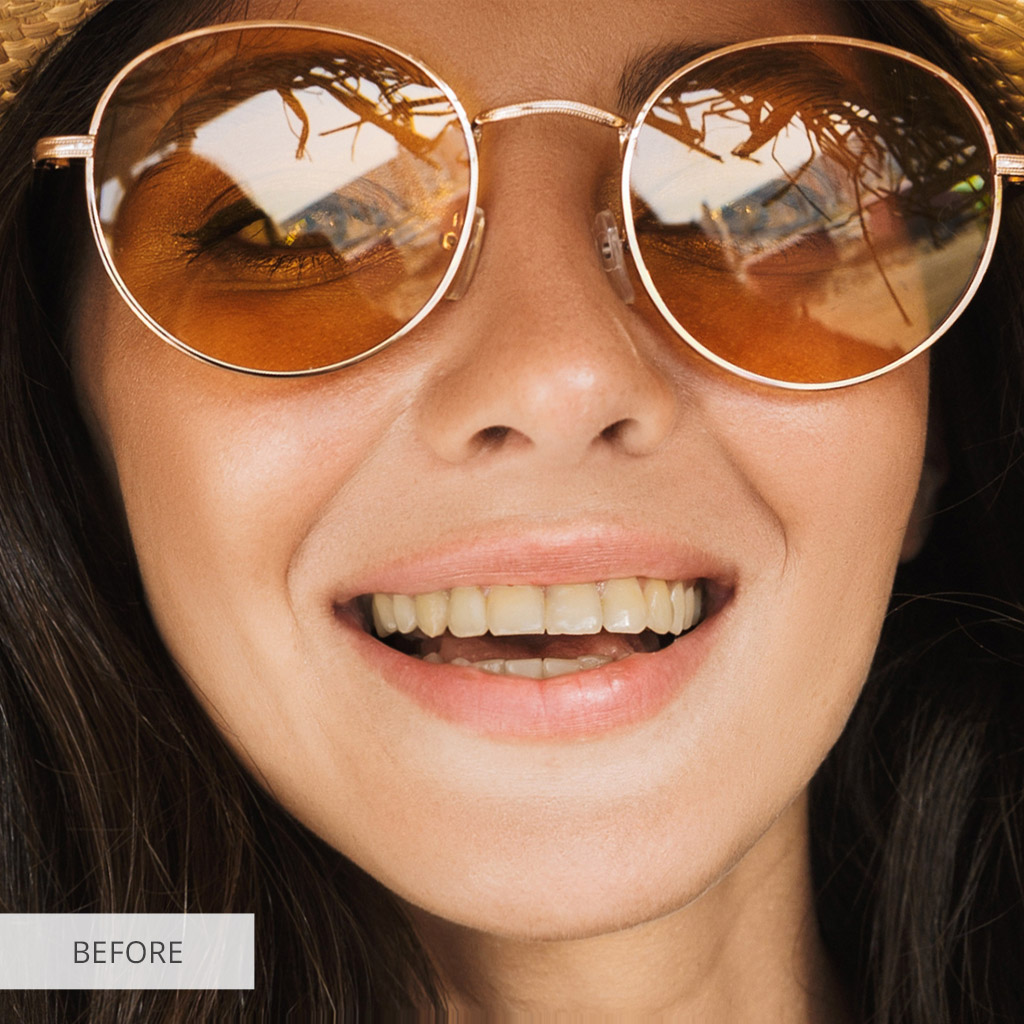
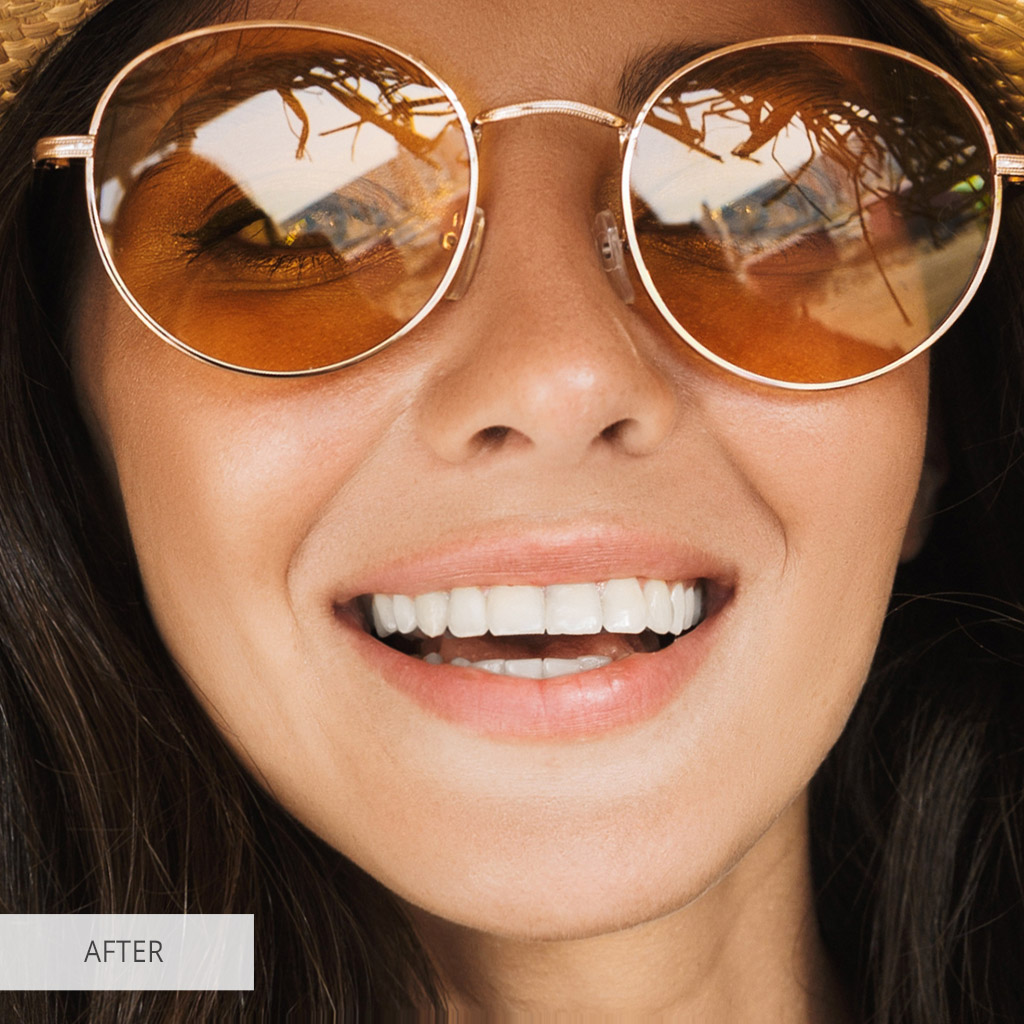
2. Whitening Teeth
1. Create a Hue/Saturation Adjustment Layer
2. Invert the Layer: Image - Adjustments - Invert
3. Whiten the teeth with Brush Tool (B)
4. Done! Assess the Result.
2. Invert the Layer: Image - Adjustments - Invert
3. Whiten the teeth with Brush Tool (B)
4. Done! Assess the Result.
3. Remove Clothing Wrinkles Photoshop Lesson
1. Duplicate the standard layer (Ctrl + J)
2. Make the Curves Adjustment Layer
3. Switch to the Brush Tool (B)
4. Create New Layer (Ctrl+Shift+N)
5. Select the Mixer Brush Tool (B)
6. To add volume use the curves and draw glares
7. Done! Assess the Result
2. Make the Curves Adjustment Layer
3. Switch to the Brush Tool (B)
4. Create New Layer (Ctrl+Shift+N)
5. Select the Mixer Brush Tool (B)
6. To add volume use the curves and draw glares
7. Done! Assess the Result
4. Removing Stray Hairs
1. Duplicate the Layer (Ctrl + J)
2. Switch to the Healing Brush Tool (J)
3. Paint over the stray hairs
4. Done! Assess the Result
2. Switch to the Healing Brush Tool (J)
3. Paint over the stray hairs
4. Done! Assess the Result
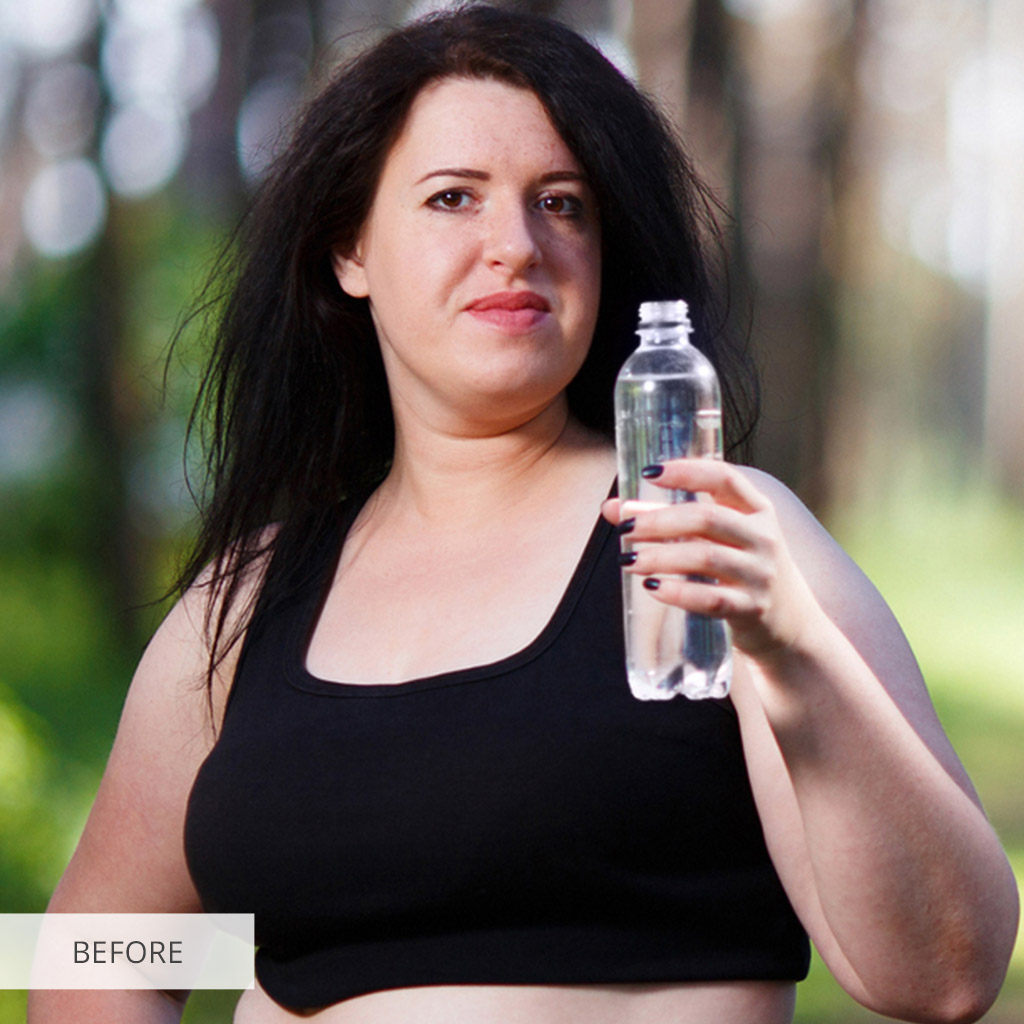
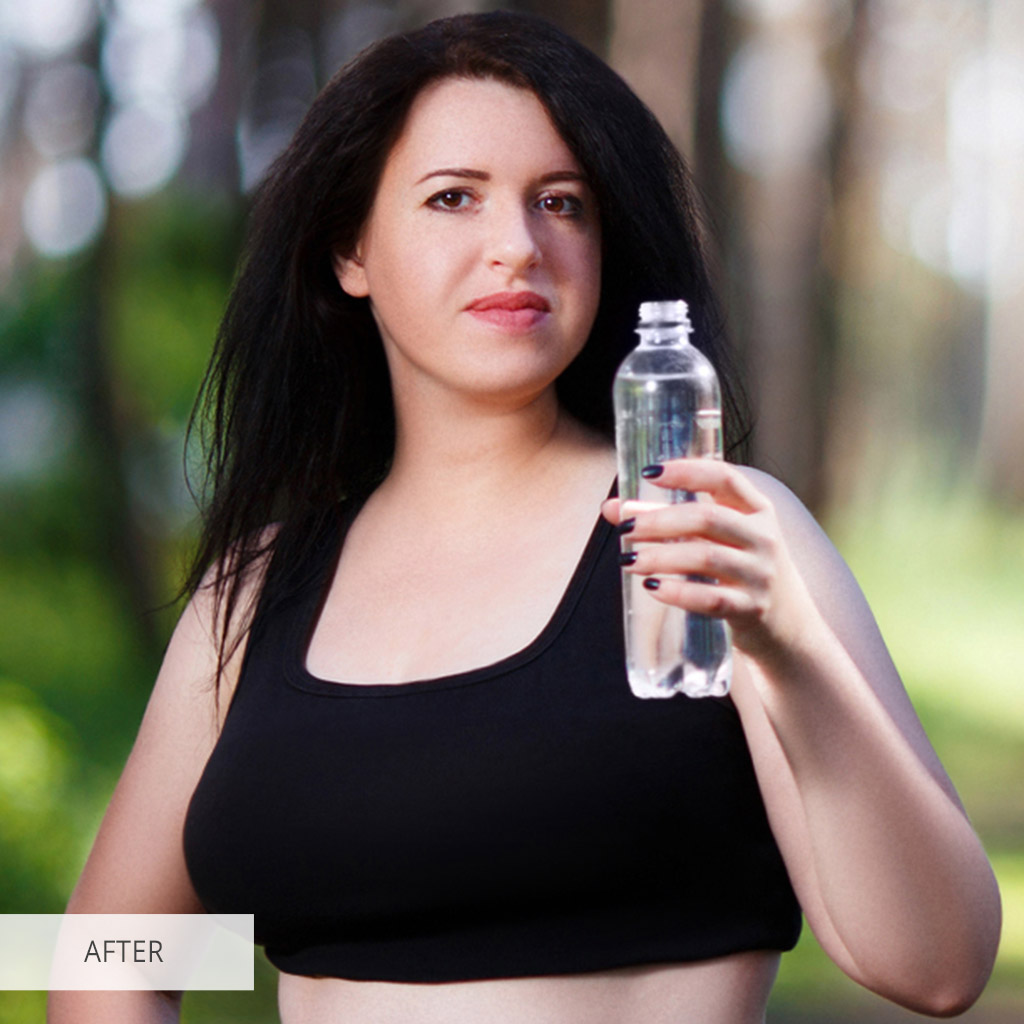
5. Remove Double Chin Photoshop Tutorial
1. Duplicate your background (Ctrl + J)
2. Select Filter - Liquify. Use Brush (B) to edit blemishes
3. Create a New Layer (Ctrl+Shift+N). Use Mixer Brush (B) to Correct the Light and Shadows
4. Create artificial skin texture
5. Create an Empty Layer: Edit - Fill - 50% Gray
6. Go to Filter - Noise - Add Noise
7. Go to Filter - Blur - Gaussian Blur. Set the Linear Light Blending Mode
8. Create 2 Additional Layers and Make Dodge & Burn
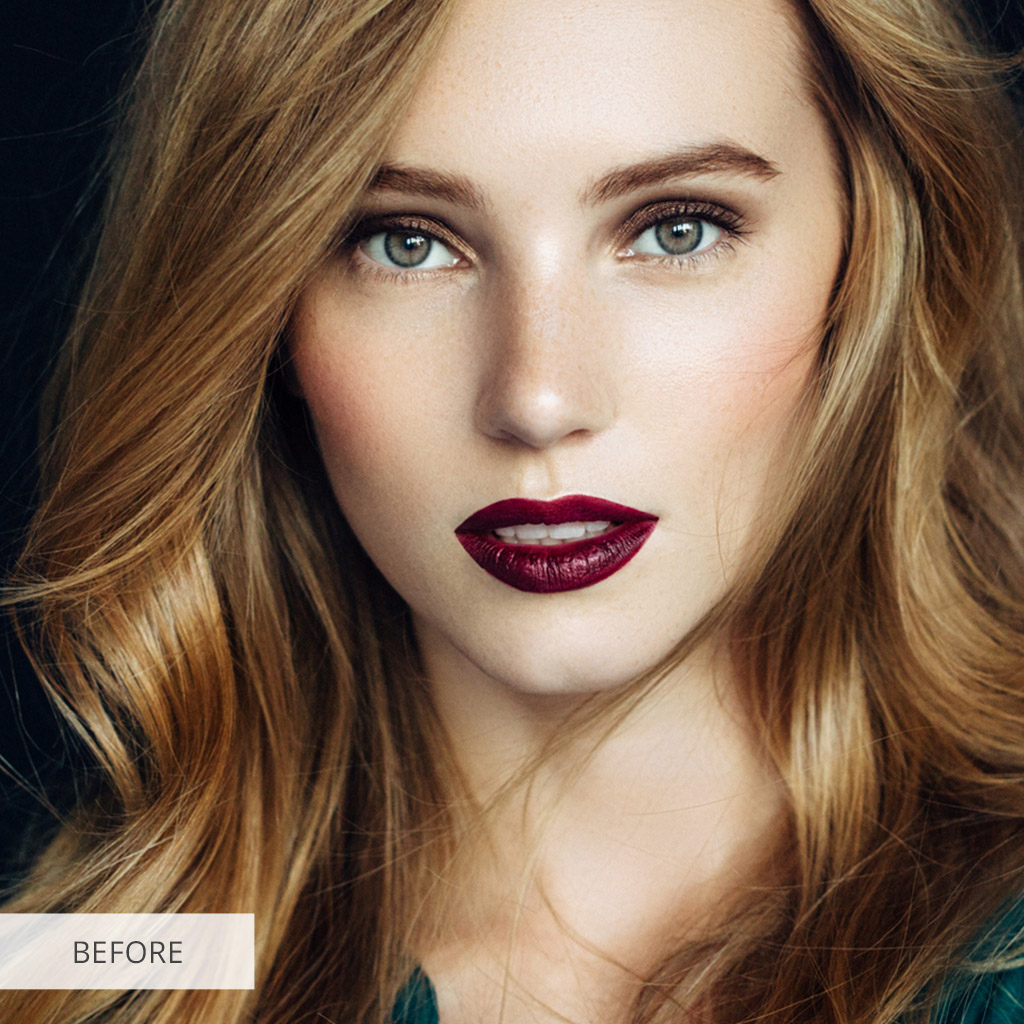
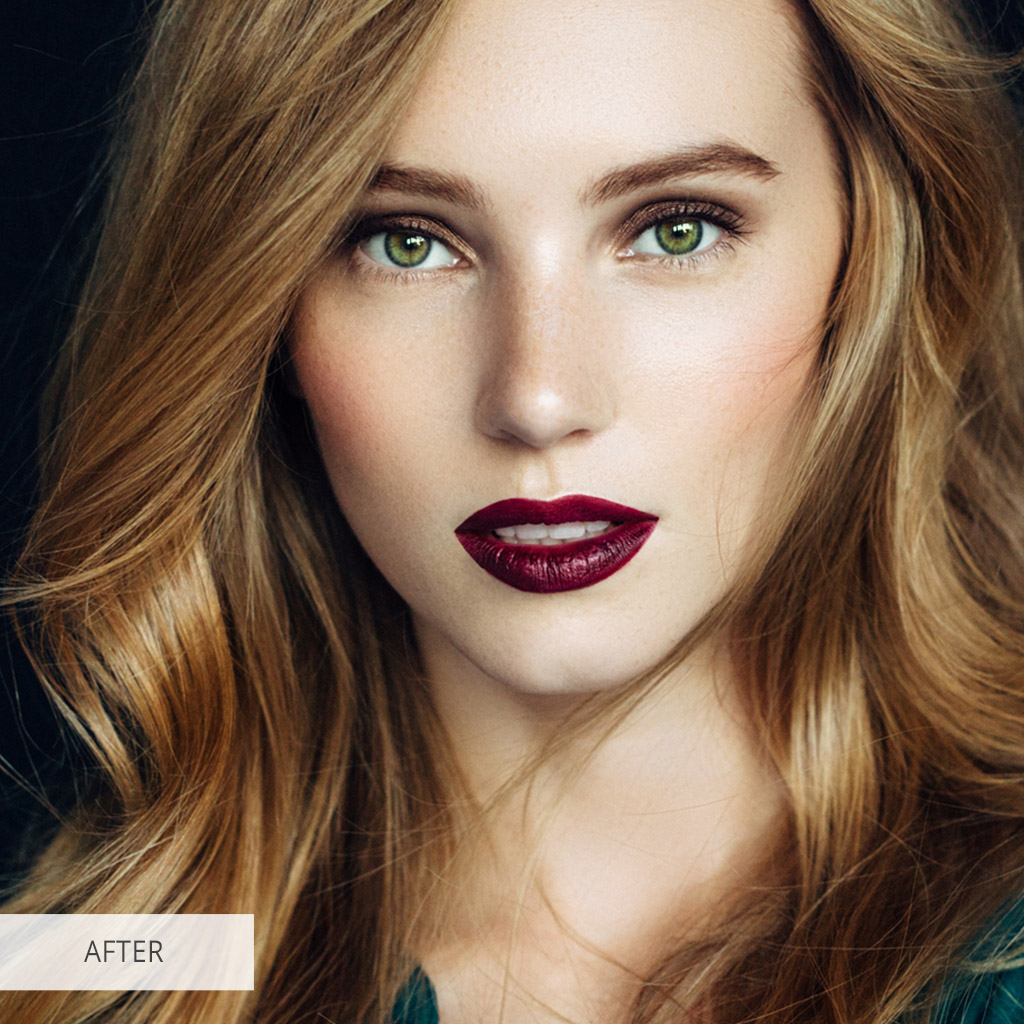
6. Change Eye Color
1. Add a Hue/Saturation Adjustment Layer
2. Invert the Layer Mask
3. Create a Semi-Transparent Layer (Ctrl+I)
4. Paint over the eyes with the Brush Tool
5. Change the Color
6. Done! Compare the before and after images
2. Invert the Layer Mask
3. Create a Semi-Transparent Layer (Ctrl+I)
4. Paint over the eyes with the Brush Tool
5. Change the Color
6. Done! Compare the before and after images
7. Double Exposure Photoshop Lesson
1. Choose Action and click Play Selection
2. Press Stop. Choose the Area you need and click “Play Selection” to continue the process
3. Press Stop, add the Overlay and press Play Selection
4. The process is complete
5. Use the black Brush over the layer mask to remove the unnecessary effect
2. Press Stop. Choose the Area you need and click “Play Selection” to continue the process
3. Press Stop, add the Overlay and press Play Selection
4. The process is complete
5. Use the black Brush over the layer mask to remove the unnecessary effect
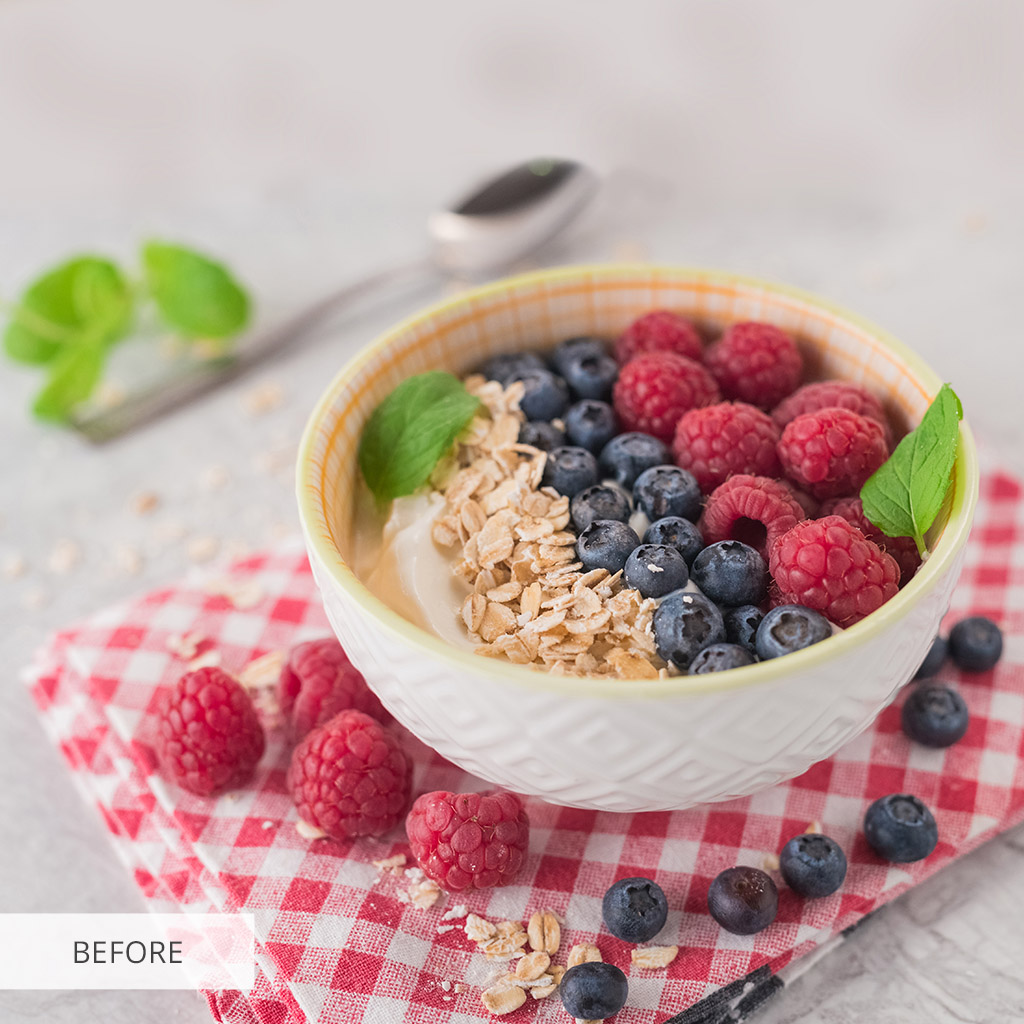
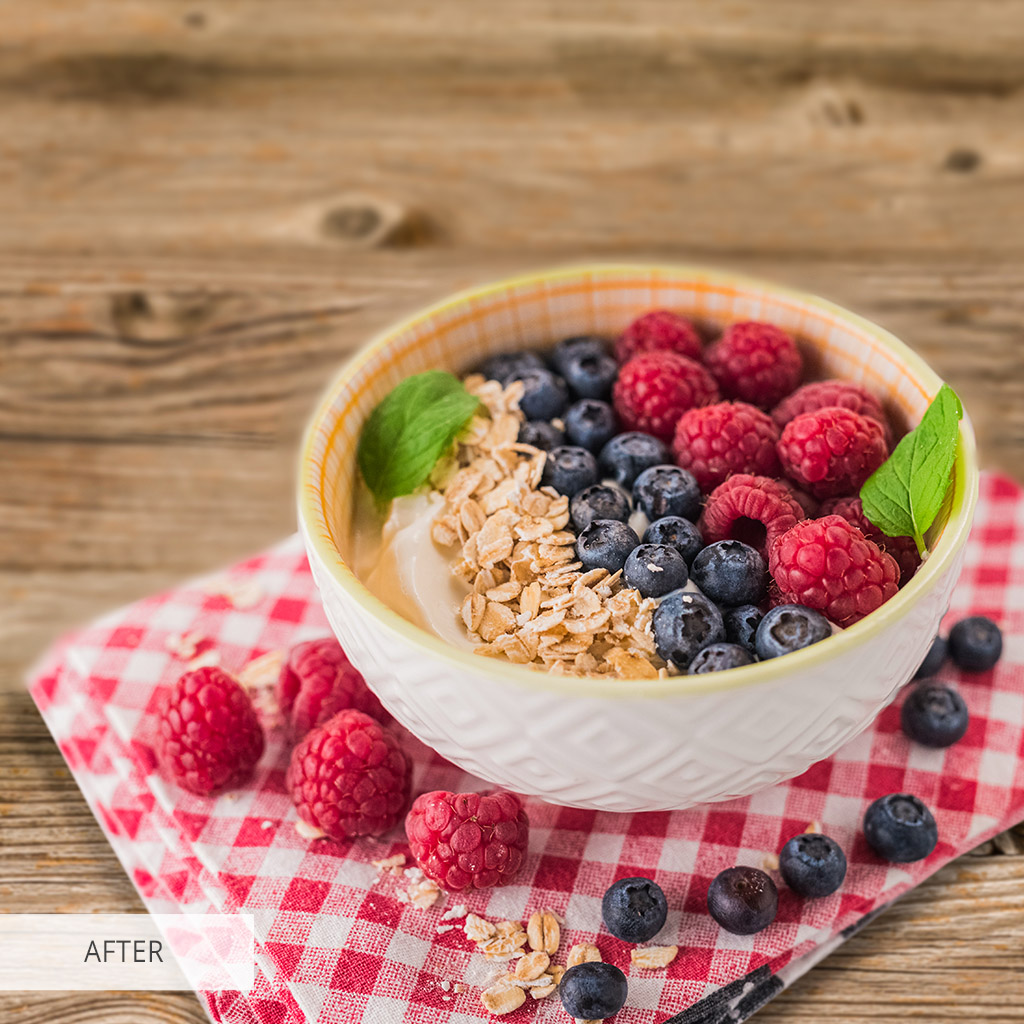
8. How to Add Texture
1. Place the Texture
2. Cut Out the Object: Right-click - Make Selection - Set Feather Radius to 1
3. Adding Texture
4. Blur the edges: Layer 1 - Right click -Distort
5. Add final touches
2. Cut Out the Object: Right-click - Make Selection - Set Feather Radius to 1
3. Adding Texture
4. Blur the edges: Layer 1 - Right click -Distort
5. Add final touches
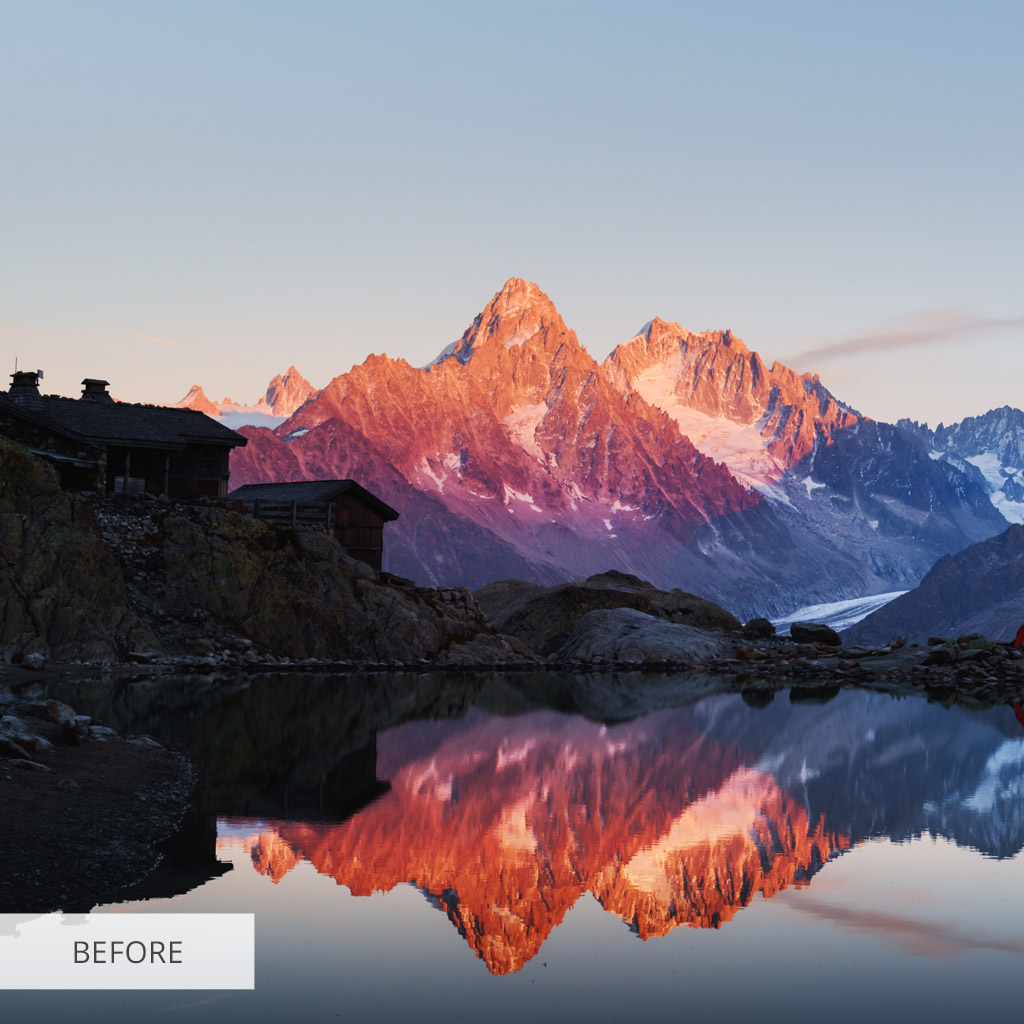
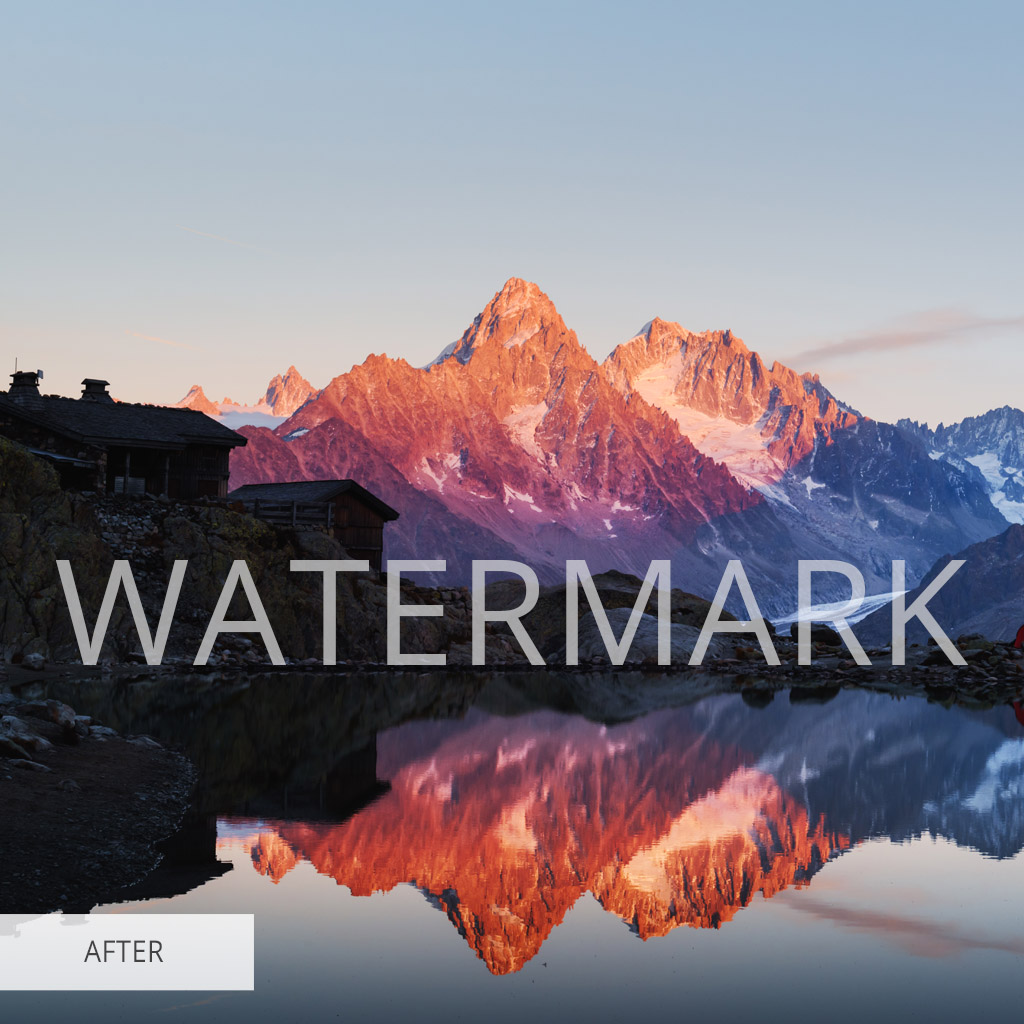
9. Watermarking in Photoshop
1. Create New Layer (Ctrl + Shift + N)
2. Enter your text: Start - Programs - Accessories - System Tools - Character Map
3. Adjust the Font (Ctrl+T)
4. Position the watermark
5. Make finishing adjustments
2. Enter your text: Start - Programs - Accessories - System Tools - Character Map
3. Adjust the Font (Ctrl+T)
4. Position the watermark
5. Make finishing adjustments
10. How to Remove Shadows
1. Duplicate layer
2. Select the Patch Tool (J)
3. Remove shadows
4. Done! Check the result
2. Select the Patch Tool (J)
3. Remove shadows
4. Done! Check the result
11. How to Make a Photomosaic
1. Sync settings to Multiple Images
2. Adjust Automatic Crop
3. Make a Contact Sheet in Photoshop
4. Create an Overlay
5. Open the image and apply the photo mosaic pattern
6. Adjust the scale
7. Change the Blending Mode to Soft Light
8. Adjust Contrast with Levels
2. Adjust Automatic Crop
3. Make a Contact Sheet in Photoshop
4. Create an Overlay
5. Open the image and apply the photo mosaic pattern
6. Adjust the scale
7. Change the Blending Mode to Soft Light
8. Adjust Contrast with Levels
12. Blur Edges Photoshop Guide
1. Define the area for Feathering: Tools Panel - Marquee Menu - Elliptical Marquee Tool (M)
2. Feather the Edges (Shift+F6)
3. Inverse the Selection (Shift+Ctrl+l)
4. Choose the Color: Adjustments - Solid Color
2. Feather the Edges (Shift+F6)
3. Inverse the Selection (Shift+Ctrl+l)
4. Choose the Color: Adjustments - Solid Color
13. Frequency Separation Basics
1. Duplicate layers (Ctrl + J (x2)
2. Low-Frequency Blur: Filter - Blur - Gaussian Blur
3. Work with texture: Image - Apply Image
4. Switch to the Linear Light Blend Mode
5. Create Correction Layer (Shift + Ctrl + N)
6. Set up the Mixer Brush Tool (B)
7. Light and Shadow Pattern
8. Configure the intensity of settings
2. Low-Frequency Blur: Filter - Blur - Gaussian Blur
3. Work with texture: Image - Apply Image
4. Switch to the Linear Light Blend Mode
5. Create Correction Layer (Shift + Ctrl + N)
6. Set up the Mixer Brush Tool (B)
7. Light and Shadow Pattern
8. Configure the intensity of settings
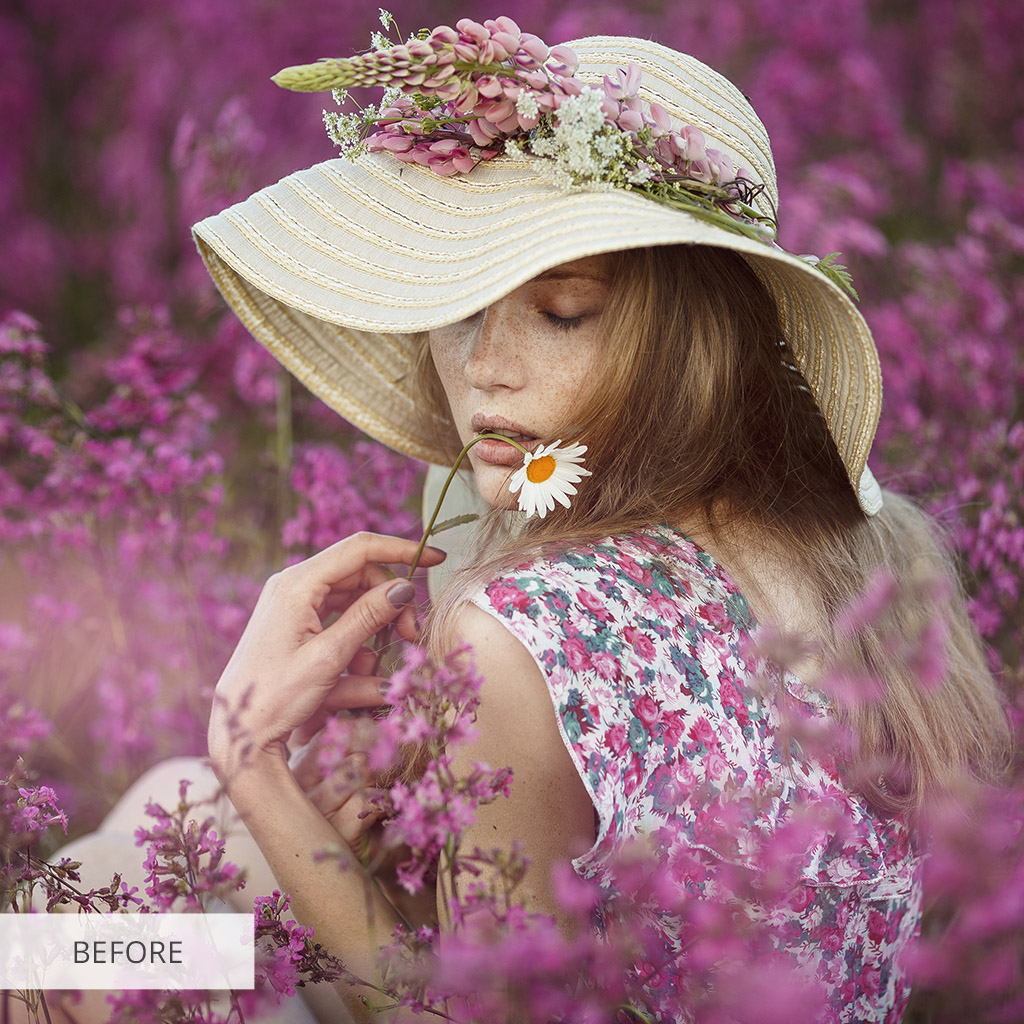
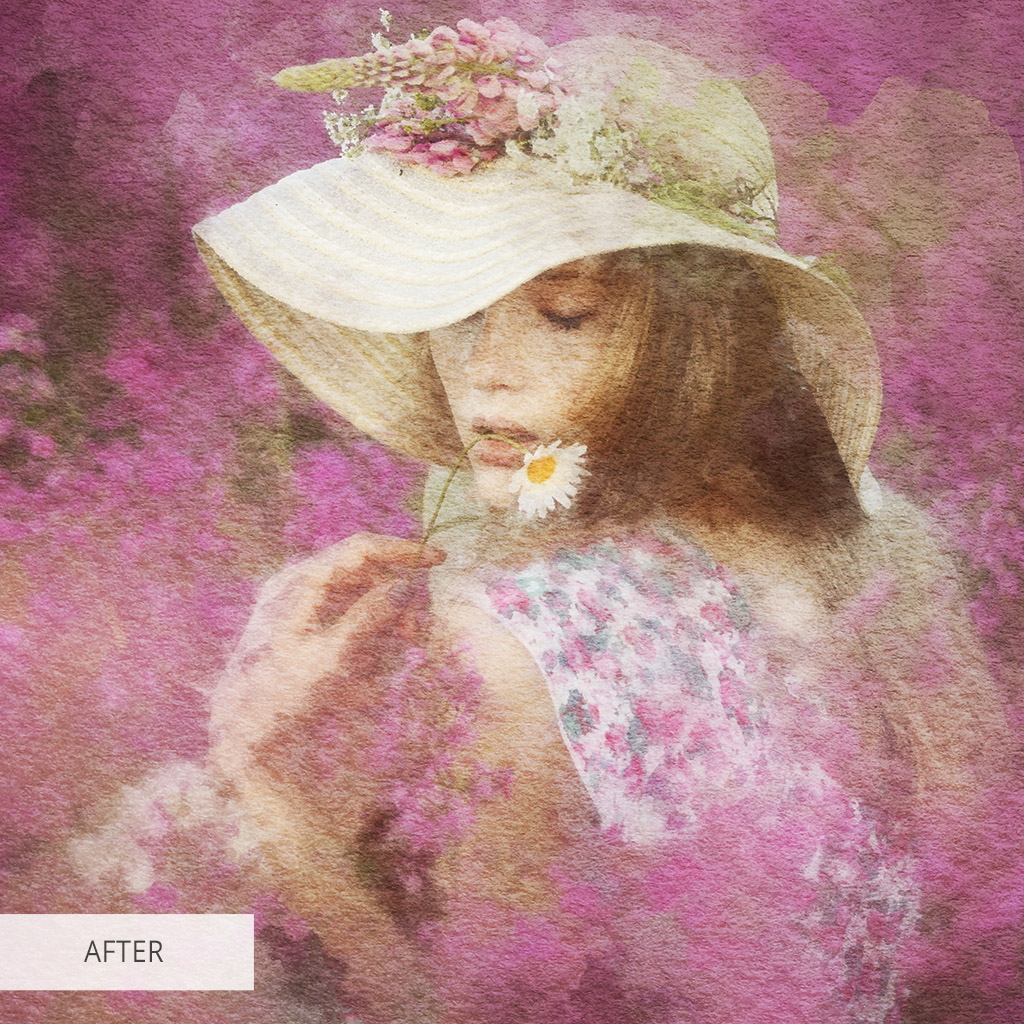
14. How to Create a Watercolor Painting Effect
1. Duplicate the Background Layer
2. Convert the layer into a Smart Object
3. Make two copies of the Smart Object
4. Apply the Cutout Filter
5. Set the Blend Mode to Luminosity
6. Apply the Dry Brush Filter
7. Set the Blend Mode to Screen or Lighten
8. Apply the Median Filter
9. Set the Blend Mode to Soft Light
2. Convert the layer into a Smart Object
3. Make two copies of the Smart Object
4. Apply the Cutout Filter
5. Set the Blend Mode to Luminosity
6. Apply the Dry Brush Filter
7. Set the Blend Mode to Screen or Lighten
8. Apply the Median Filter
9. Set the Blend Mode to Soft Light
- Check out the lesson on How to Use Photoshop Actions.
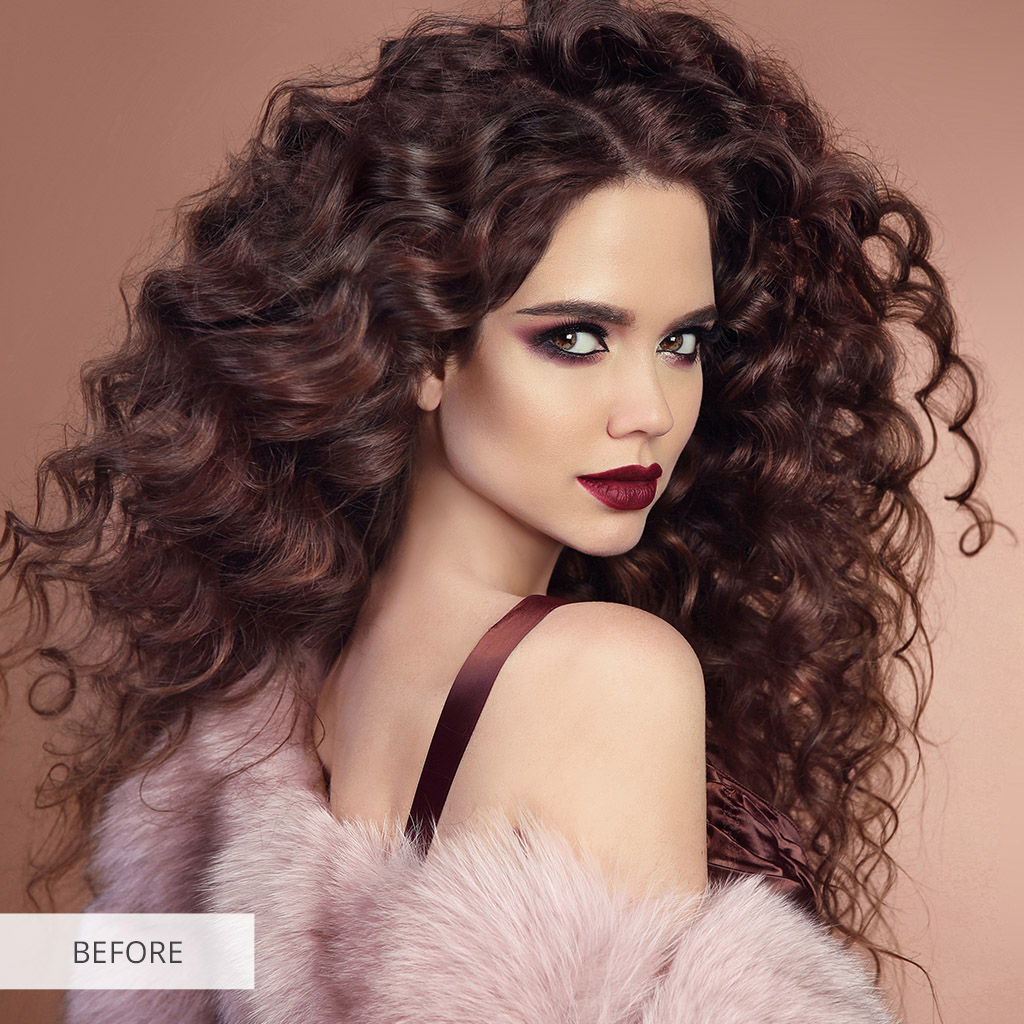
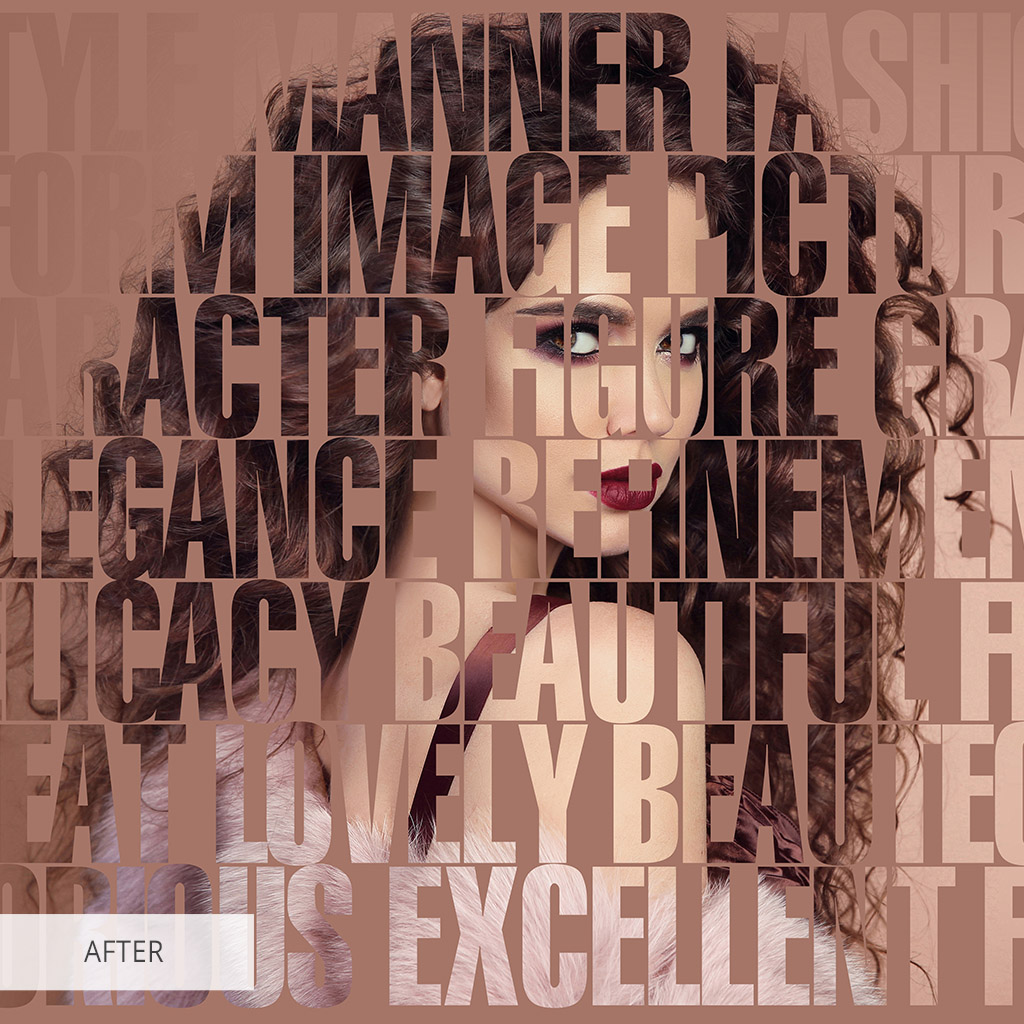
15. Text Portrait Effect
1. With the Crop tool, crop the image as precise around the face as possible
2. With a Pen tool, click Ctrl+Enter to make the selection
3. Click on Add Layer Mask
4. Fill the new layer with a solid black color
5. Add text with the Type tool
6. Hold down Option/Alt, click on the thumbnail of your subject and press Ctrl+Alt+G
7. Click on your main image thumbnail and go to Adjustment Layer. Click on Posterize and change the value from 4 to 6
8. Come back to the Layer options and click Ctrl+Alt+G to do Clipping Mask
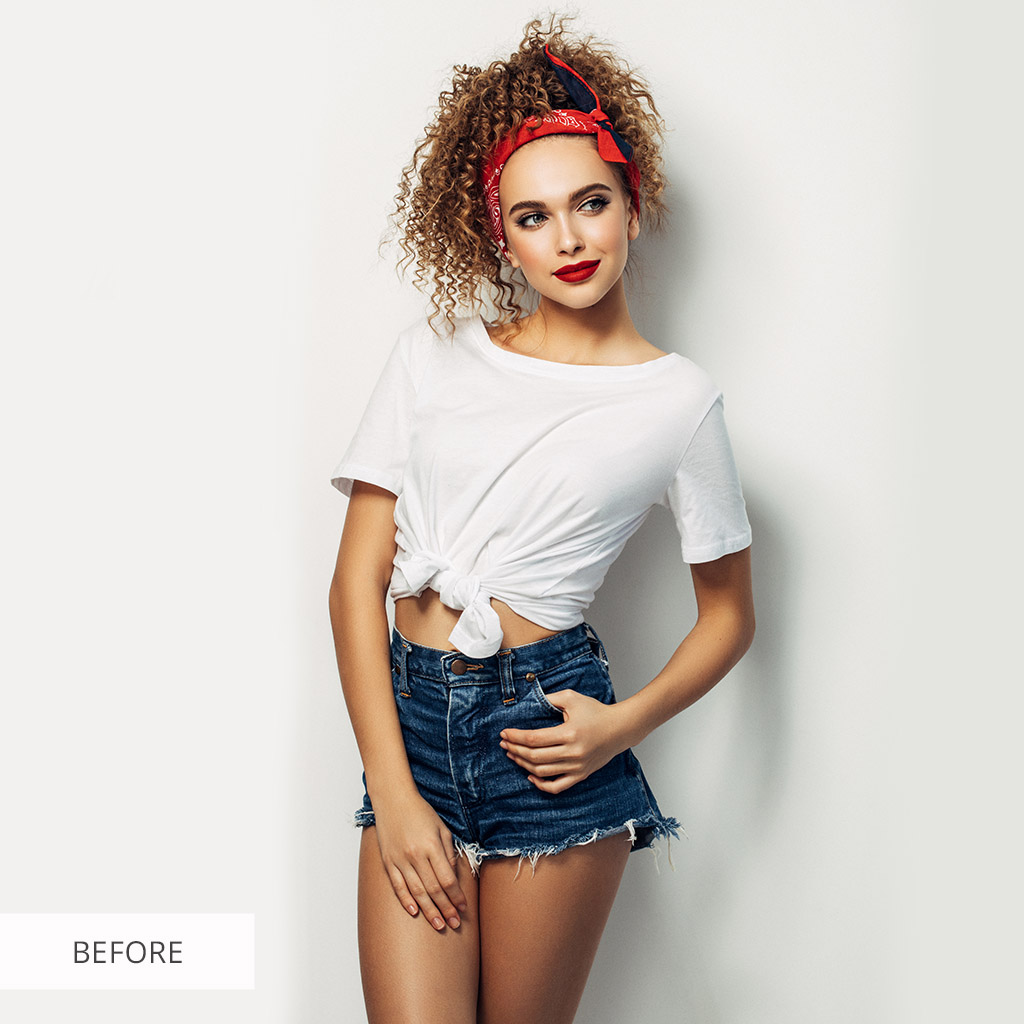
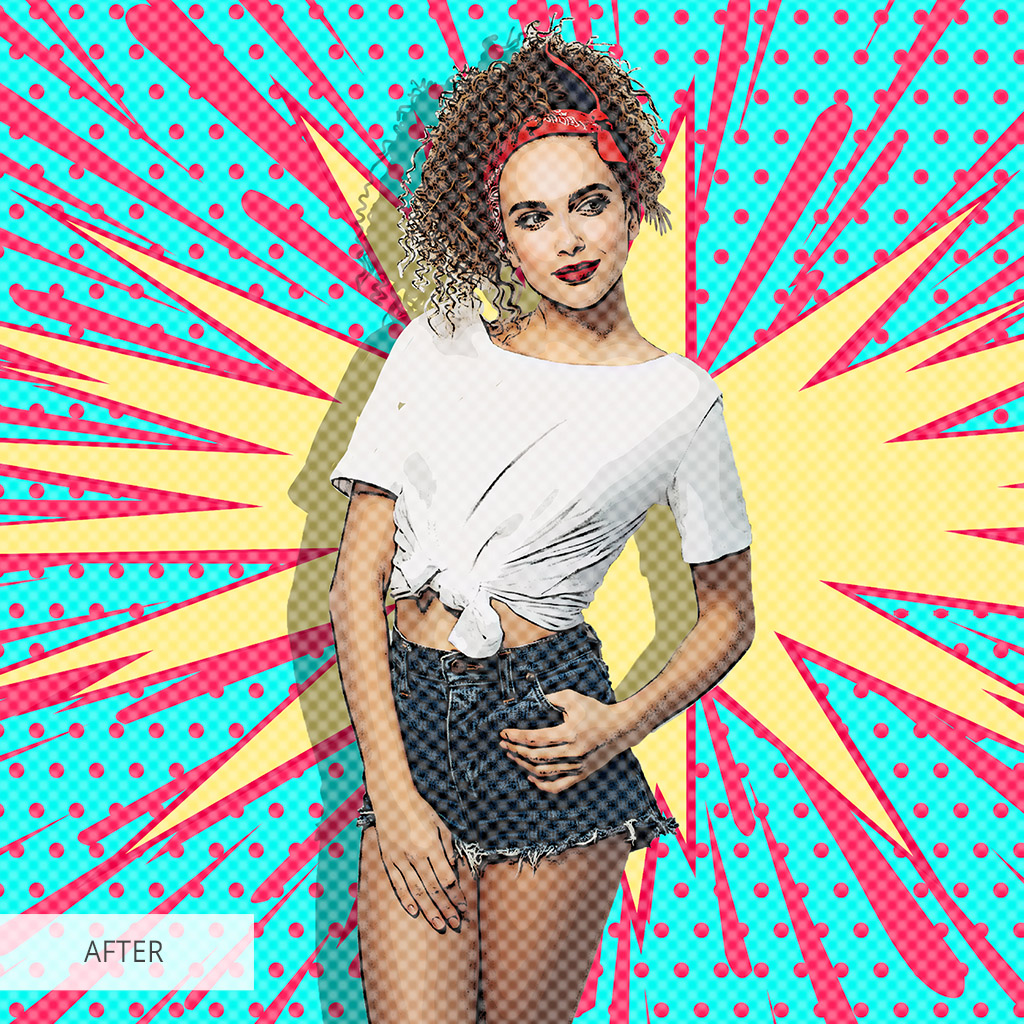
16. How to Turn Photos into Cartoon
1. Duplicate the layer (Ctrl+J)
2. Choose Filter - Other - High Pass
3. Adjust until you see an outline
4. Duplicate the Layer (Ctrl+J)
5. Invert the top layer (Ctrl+I). Change to Divide Blending mode.
6. Press Ctrl+E to Merge 2 top layers.
7. Press Ctrl+L for Levels. Slide the black slider to the left until it is in the white area of the histogram
8. Duplicate the background (Ctrl+J)
9. Choose Filter - Blur - Surface Blur
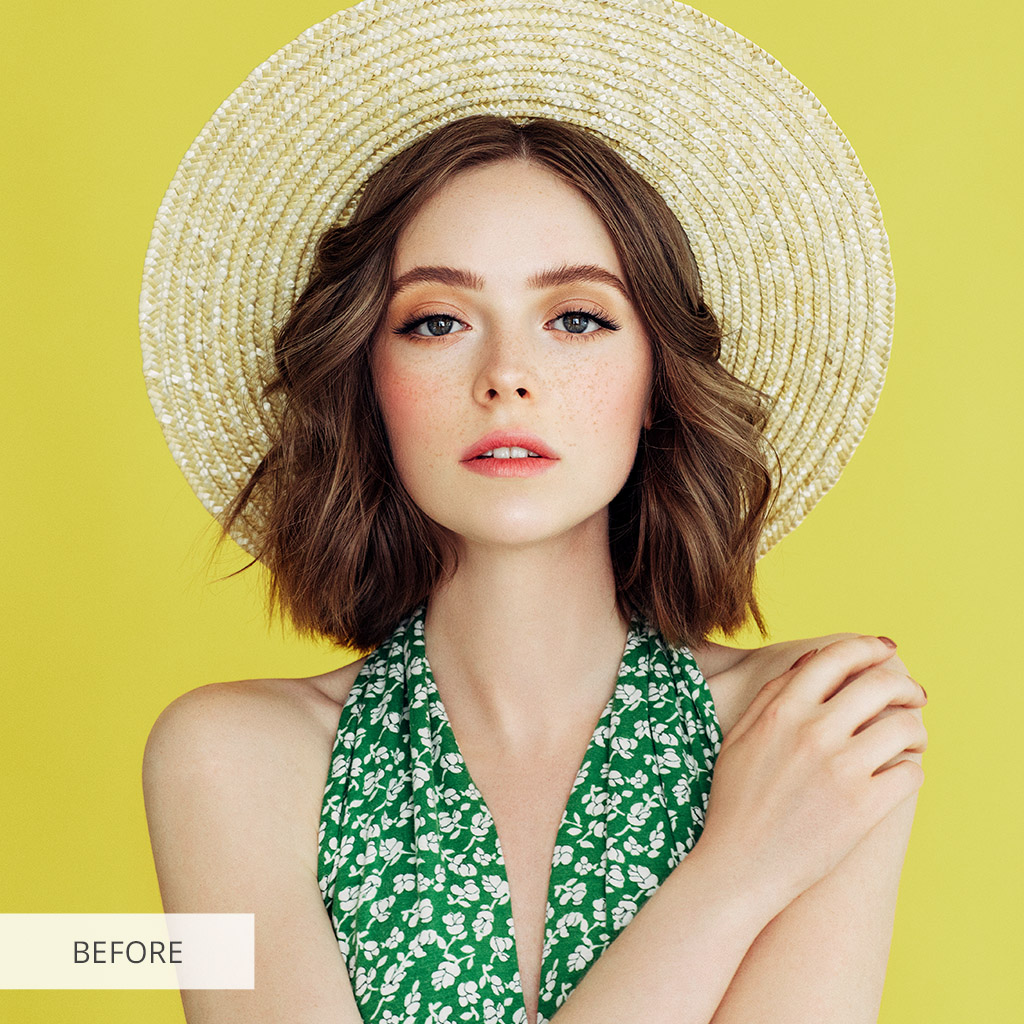
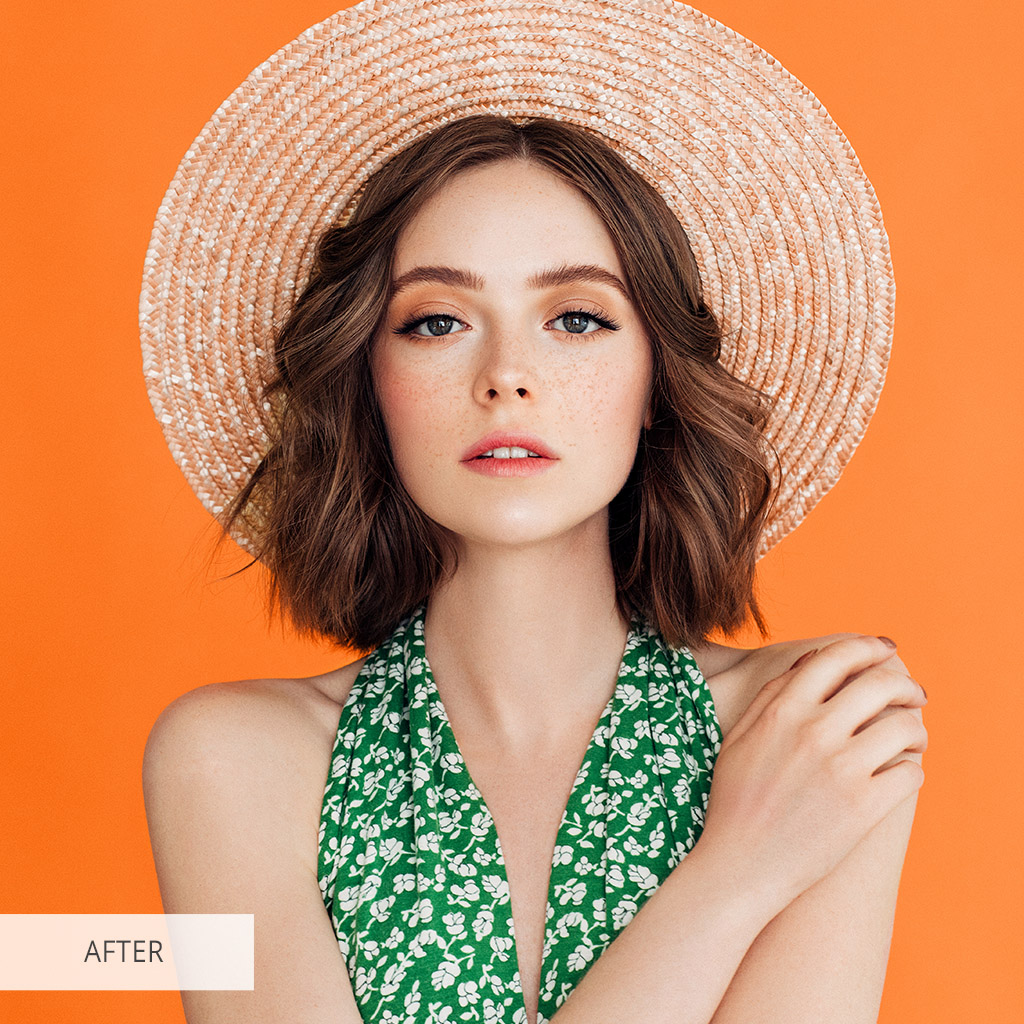
17. How to Change Background Color
1. Select the background with the Magic Wand Tool (W)
2. Use the Refine Edge Tool to Retain Detail: Right-click - Select - Inverse
3. You will see the selection change from the background to your subject: Select - Refine Edge
4. Add a New Background Color: Layer - New Fill Layer - Solid Color
5. With the Marquee tool, draw an elliptical slightly off-center of your image
6. Create a Levels adjustment layer: Layer - New Adjustment Layer - Levels.
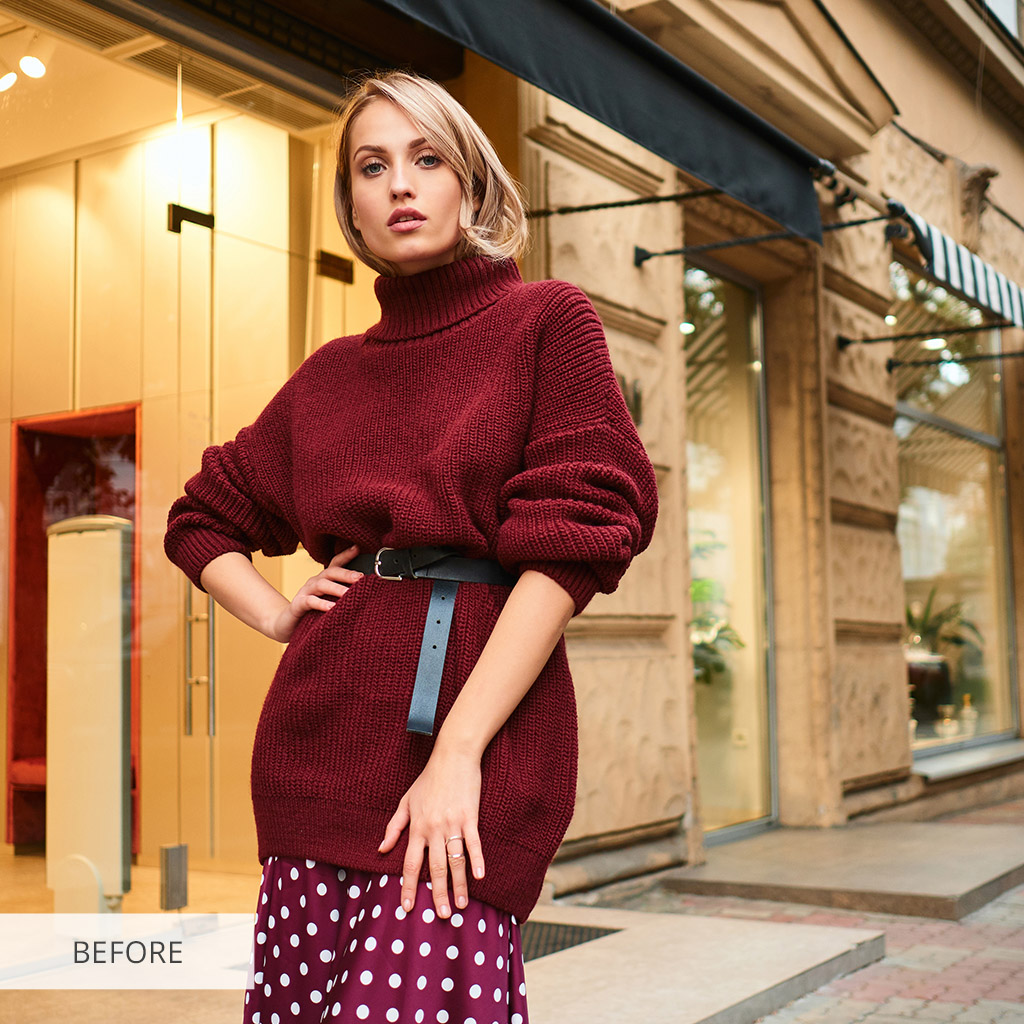
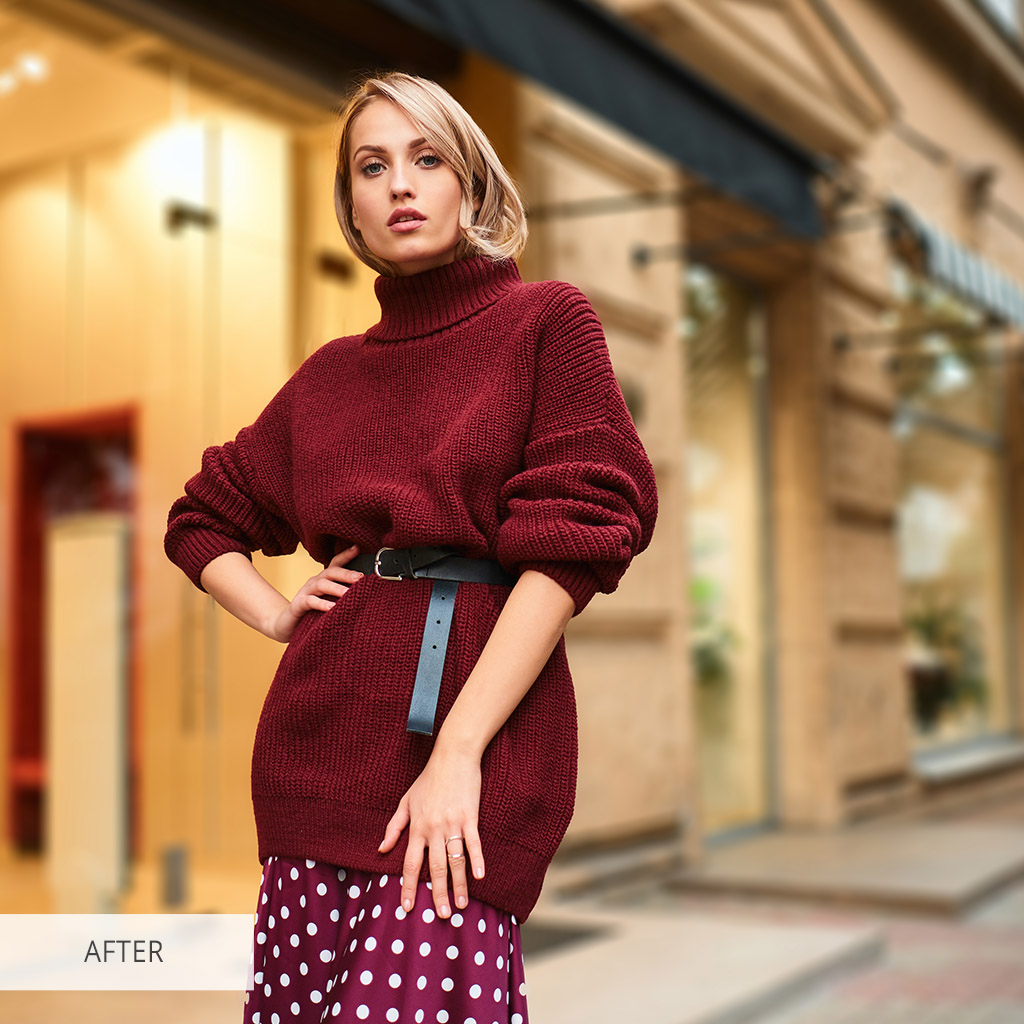
18. Blur Background Photoshop Lesson
1. Duplicate the Background Layer (Ctrl+J)
2. Filter - Blur - Gaussian Blur and Select a value that will fit your photo
3. Add a Mask for the Layer and invert it (Ctrl+I)
4. Take a White Brush (B) and Apply the Effect
2. Filter - Blur - Gaussian Blur and Select a value that will fit your photo
3. Add a Mask for the Layer and invert it (Ctrl+I)
4. Take a White Brush (B) and Apply the Effect
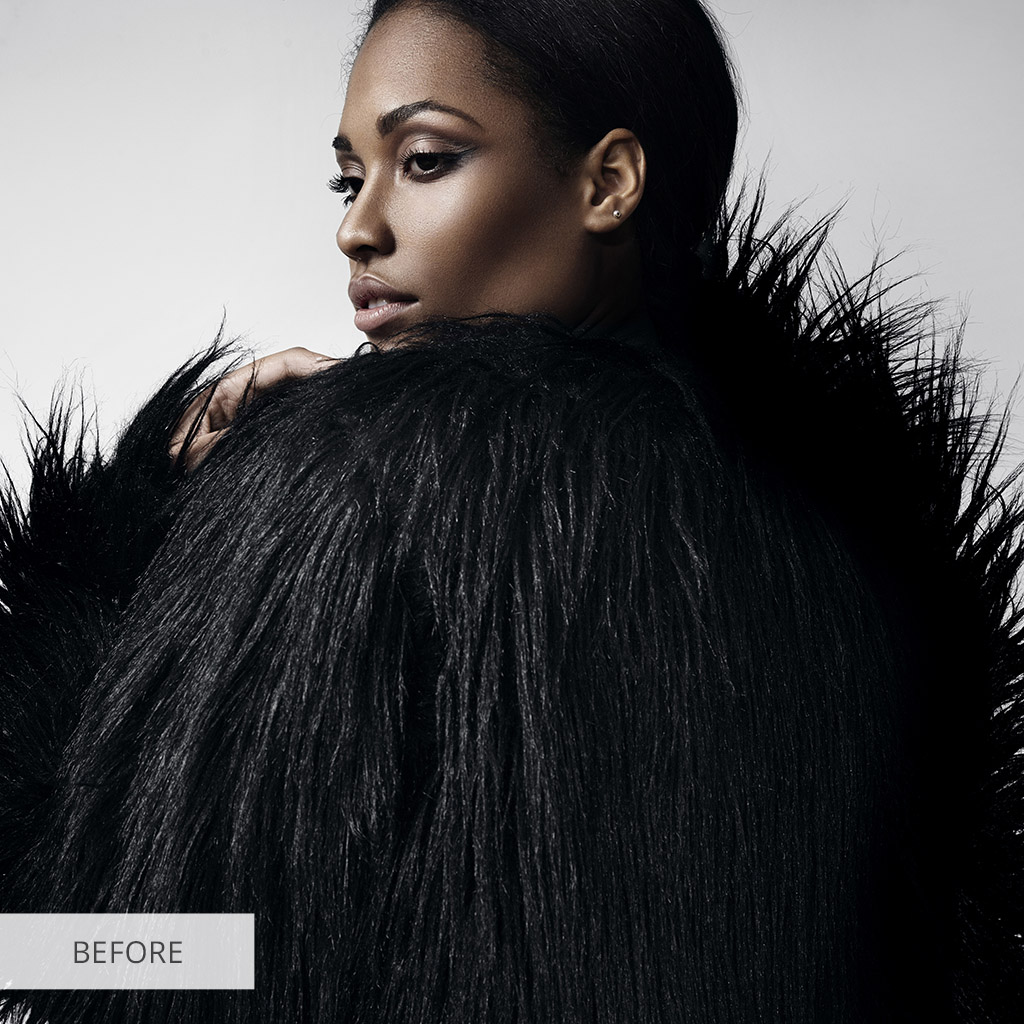
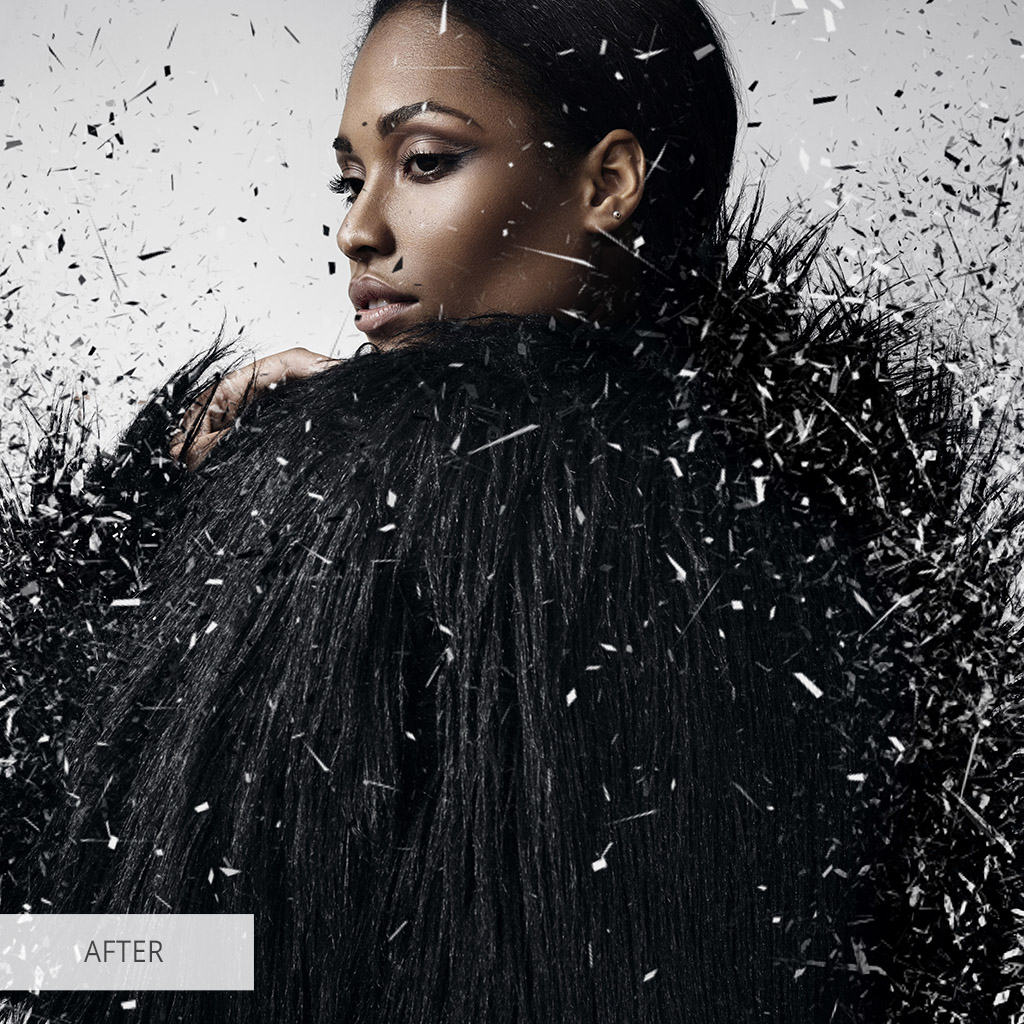
19. Dispersion Effect Photoshop Guide
1. Choose Action and press Play Selection
2. Press Stop
3. Check the image size: Image - Image Size. The size on a wide side should be between 2,000-3,000 pixels.
4. Download the Brushes from the “Dispersion Effect” folder
5. Press Play Selection
6. Press Stop. Select “For Mask” brush
7. Choose the “Dispersion Area” Layer
8. Press Play Selection.
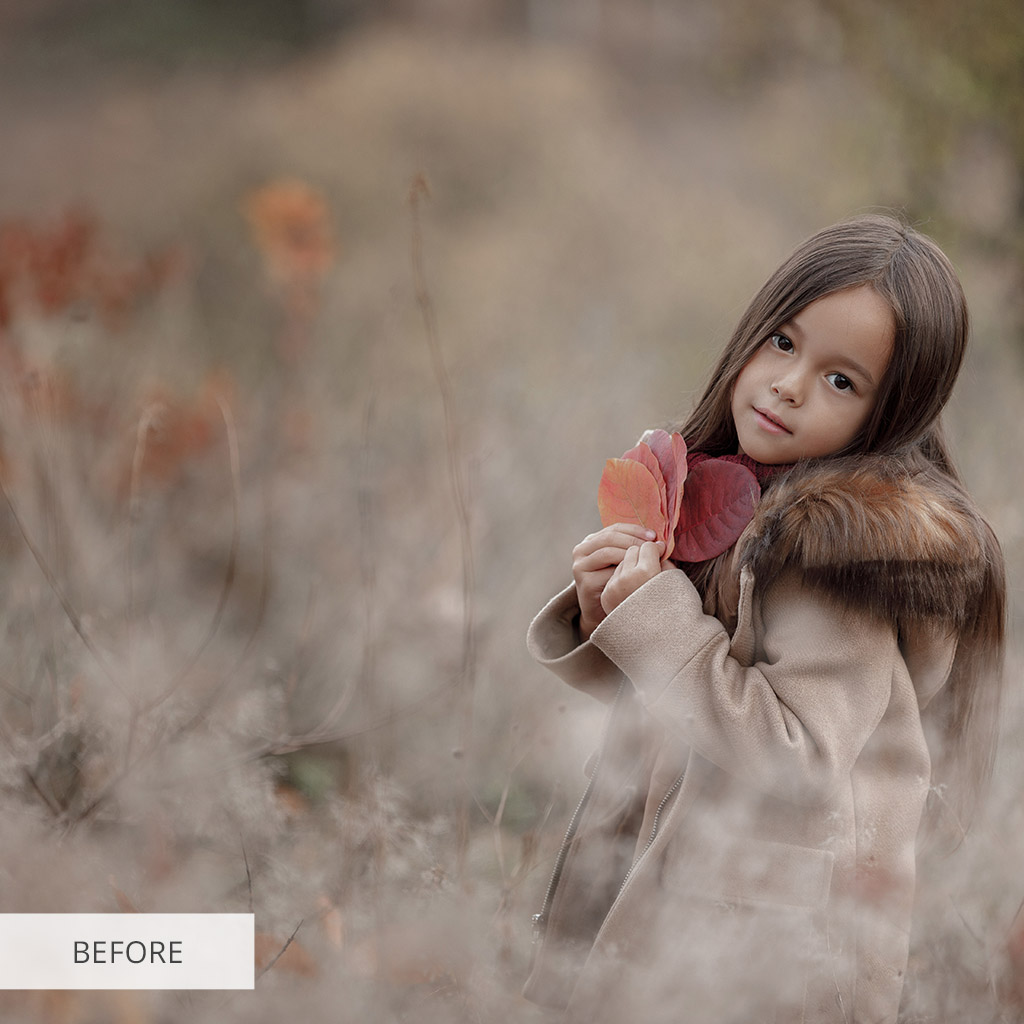
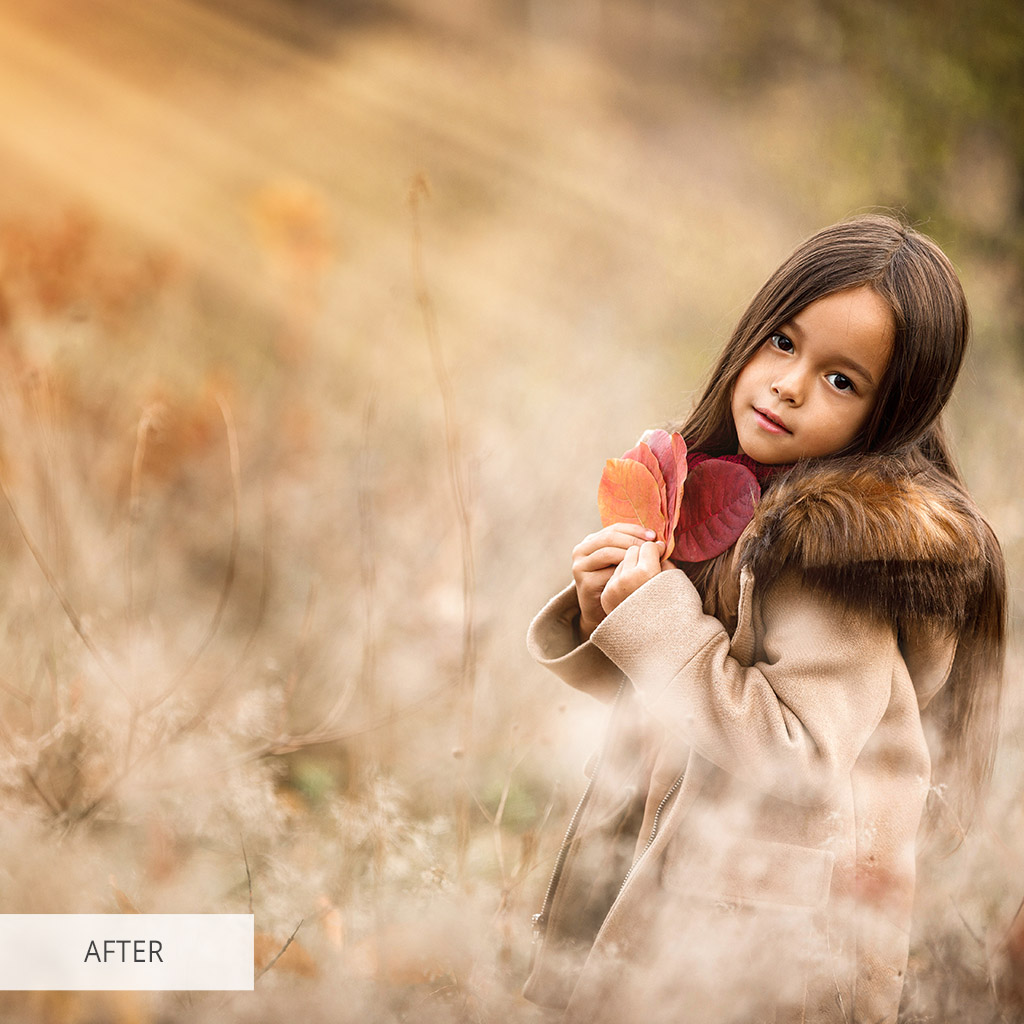
20. Add Sunlight in Photoshop
1. Add a new layer (Ctrl + N)
2. Go to the Filter - Render - Lighting Effects
3. Choose the style of your lighting.
4. Experiment with the "Intensity" and "Focus" scales
2. Go to the Filter - Render - Lighting Effects
3. Choose the style of your lighting.
4. Experiment with the "Intensity" and "Focus" scales
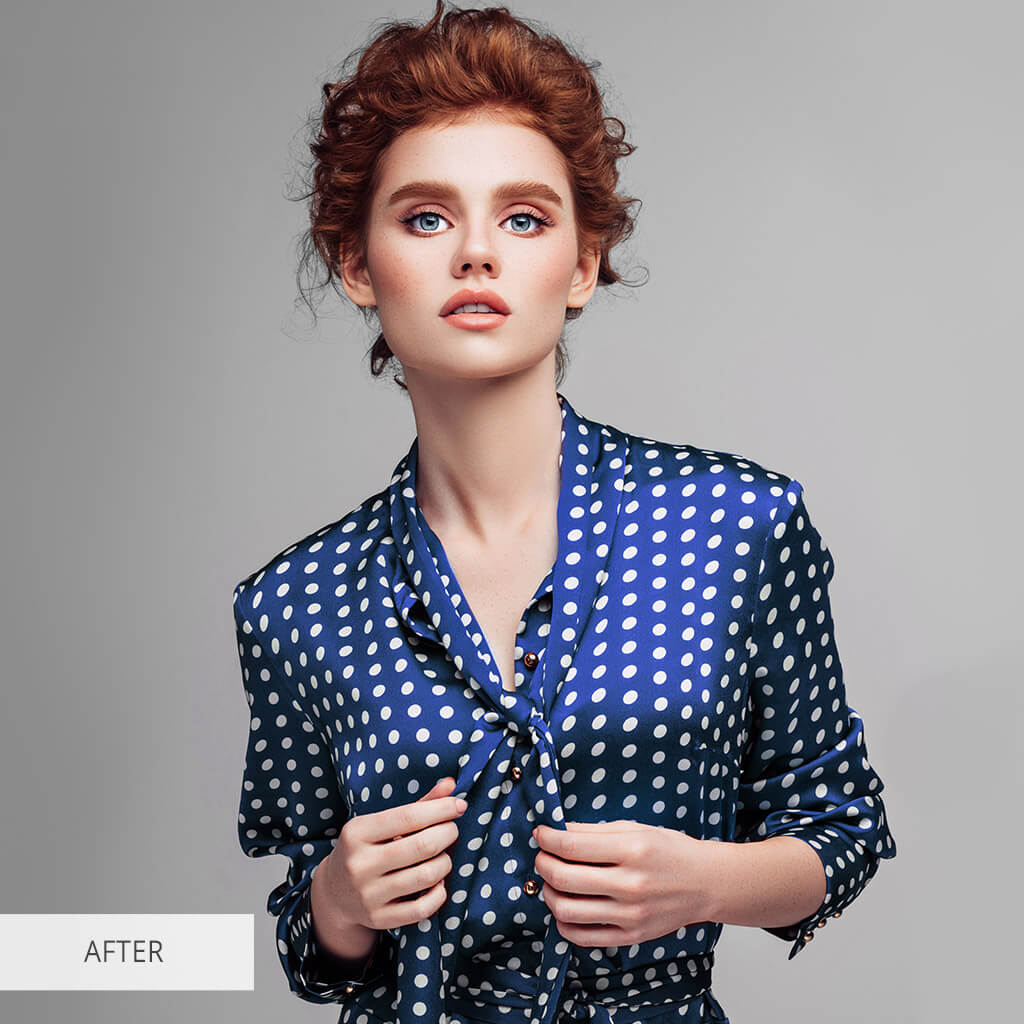
21. How to Change the Color of Clothes
1. Create a new layer (Ctrl + N)
2. Sample the Colors you want to change: Select - Color Range
3. With the Eyedropper (I), click on the color you wish to sample once
4. Create a Hue/Saturation Adjustment layer
5. From there slide the hue until you get the color you want!
2. Sample the Colors you want to change: Select - Color Range
3. With the Eyedropper (I), click on the color you wish to sample once
4. Create a Hue/Saturation Adjustment layer
5. From there slide the hue until you get the color you want!






Comments
Post a Comment