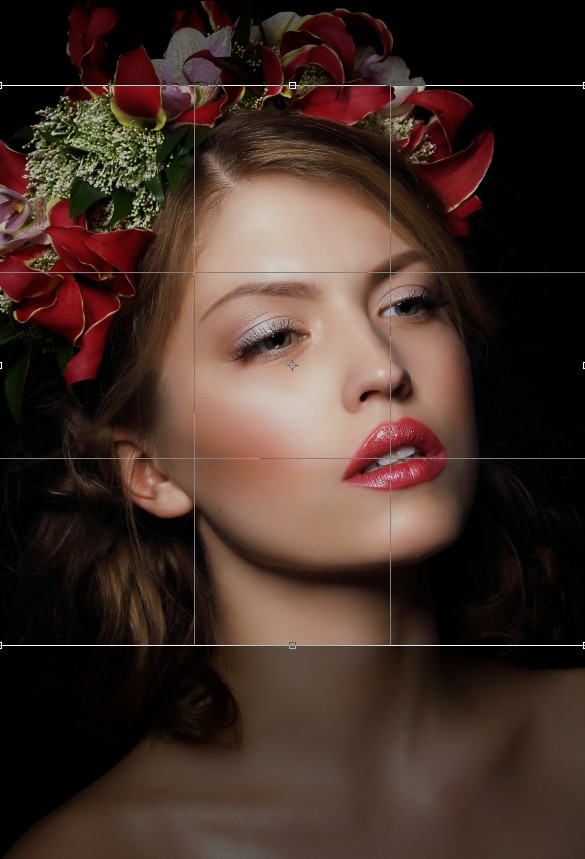
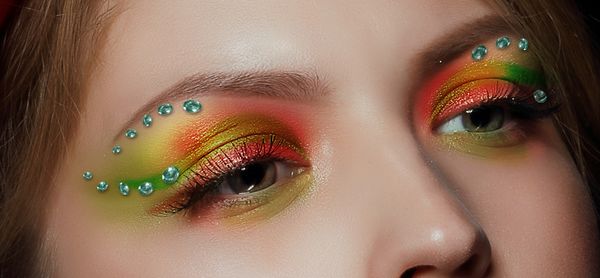
How to Apply Creative Makeup with Photoshop


Step 1

Open the model image. Use the Crop Tool (C) to select the face and the upper of the neck only and hit OK to appy the change.
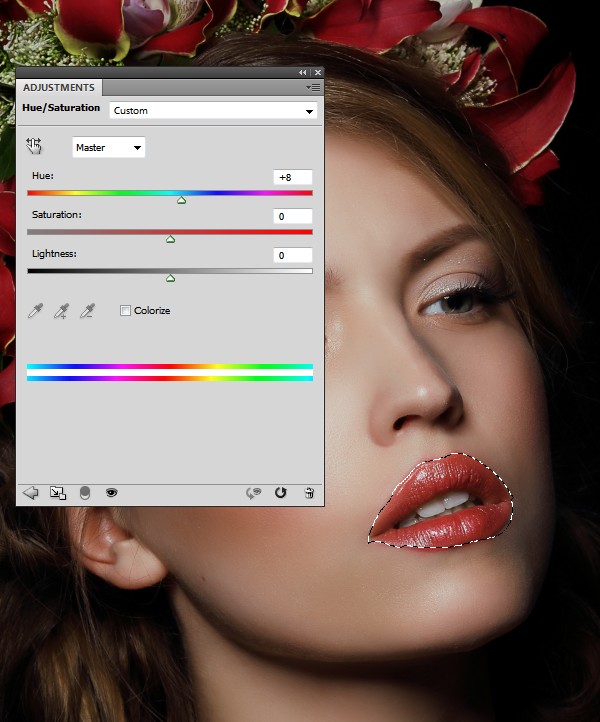
How to Apply Creative Makeup with Photoshop 1


Step 2

First we’ll fix the lip color to fit the colors of the cheeks and the flowers on her head. Use the Polygonal Lasso Tool (L) to select the lips only. Go to Layer > New Adjustment Layer > Hue/Saturation:
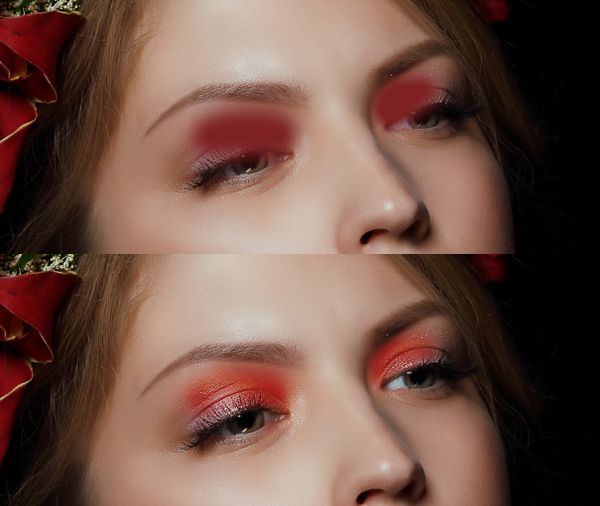
How to Apply Creative Makeup with Photoshop 2


Step 3

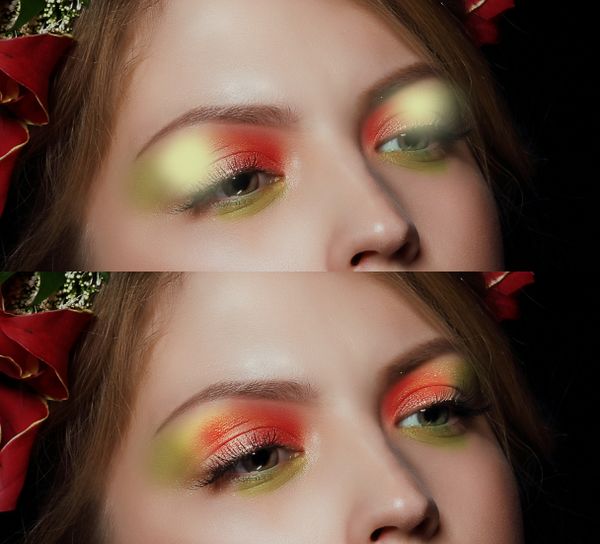
Create a new layer and use a soft brush with the color #7e2224 to paint on the inner edges of the eyes. Change this layer mode to Overlay 100%:
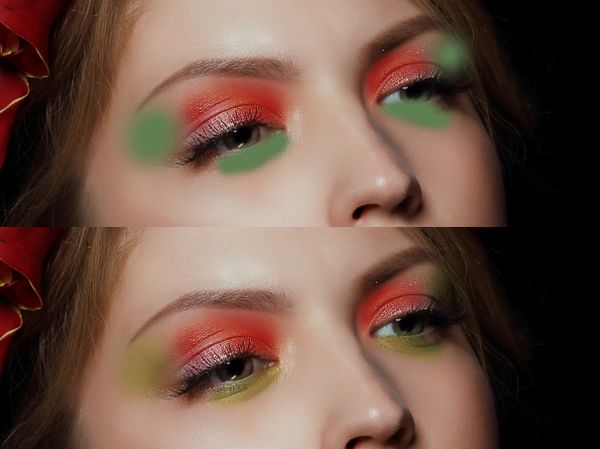
How to Apply Creative Makeup with Photoshop 3


Step 4

Make a new layer and use a soft brush with the color #5e8052 to paint on the lower and the outer edges of the eyes. Set the mode of this layer to Overlay 100%:

How to Apply Creative Makeup with Photoshop 4


Step 5

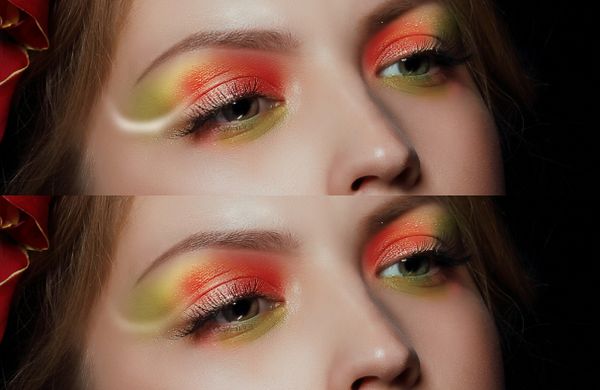
Use another layer and a soft brush with the color #dbdfa4 to paint on the middle of the eyelids. Change this layer mode to Overlay 70%:

How to Apply Creative Makeup with Photoshop 5


Step 6

Continue painting more color for the lower edgeds of the eyes with the color #8d6d72. Set this layer mode to Overlay 100%:

How to Apply Creative Makeup with Photoshop 6


Step 7

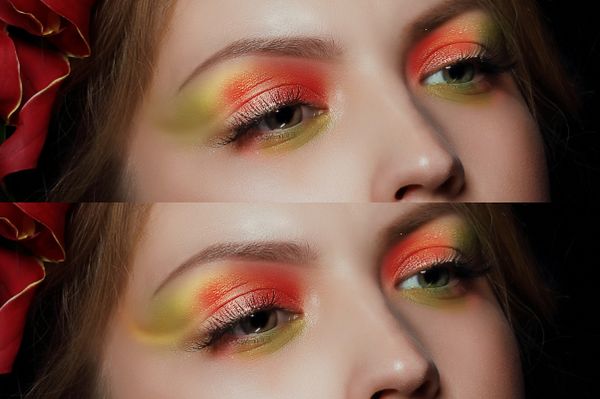
Make a new layer and use a soft white brush to paint a curvy line from the edge of the left eye and change its mode to Soft Light 100%:

How to Apply Creative Makeup with Photoshop 7


Step 8

Paint a small curve with the color changed to #7e5822 on the same area and put the mode to Overlay 100%:

How to Apply Creative Makeup with Photoshop 8


Step 9

Use another color ( #597540) to paint on the outer edge of the left eye. Change this layer mode to Soft Light 100%.

How to Apply Creative Makeup with Photoshop 9


Step 10

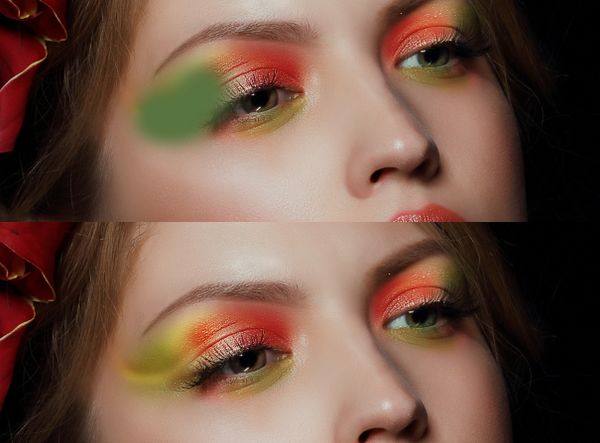
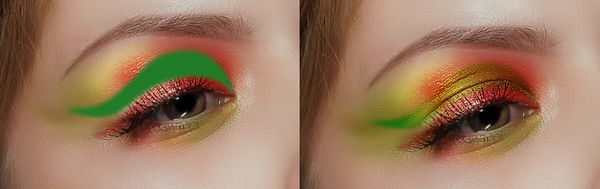
Make a new layer and use the Pen Tool (P) to create a shape on the eyelid of the left eye. Hit Ctrl+Enter to turn it into a selection and fill it with the color #7e2224. Change this layer mode to Overlay 50%:

How to Apply Creative Makeup with Photoshop 10


Step 11

Make another shape with the color #227e25 and set the mode to Overlay 100%:
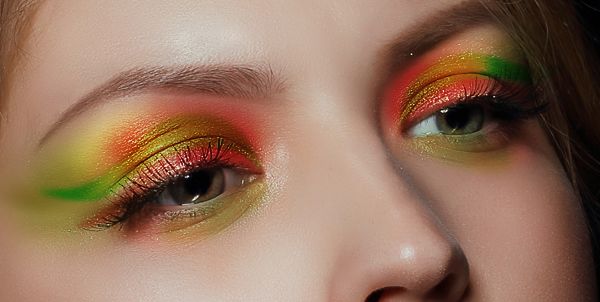
How to Apply Creative Makeup with Photoshop 11


Step 12

Duplicate the layers in from step 10 and 11 and move them to the right eye. Use Ctrl+T to transform their shape to fit the eye perspective.

How to Apply Creative Makeup with Photoshop 12


Step 13

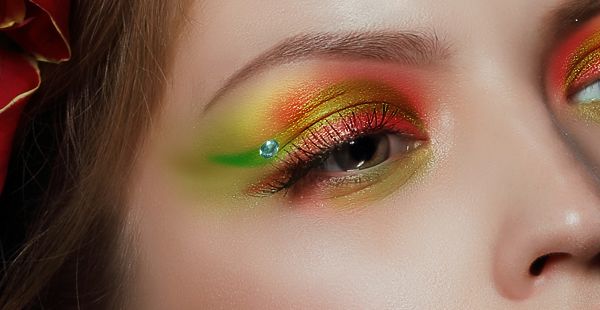
Isolate a gem from the necklace image and add it to the left eyelid.

How to Apply Creative Makeup with Photoshop 13


Step 14

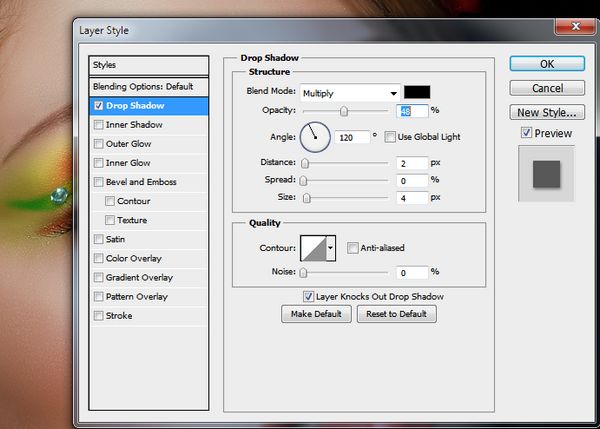
Double click this layer, choose Drop Shadow:

How to Apply Creative Makeup with Photoshop 14


Step 15

Duplicate this layer many times and arrange the gems along the colorful shapes of the eyes but you don’t need to follow mine exactly (feel free to do it in the way you want!).
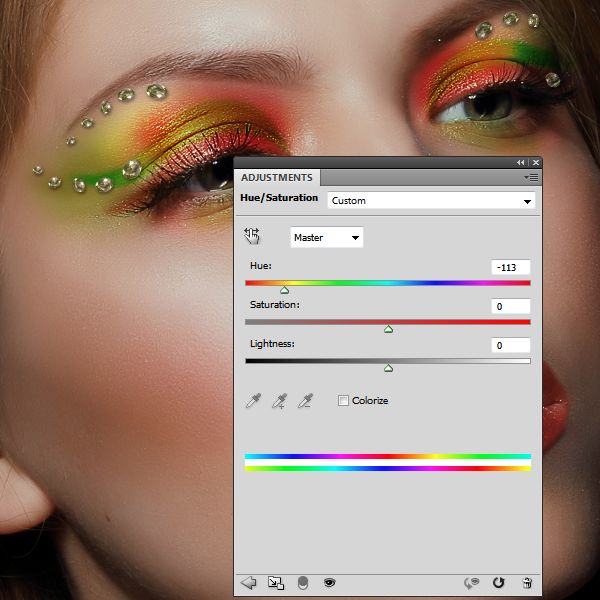
How to Apply Creative Makeup with Photoshop 15


Step 16

Select all the gem layers and press Ctrl+G to group them. Change this group’s mode to Normal 100%. Use a Hue/Saturation adjustment layer at the top of the group to match the gem color with the face:
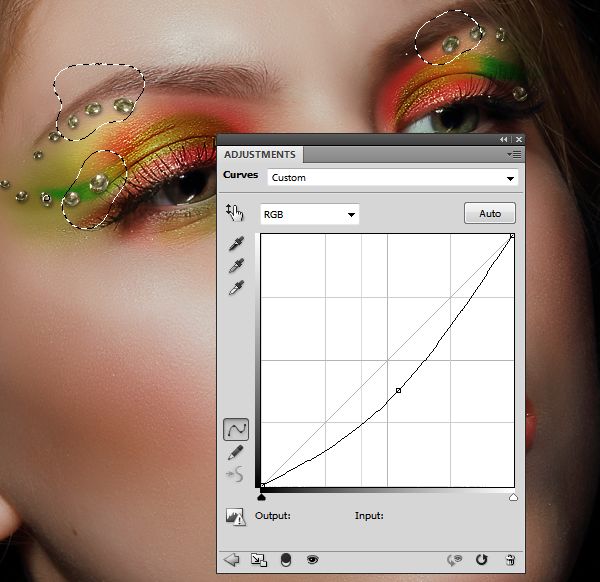
How to Apply Creative Makeup with Photoshop 16


Step 17

Make a Curves adjustment layer to darken the gems. On this layer mask, use a soft black brush to paint on the gems shown in the screenshot below as they’re in the bright area of the face:

How to Apply Creative Makeup with Photoshop 17


And We’re Done!

I hope that you enjoyed this tutorial.
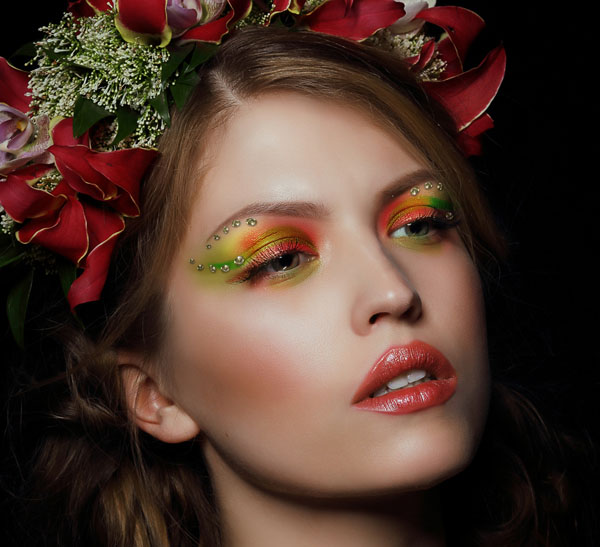
How to Apply Creative Makeup with Photoshop

Comments

Popular posts from this blog

Use x-ray techniques in Photoshop to show naked skin through clothing

    Do those new naked body scanners have you freaked out at the airports? As far as the TSA is concerned, those x-ray machines are here to stay, but you might as well take comfort in knowing that airport security guards aren't the only ones looking at your private parts. Practically anyone with a computer can manage to see through your clothes, and it's all thanks to a little program called Photoshop. Thanks, Adobe. With a few tweaks using the tools in Photoshop, you can see those boobs in no time, male or female. The video is in German, but it's not hard to figure our what's going on, especially if you're familiar with Photoshop. First, create a few duplicate layers, then get a handle on some of these tools to make the naked body through the clothes: * Auswahl erstellen (Create Selection) * Tonwertspreizung (Input Levels) * Belichtung (Exposure) You can also do this see-through clothing effect in free design programs, such as  GIMP .

Photoshop Shapes – Add, Subtract, Intersect and Exclude

’ve gone ahead and created a new Photoshop document, with white as my background color, and I’ve used the Ellipse Tool to draw a single circular shape (I held down my Alt (Win) / Option (Mac) key as I was dragging out the shape to force it into a perfect circle): A circular shape drawn with the Ellipse Tool. If we look in my Layers panel , we see that my document currently contains two layers – the white-filled Background layer on the bottom and the Shape layer (Shape 1) for my shape directly above it: The Layers panel showing the Shape layer sitting above the Background layer. With the Ellipse Tool still selected, I’ll draw a second similar shape partly overlapping the original: Adding a second shape to the document. By default, Photoshop assumes that each time we draw a new shape, we want to draw a separate, independent shape, and it places the new shape on its own Shape layer. If we look again in my Layers panel, we see that I now have a second Shape layer (S...

How To Create Simple Cover Art Design in Photoshop Photoshop Tutorial

                              Art Design in Photoshop   Photoshop Tutorial