Photoshop Tutorials for Amazingly Cool Photo Editing

Basic, Easy Photoshop Tutorials

These quick and easy Photoshop tutorials are best for beginners, but there are great tips for photo editing veterans as well. A number of different topics are covered, from basic resizing and retouching techniques to adding simple photo effects and optimizing colors and contrast.

1. Adjusting Image Resolution and Print Quality

Adjusting Image Resolution and Print Quality

2. Cropping Photos To Specific Frame Sizes In Photoshop

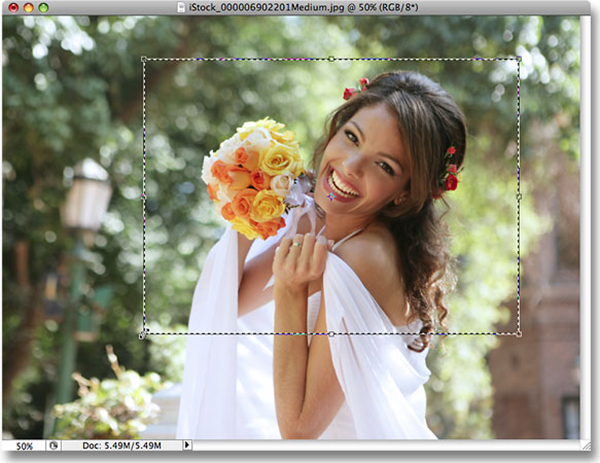
Cropping Photos To Specific Frame Sizes In Photoshop

3. Cropping Photos Without Changing the Aspect Ratio

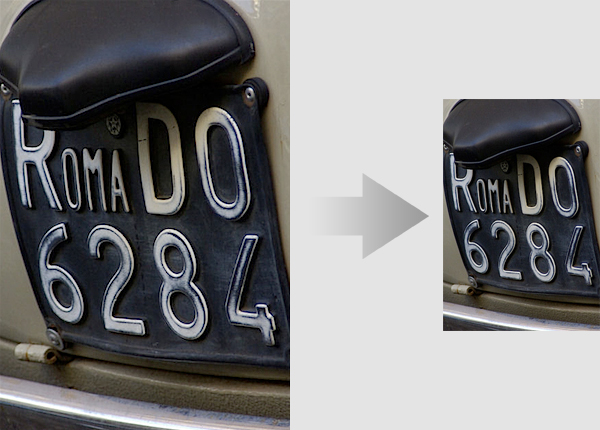
Cropping Photos Without Changing the Aspect Ratio

4. Difference Between Image Resizing and Resampling in Photoshop

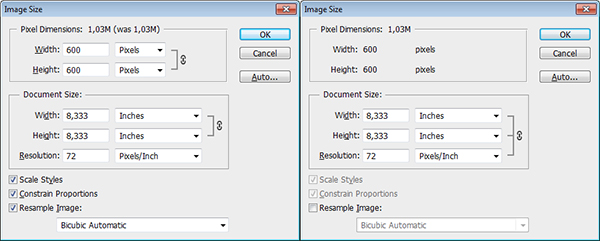
Difference Between Image Resizing and Resampling in Photoshop

5. How to Batch Resize in Photoshop

How to Batch Resize in Photoshop

6. How To Straighten Crooked Photos

How To Straighten Crooked Photos

7. Quick Fix for Cluttered Backgrounds

Quick Fix for Cluttered Backgrounds

8. How to Remove a Background in Photoshop

How to Remove a Background in Photoshop

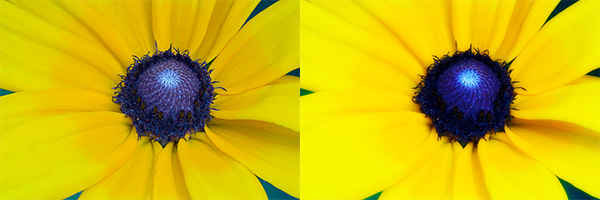
9. Five Easy Steps to Produce Intense Colors in Your Photographs

Five Easy Steps to Produce Intense Colors in Your Photographs

10. Converting a Color Photo into Black and White

Converting a Color Photo into Black and White

11. Black and White is the Key to Better Color

Black and White is the Key to Better Color

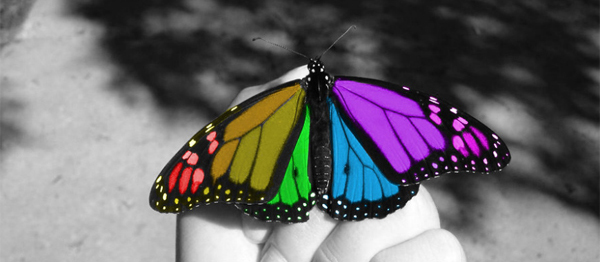
12. Black and White with a Splash of Color

Black and White with a Splash of Color

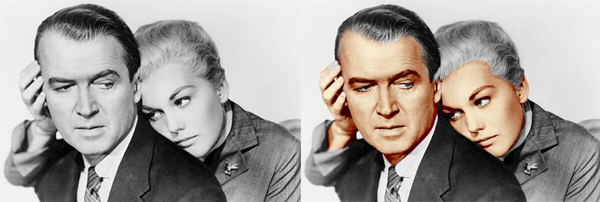
13. Hand Coloring a Black and White Photo

Hand Coloring a Black and White Photo

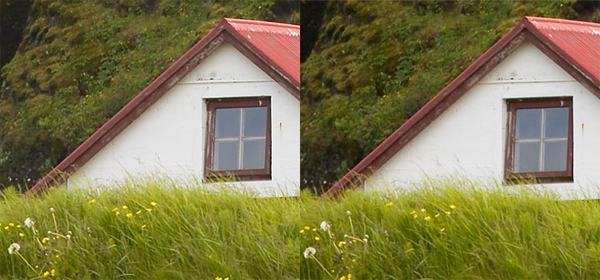
14. Understanding Local Contrast Enhancement

Understanding Local Contrast Enhancement

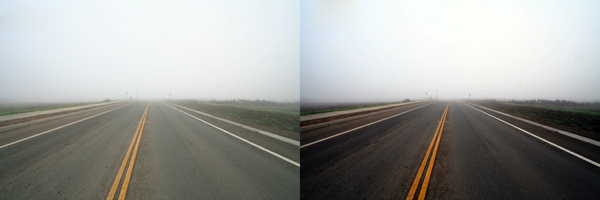
15. A Quick and Effective Way to Enhance Contrast in Photoshop

A Quick and Effective Way to Enhance Contrast in Photoshop

16. Working with Filters in Photoshop Elements

Working with Filters in Photoshop Elements

17. Gaussian Blur Overlays

Gaussian Blur Overlays

18. Antiquing Digital Images

Antiquing Digital Images

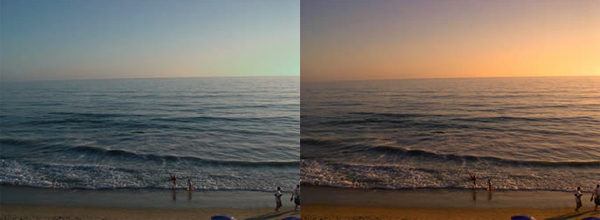
19. Creating a Sunset Effect

Creating a Sunset Effect

20. Dreamy Photo Effects (No longer available)
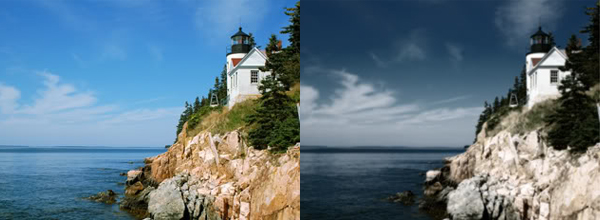
Dreamy Photo Effects

21. Basic Techniques to Make Your Photo Impressive (No longer available)
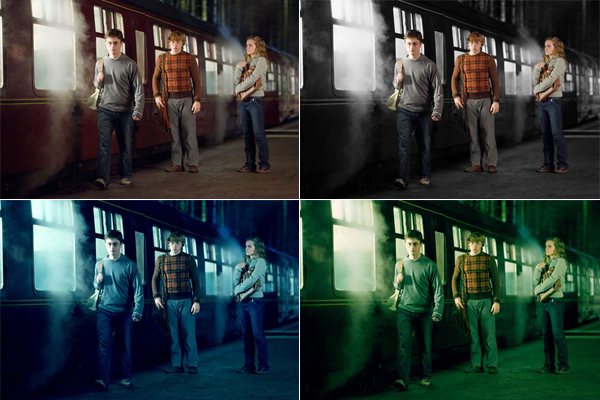
Basic Techniques to Make Your Photo Impressive

22. 4 Easy Photoshop Techniques to Make Your Pictures Pop

4 Easy Photoshop Techniques to Make Your Pictures Pop

Intermediate Photoshop Tutorials

The following free photo editing tutorials are a little more advanced and require some basic familiarity with Photoshop, but are still relatively simple and super easy to understand. Many of these intermediate level techniques will help you create bold and cool photo effects, while others help explain some of the more powerful tools available in Photoshop.

23. Color Corrections by the Numbers

Color Corrections by the Numbers

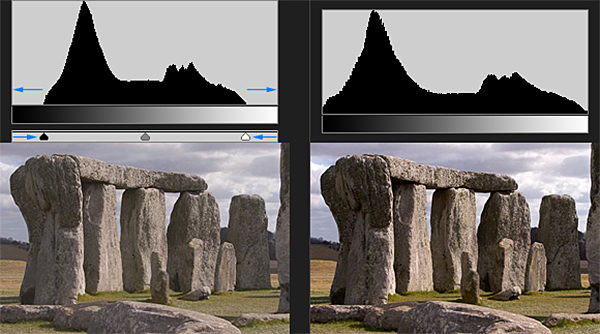
24. Adjusting Levels in Photoshop

Adjusting Levels in Photoshop

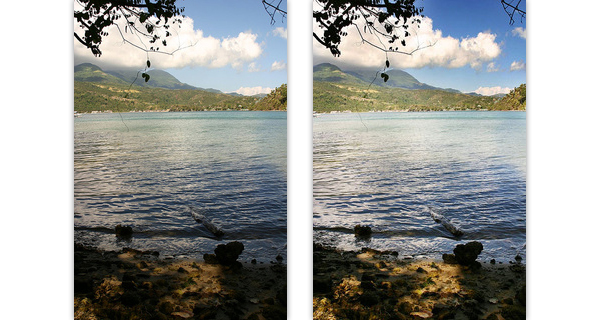
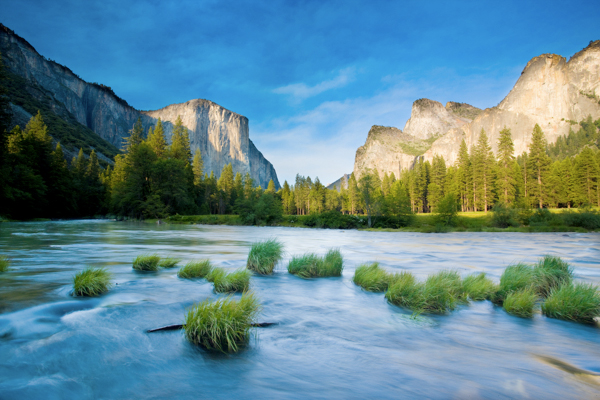
25. Improve Your Landscape Photographs with Photoshop

Improve Your Landscape Photographs with Photoshop

26. How To Make Digital Photos Look Like Lomo Photography

How To Make Digital Photos Look Like Lomo Photography

27. Using Vignetting to Add Interest (No longer available)
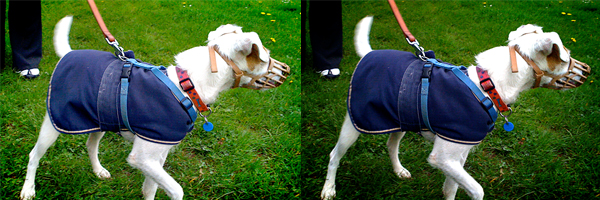
Using Vignetting to Add Interest

28. Adding a Diffuse Glow to Your Images

Adding a Diffuse Glow to Your Images

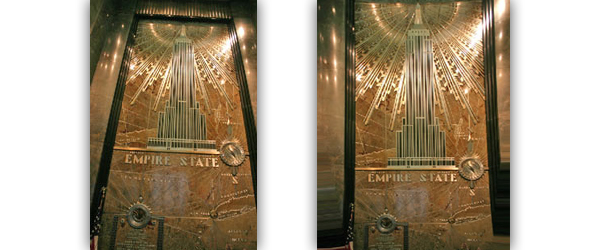
29. How to Use the Lens Correction Filter

How to Use the Lens Correction Filter

30. How to Stitch Photos in Photoshop

How to Stitch Photos in Photoshop

31. Realistic Spotlight Photo Effects

Realistic Spotlight Photo Effects

32. Using Brushes to Enhance Portraits

Using Brushes to Enhance Portraits

33. Bringing Out Shadow And Highlighting Detail

Bringing Out Shadow And Highlighting Detail

34. Using the Content-Aware Scale Tool

Using the Content-Aware Scale Tool

35. Non-Destructive Dodge and Burn

Non-Destructive Dodge and Burn

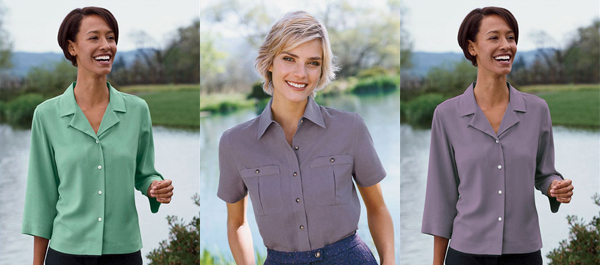
36. Matching Colors Of Objects Between Photos

Matching Colors Of Objects Between Photos

Advanced Photoshop Tutorials

These high-level tutorials give you a look at some of the more complex tools available in Photoshop, while also providing step-by-step instructions on how to create amazing photo effects. These lessons require an advanced understanding of Adobe Photoshop and some may also require some good knowledge of photography.

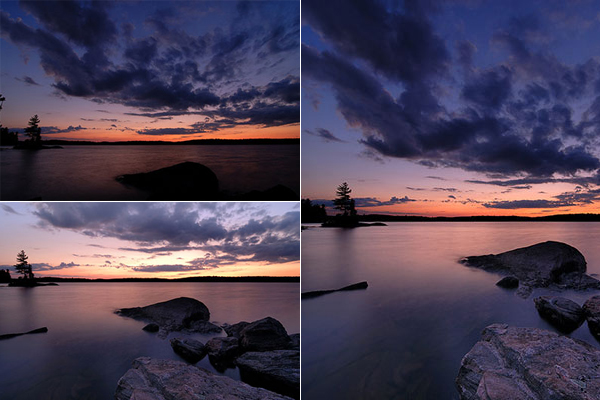
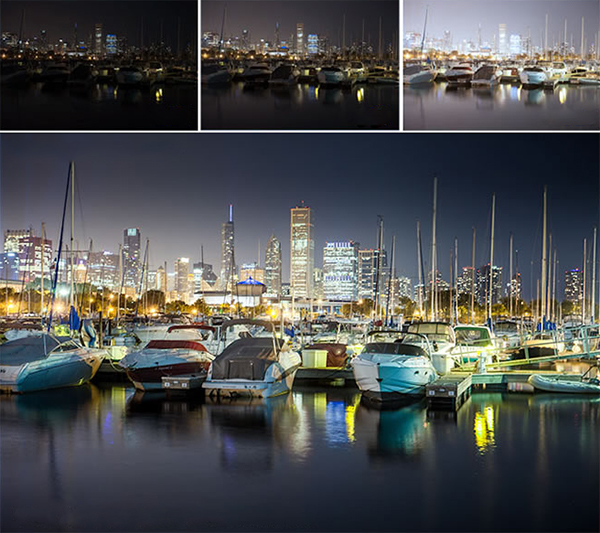
37. Using Layers to Create HDR-Style Images

Using Layers to Create HDR-Style Images

38. Advanced HDR Merging

Advanced HDR Merging

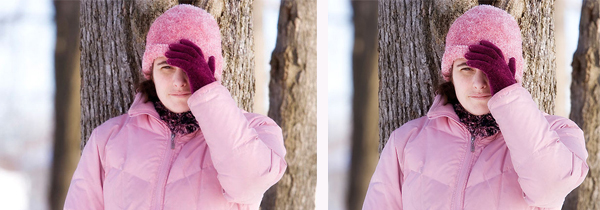
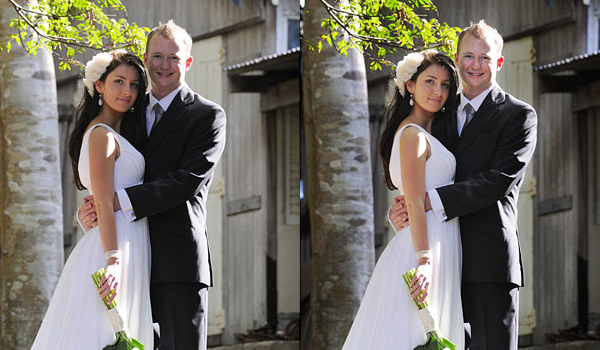
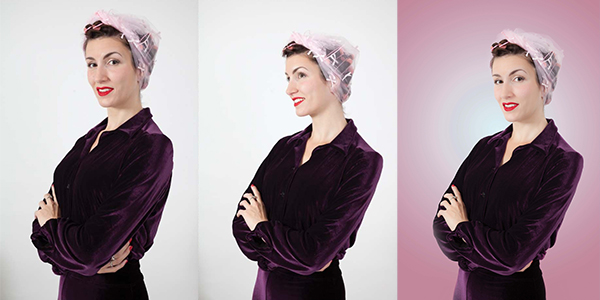
39. Combine the Best Parts of Two Studio Portrait Photos into One Shot

Combine the Best Parts of Two Studio Portrait Photos into One Shot

40. Using Masks To Improve Landscape Images
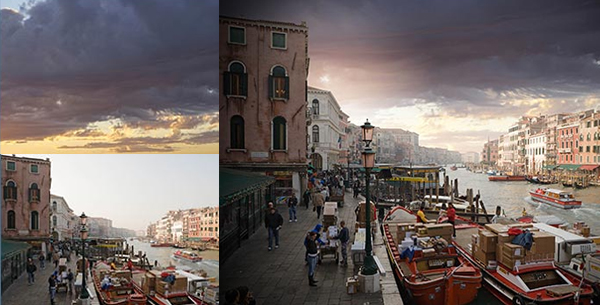
Using Masks To Improve Landscape Images

41. Advanced Compositing Techniques

Advanced Compositing Techniques

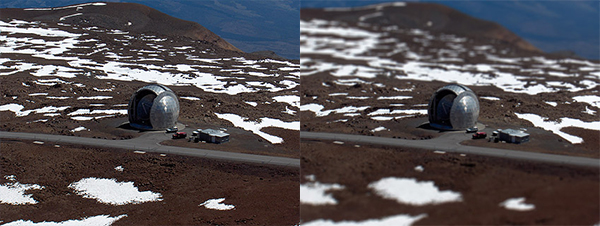
42. Creating a Tilt Shift Effect With the Lens Blur Tool

Creating a Tilt Shift Effect With the Lens Blur Tool

43. Advanced Photoshop Sharpening Techniques
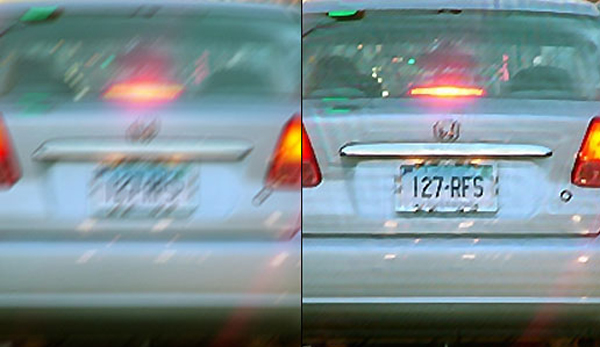
Advanced Photoshop Sharpening Techniques
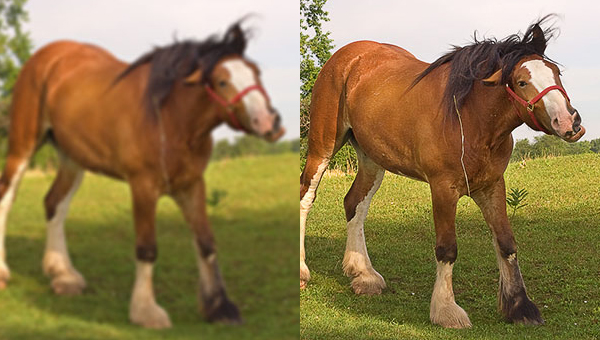
44. Sharpening Using an Unsharp Mask

Sharpening Using an Unsharp Mask

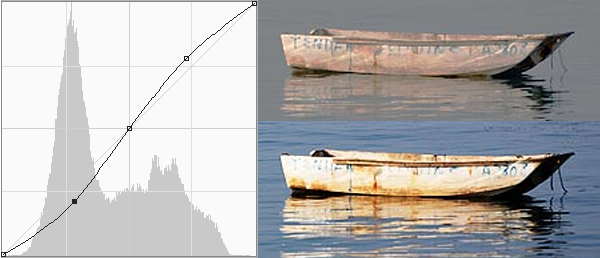
45. Using the Curves Tool

Using the Curves Tool

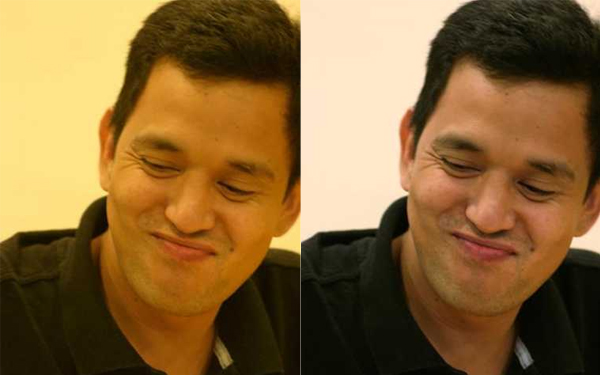
46. Advanced Color Correction with Levels

Advanced Color Correction with Levels

47. Advanced Shadow Techniques

Advanced Shadow Techniques
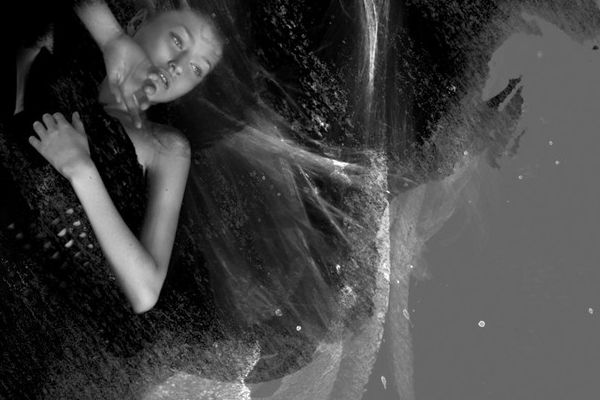
48. Tracing Photos for Beautiful Line Art

Tracing Photos for Beautiful Line Art

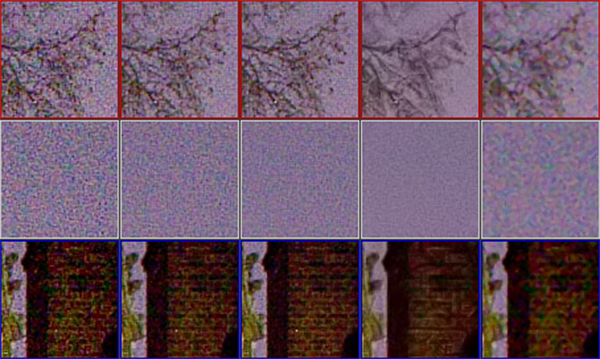
49. Noise Reduction by Image Averaging

Noise Reduction by Image Averaging

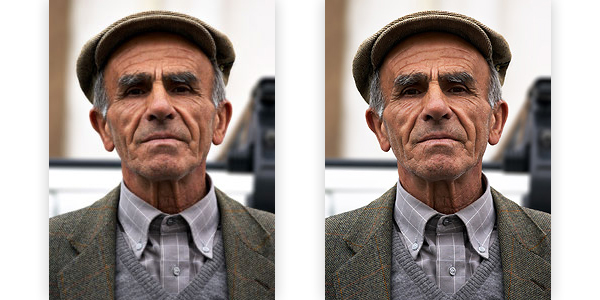
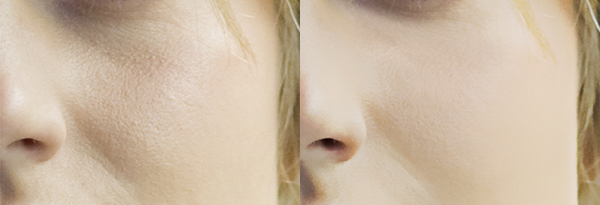
50. Advanced Skin Softening

Advanced Skin Softening


Comments

Post a Comment

Popular posts from this blog

Use x-ray techniques in Photoshop to show naked skin through clothing
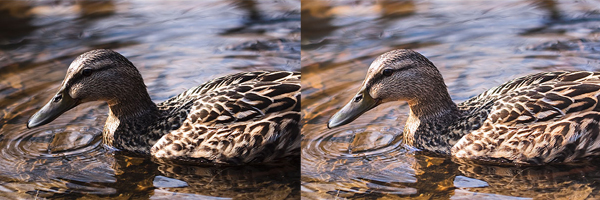
    Do those new naked body scanners have you freaked out at the airports? As far as the TSA is concerned, those x-ray machines are here to stay, but you might as well take comfort in knowing that airport security guards aren't the only ones looking at your private parts. Practically anyone with a computer can manage to see through your clothes, and it's all thanks to a little program called Photoshop. Thanks, Adobe. With a few tweaks using the tools in Photoshop, you can see those boobs in no time, male or female. The video is in German, but it's not hard to figure our what's going on, especially if you're familiar with Photoshop. First, create a few duplicate layers, then get a handle on some of these tools to make the naked body through the clothes: * Auswahl erstellen (Create Selection) * Tonwertspreizung (Input Levels) * Belichtung (Exposure) You can also do this see-through clothing effect in free design programs, such as  GIMP .

40 latest creative photoshop text effects

Create a Glowing Liquid Text with Water Splash Effect in Photoshop In this tutorial, we will show you the steps we took to create a Glowing Liquid Text Effect in Photoshop. We will be practising the use of liquify filter, layer blending options, as well as some image adjustments. Create a Realistic Wooden 3D Text Image In this tutorial we are going to take a few 2D textures as well as a few Photoshop techniques to create a realistic 3D text image. Easy X-Ray Typography In Photoshop In this tutorial we will show you how to create a simple x-ray effect of a letter, in this case the Abduzeedo logo A. The whole process is quite simple but it will require a couple of hours to pull it off. Easy Furry Text In Photoshop In this tutorial we will show you how to create a really cool and super simple furry text in Photoshop CS6. We will use basic filters and tools but it’s nice to say that we took advantage of the a new feature in Photoshop CS6 that is to apply layer...
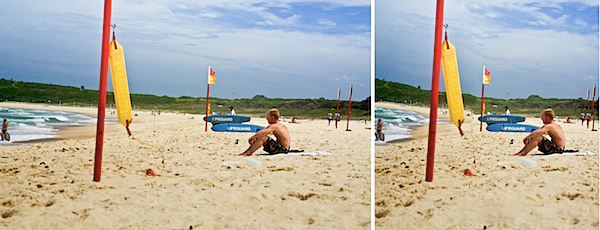
Royal 3D Text Effect in Photoshop CS6

  Just make sure to check the 3D settings under Edit -> Preferences -> Performance, and Edit -> Preferences -> 3D. Default values should work fine, but if anything seems to be not working properly you can always check those settings. Step 1 - Create a new 1600 x 1200 px document and Fill the Background with black. Create the text in white using the font Dunkin Sans. The font size is 400 pt and the text is better written in All Caps (if you’re not using only numbers). Step 2 - With the text layer selected, go to 3D -> New Extrusion from Selected Layer. This will instantly convert the text layer into a 3D layer. All the 3D scene elements can be found in the 3D panel (Window -> 3D). Click the main mesh name to edit its settings. - The 3D Mesh settings and attributes can be accessed and modified through the Properties panel (Window -> Properties). If you scroll down the Properties panel you’ll find the Character Panel button, which ...