Image stacking is the only way to reduce (random) noise in an image while boosting the details. This is because the technique aims to improve the signal to noise ratio of an image.
While image stacking can be used with any image, it is essential to astrophotography, as it lies at the core of the editing workflow for any kind of astrophotography, whether you are imaging a star field image from a fixed tripod or shooting at the Moon handheld.
In this article, you will learn to stack images directly in Adobe Photoshop.
How To Stack Pictures For Astrophotography In Photoshop – Step By Step
Let me be clear here: if you are serious about photographing the night sky, there are much better alternative software to Photoshop (see later).
On the other hand, if you are an occasional shooter, you have only a few images to stack, or you already know Photoshop well, there is nothing wrong with using it.
If you want to have a go with Photoshop, here are some of the shortcomings you may face when stacking astrophotography images:
- You cannot pre-process your light frames with dark, bias and flat calibration frames.
- Auto-align layers will rarely work with our kind of images, and you have to align the images manually.
- With starry landscapes, you have to manually mask the foreground and the sky to align those areas independently.
Here is a step-by-step workflow for a starry landscape. We chose this test case scenario because it includes all the steps you would perform for stacking planetary (Moon for example) and deep-sky images.
For this example, let’s consider a sequence of 10 images taken with my pocketable compact camera Sony RX100 Mk ii of this starry landscape.
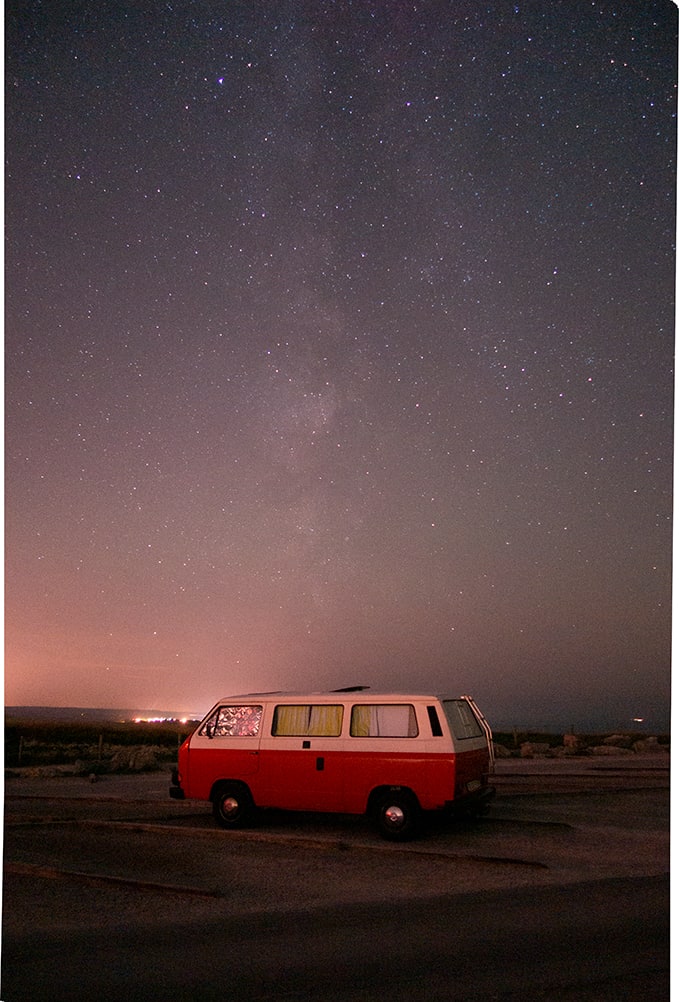
All images were taken at f/1.8, 24mm,15 seconds exposure, and ISO 6400 from a fixed tripod.
Step 1: Load Your Images Into Photoshop As Layers
When you shoot for astrophotography, you should have your camera set to save images as RAW. If you load the RAW directly in Adobe Camera Raw (ACR), you will not be able to open them into photoshop as layers.
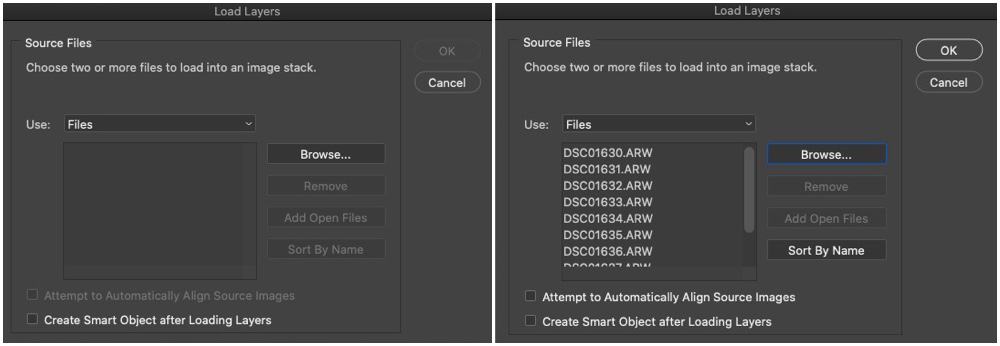
Instead, open Photoshop and go to File -> Scripts -> Load Files into Stack …
The following dialog window will open: click on Browse to select all the images and click on OK to open the images as layers.
Step 2: Load The Images For The Foreground
If you have photographed the sky while tracking for the stars, this is the time to load in Photoshop the images you took for the foreground. Do this by repeating Step 1.
On the other hand, if like me, you have photographed the landscape from a fixed tripod using the 500-rule (or similar), then you need to duplicate all layers. This way, we can have a set of images for the background and a set of images for the sky.
Do that by selecting all layers and by dragging them on the icon next to the bin, at the bottom of the Layers panel.
You can then regroup these layers in a group called “Sky” by dragging the new layers on the folder icon at the bottom of the Layers panel.
Step 3: Stack The Images For The Foreground
It is now time to stack the images for the foreground.
- Select all the layers and convert them to Smart Object with Layer -> Smart Objects ->Convert To Smart Object.
- Average the images in the stack by choosing Layer -> Smart Objects -> Stack Mode -> Mean
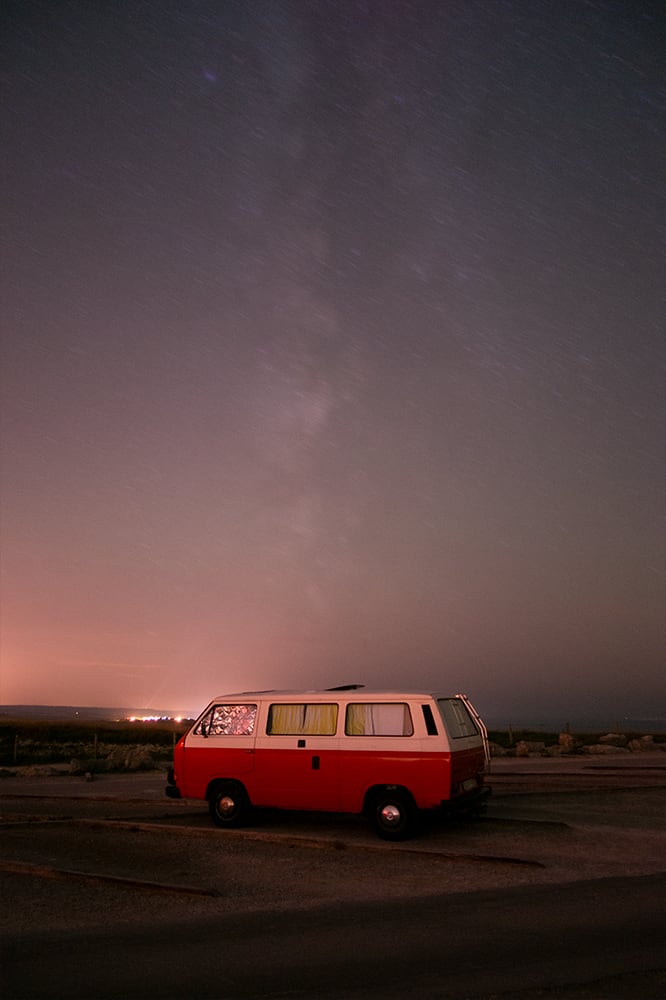
This process produces a much cleaner image, but the details in the sky will be smoothed out by the averaging process as stars moved with respect to the foreground during the capture of the image sequence.
Step 4: Align The Images For The Sky (Auto-Alignment Or Manual Alignment)
In this step, we will align the images for the sky to regain the missing details in the previous stack.
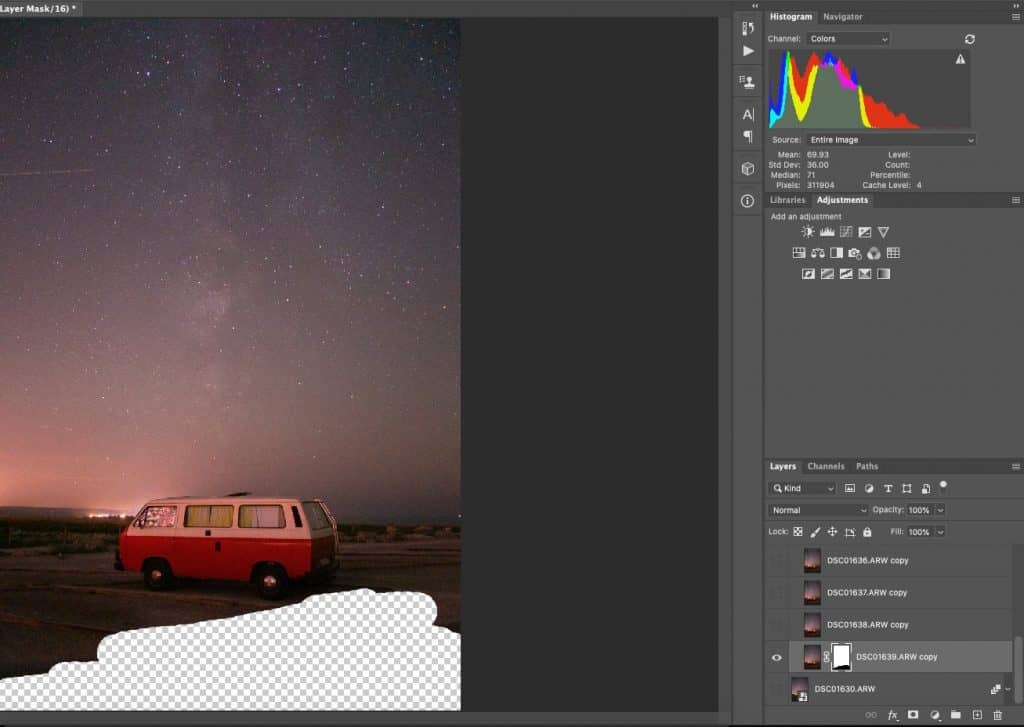
The first thing to do is to mask the foreground in all the layers in the group named sky. For this, you can use your favorite method: I use a soft brush.
- Make sure the only visible layer in the project is the first one in the group named sky: this will make it easier to create the Mask.
- Add a Layer Mask to the layer and select a soft brush. Using the color black, star painting out the foreground, and a bit of sky next to it.

- Alt+click on the mask thumbnail to make it visible on screen: check the masked foreground is solid black. Next, select the Mask (ctrl+a in Windows or cmd+a in Mac OS X) and copy it (ctrl+c in Windows or cmd+c in Mac OS X). While pressing the Alt key, drag the mask thumbnail over each sky layer to mask all layers. Add the Mask also to the group, as you will lose the ones for the layers when you create a Smart object later on.
- We will give a try to auto align layers: make all sky layers visible, select them all and go to Layer->Auto-Align Layers, then use Auto align mode. Hopefully, you will not get any error messages saying the layers do not overlap enough.
To test the alignment, repeat Step 3 on the layers for the sky, but use blending mode Median instead of Mean, as it is more robust against non-perfect alignments.
In my case, the alignment was rather imprecise near the horizon, and the stacked image has stars smoothed out in that area. If you have the same problem, undo the Median blend mode and the Smart Object creation: we will proceed with a manual alignment.
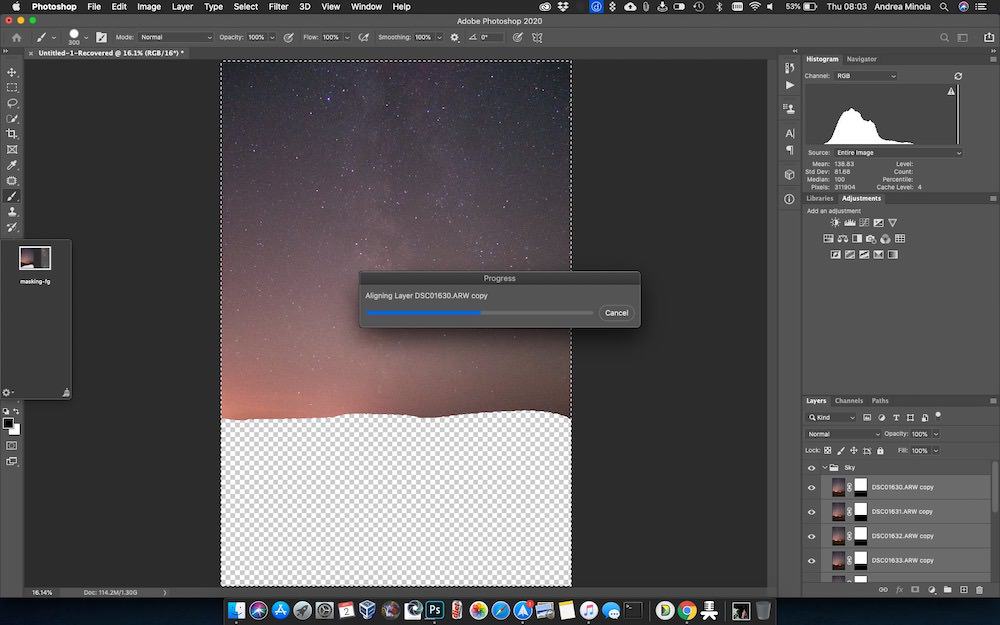
- If the auto-alignment fails, it is time to turn to the rather lengthy and tedious manual alignment. The idea is the following:
All layers will align to the first layer for the sky: this is your layer of reference. From now on, you will work with two frames at a time. Toggle off the visibility of all sky layers except for the reference one.
Now, make visible the first layer and choose blending mode Difference. The image will change to black and white: what is black is aligned to the reference layer. What is white is not aligned.
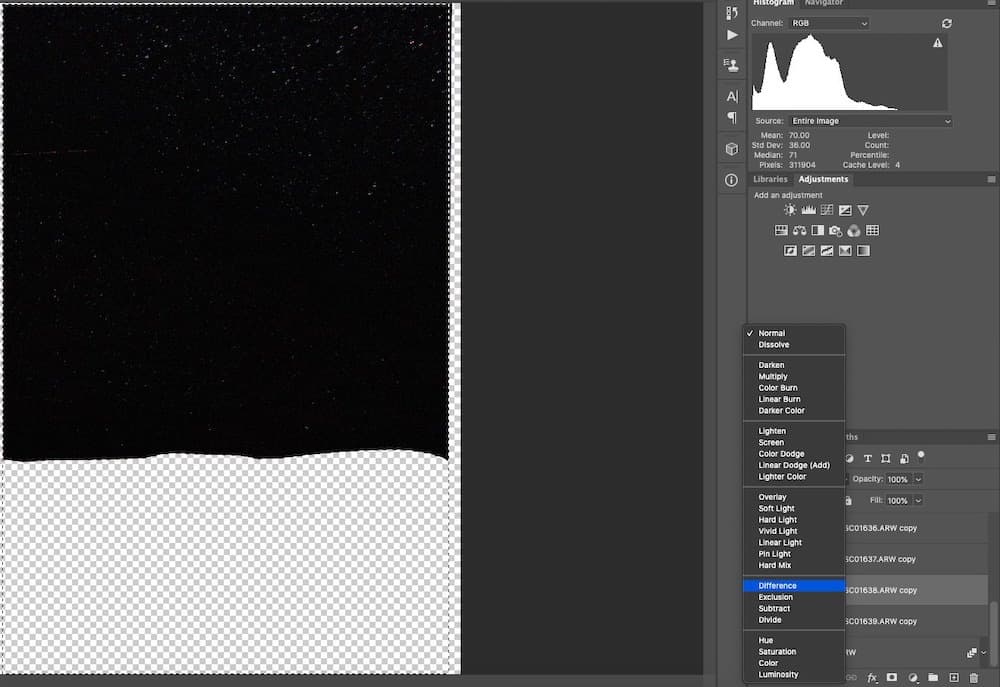
- Use the Transform tool (ctrl+t in Windows or cmd+t in Mac OS X) to begin deforming the layer to improve the star alignment. You can switch back and forth between Transform and Warp modes to have the best possible global alignment.
- As a general rule, concentrate more on aligning the center of the image: you can always trim the edges later on, if you cannot align them properly.
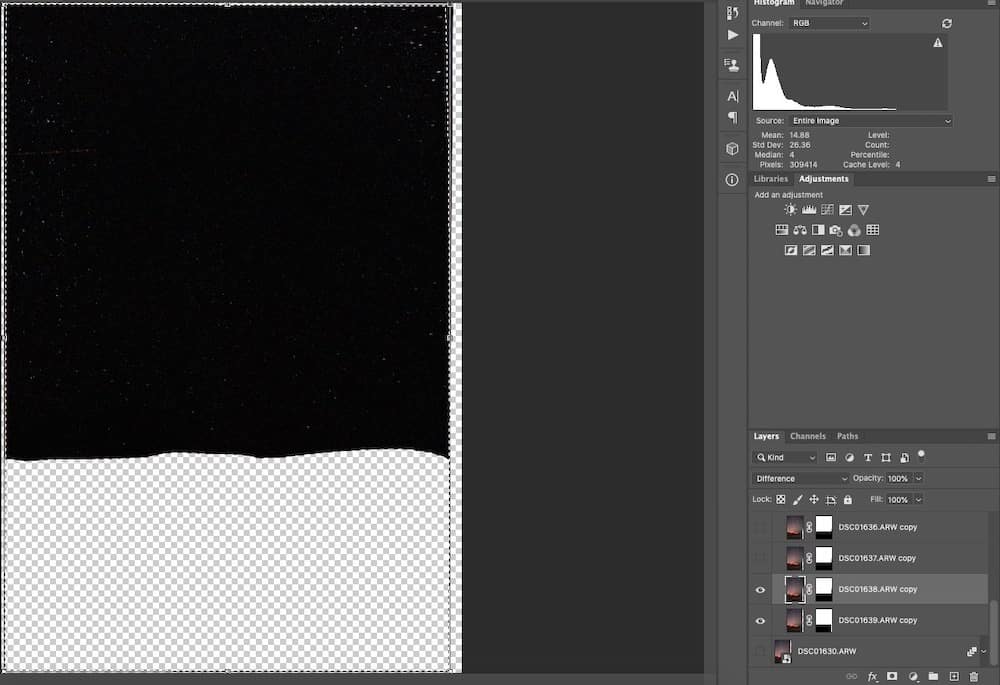
- When you are satisfied with the alignment, confirm the transformation, set the blending mode for the now aligned layer back to Normal, and toggle off its visibility.
- Repeat this process for all the layers.
Step 5: Stack The Images For The Sky And Blend With Foreground
Finally, it is time to stack the layers for the sky and blend it with the stack we created for the foreground.
- Make sure you have the layer mask applied to the group (if not add it) and toggle on the visibility for all sky layers;
- Create a Smart Object as in Step 3 and use the Blend Mode Median to create the stacked image.
- If the alignment was ok, you should have many stars and details in the stacked image. If not, undo the blend mode median and the smart object creation and refine the layers alignment.
- Once happy with your sky, toggle on the visibility on the foreground layer and tweak the Mask so that the two layers blend seamlessly.
Step 6: Final Tweaks
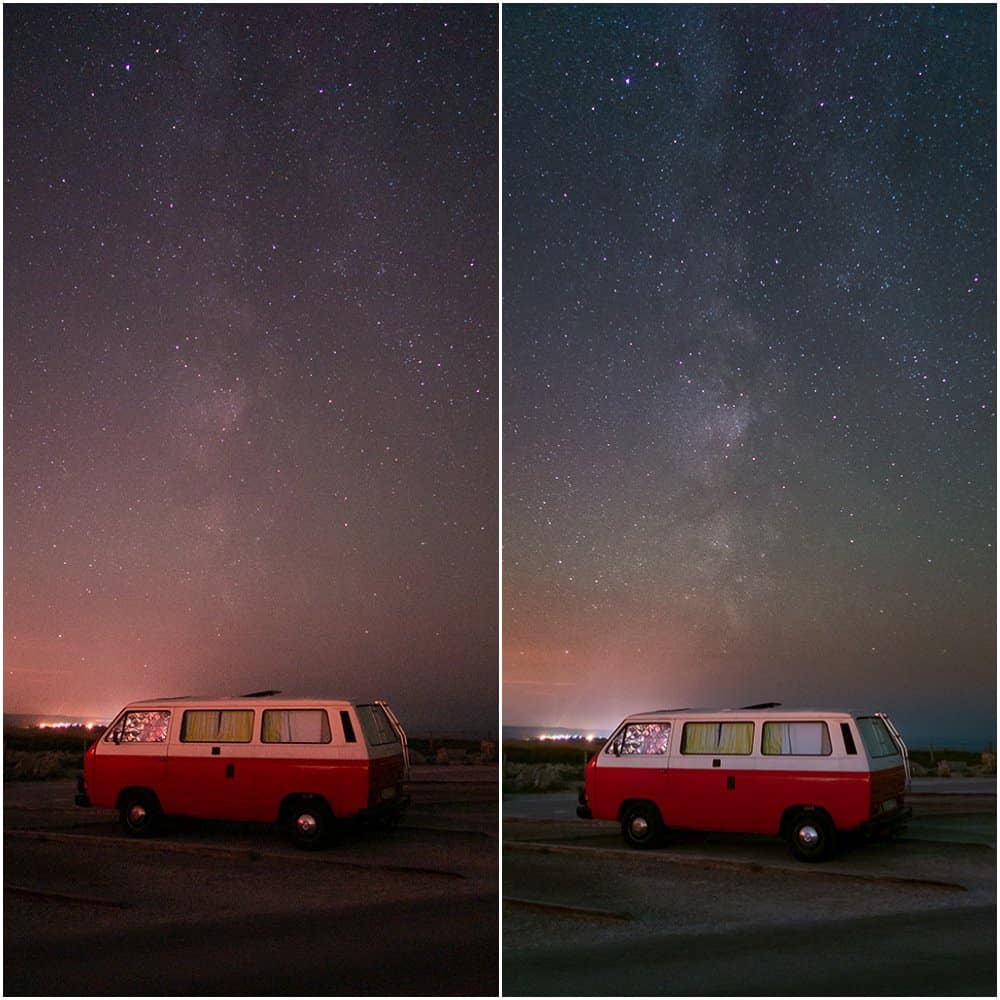
When happy with the result, you can now create a snapshot (Alt+Ctrl+E on Windows or cmd+alt+E with Mac OS X), trim the edges of the image and edit it as you please to produce the final image.
Comments
Post a Comment