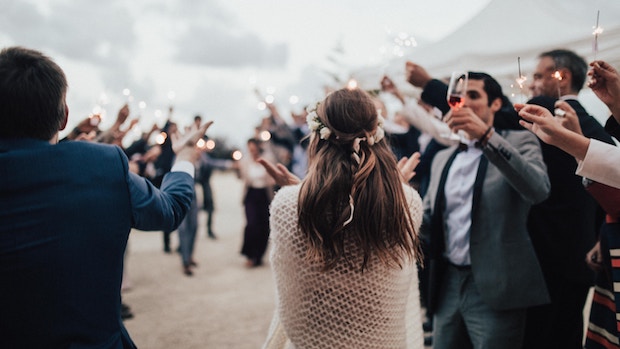
Are you looking to learn to master wedding portrait retouching in Photoshop? It’s one of the most important things you can do as a professional photographer.
A little retouching can be it all it takes to transform an already stunning wedding album into an absolute masterpiece. The trick is to make sure that you don’t go over the top with your retouching efforts. Removing every wrinkle and stray hair could leave your subject looking fake.
Here, we’re going to look at some simple ways you can retouch your wedding photography with Photoshop:
- Step 1. Highlight the eyes
- Step 2. Soften the skin
- Step 3. Remove any hot spots
- Step 4. Sharpen where necessary
- Step 5. Burn and dodge the details
If you don’t have it yet, you can get Photoshop here from Adobe’s site.
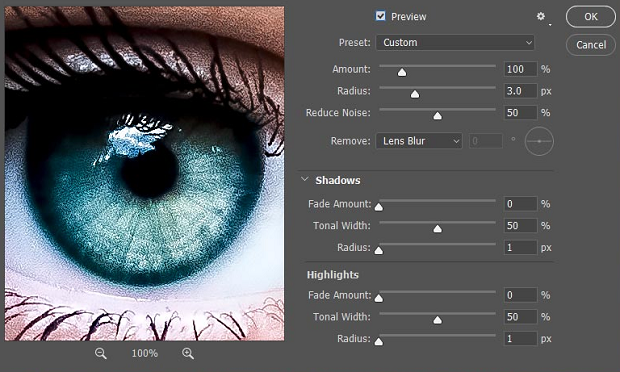
Step 1: Highlight the Eyes
Eyes with impact can give incredible depth to your wedding photography. A common habit in wedding portrait retouching is to enhance the eyes with a little extra color and contrast. You can do this with the Radial filter. Simply create an ellipse over the iris and use a brush to erase parts as necessary. From there, you can increase the saturation, clarity, and exposure until it looks perfect.
Remember to darken the edges of the iris before you’re finished working. You can do this by holding down Ctrl/Cmd & Alt and moving the pin slightly to make a copy, then lower the exposure until the iris is darker. Then you can erase just the center of the circle so that the rest of the eye has depth.
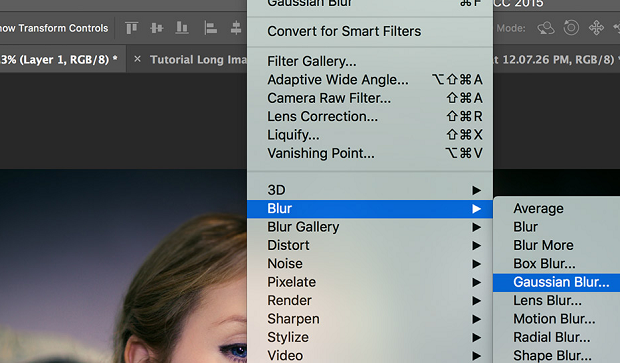
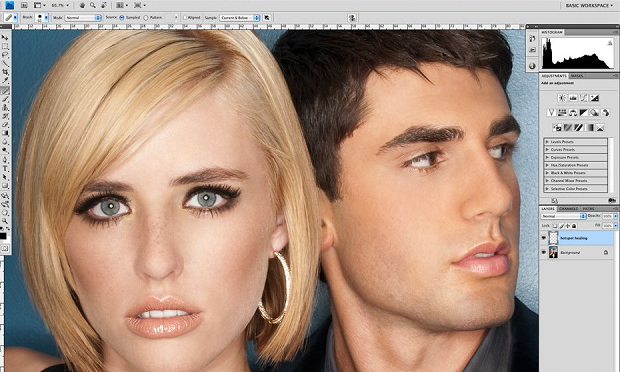
Step 2: Soften the Skin
Ask any bride, and they’ll tell you that they want their skin to look incredible in their wedding portraits. You can retouch those fine lines and blemishes on your pictures using Photoshop’s spot healing brush, or the clone stamp tool. Just remember not to go overboard.
Duplicate your layer, or merge a new layer, and then invert the layer with Ctrl/Cmd & I. You can visit the layers panel after this and shift down the opacity of the layer while switching to the Linear Light blend mode. Right click on the layer and go to Filter then click on the Gaussian Blur option for a magazine-ready look.
Step 3: Remove any Hot Spots
Your wedding photography clients don’t want any hot-spots in their images. Wedding portrait retouching often involves a significant amount of time spent getting rid of these bright reflected highlights that cause faces to look sweaty, or less than perfect. You can fix these issues with the Patch tool in photoshop.
The Patch tool allows you to draw rough borders around hot spots, then drag them to a clear area. Once the area is removed, you can lower the opacity so that the highlight only shows through a small amount. Then your image is almost ready to add to your gallery!
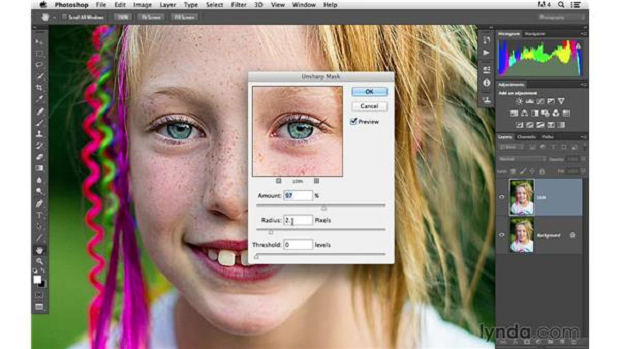
Step 4: Sharpen Where Necessary
While blurring parts of your portraits can help to make your client’s skin look incredible, you don’t want everything to be blurry. Sharpening your picture on the red channel is the perfect way to give depth to your images because this channel doesn’t come with a lot of skin texture. This means that you can pull more attention to the facial details in the image, without reducing the softness of the skin.
Go into the Channels panel and click on the red panel, then go into your Filters and click on Sharpen. After that, you can select Unsharp mask and fiddle with the settings available until you’ve got a result that matches the resolution of your image. Click back on the RGB channel to see the results of your work.
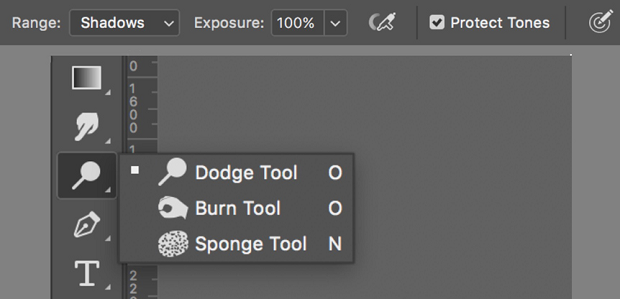
Step 5: Burn and Dodge the Details
Finally, you’ll be ready to burn and dodge your way to a more stunning image. There’s a good trick here that can work for a wide variety of images. Just click on the Create new layer icon while holding the Alt key to bring up your layer options. You can call the layer whatever you like, but this is where you’ll be doing all your dodging and burning.
On the invisible layer, you can paint black or white on the space to either lighten or add contrast to the skin. Remember to set the brush tool opacity to no more than 10%, then simply paint over the parts of the space where you want to add extra depth. For instance, you would dodge the cheekbones and burn the cheeks for definition.
And there you have it: everything you need to know about retouching your wedding portraits in Photoshop.
Comments
Post a Comment