Learn Compositing Basics
What is Compositing?
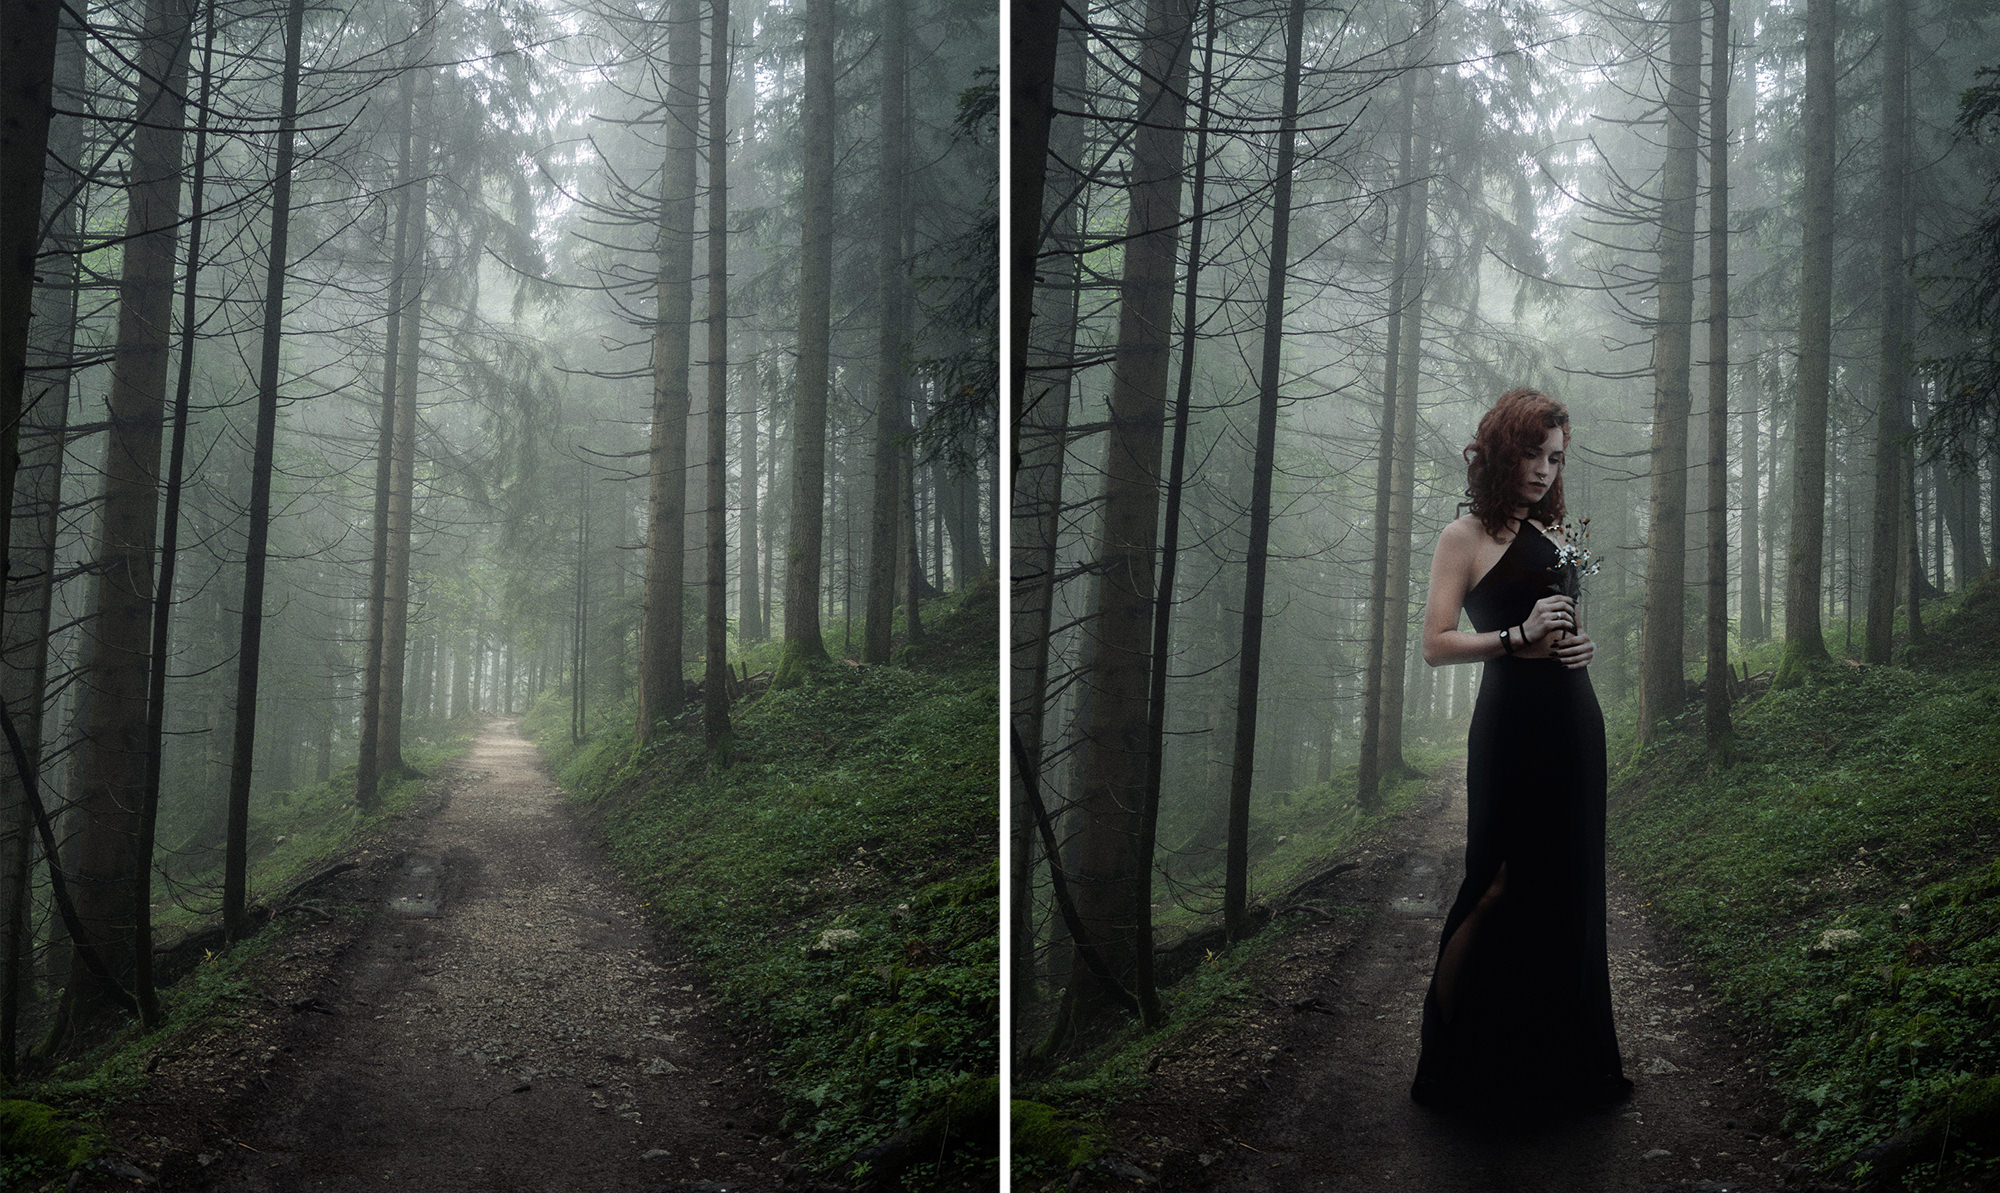
Image compositing has a very broad and easy-to-understand definition. When you make a composite, you merge two or more photos together to create a seamless final image. This usually involves several steps to ensure that everything looks like it was all captured straight out of camera.
Why Combine Photos in Photoshop?
There are countless reasons that learning to blend photos together can help you both creatively and professionally. Whether you’re working with products, landscapes, weddings, or you just want to create stunning visual effects, the ability to merge two or more photos together will often help you solve a number of creative problems and get the most out of your images.
A Beginner’s Guide
If you’ve ever come up with an idea for a great image but weren’t sure how to capture it in camera, this tutorial can help! Compositing images in Photoshop can help turn your imagination into reality. Whether you plan to merge two images or 200, this is a great place to start.
Easily Blend Multiple Images
Compositing is one of the most challenging skills to master. It requires knowledge of countless tools within Photoshop as well as a strong understanding of how to find and capture images that will blend together well. Starting your compositing journey has never been easier with our simple approach to the basics of combining pictures in Photoshop.
From Beginner to Pro
We start with the basics, but this tutorial is designed to help artists at every level. We teach the fundamentals and expand upon it by adding in powerful tools, tips, and techniques that can take your blending to the next level.
Our Secrets to Realistic Composites
Image compositing starts with finding and capturing the right photos. We start this tutorial by helping you develop the eyes of a compositing artist, teaching you how to analyze pictures in a way that will help you determine how well they will fit together. Learn the fundamentals of light, perspective, camera settings, and more!
Match Light
Photos are all about light, which is why being able to identify light quality and direction is so important for creating great composites. Learn the differences between soft light and hard light and how to determine the directionality of light to help make sure your subject fits naturally into an environment.
Match Perspective
In order to make everything appear like it was captured in the same environment from the same camera, you’ll want to make sure that the camera height and angle is similar across each photo. We’ll show you some tricks to help you find the vanishing point and horizon line in each image so that you can quickly and easily line up multiple photos in the same scene.
Match Focal Length & Camera Settings
A wide angle lens will exaggerate space and will stretch things out the closer they are to the camera. A telephoto lens will compress space and will typically result in more natural-looking dimensions. Learn to identify differences in focal length, perspective distortion, and depth of field to make sure all of the photos you’re compositing will fit together beautifully.
Compositing Made Easy
Beautiful Composites
Follow along and learn to match color, luminosity, and perspective to create photorealistic composites.
Step-by-Step Tutorials
Like many things in Photoshop, compositing is a process. We’ve created a simple guide to walk you through each step, from determining which photos you should use, to making cut-outs and selections, and tying it all together by adding additional light and color.
Photo Analysis
We don’t just show you how to merge images together, we show you why certain images will work and why certain images won’t. See several examples that demonstrate what happens when the lighting, perspective, and focal length don’t match while we try to find the right photo for the job.
Compositing Tips & Techniques
Compositing has been a staple of PHLEARN education for a long time. Over the years, we’ve developed tried-and-true methods to making the process of blending images as efficient and effective as possible. Once you have mastered the basics, move on to some our favorites like Photoshop Compositing: Essential Tools & Techniques, How to Change and Remove Backgrounds in Photoshop, and The Beginner’s Guide to Levitation.
Light, Color & Check Layers
We can’t always trust our eyes in Photoshop. That’s why we teach you to use tools that will help help interpret things like color and luminosity. Learn to match light levels and color saturation between any number of images faster and easier than ever before!
Family Portraits to Creative Concepts
Compositing isn’t just for ultra-conceptual, sci-fi, and fantasy images. Being able to realistically blend multiple images together will help you solve problems like fixing someone’s blinking eyes in a group photo or placing a bride and groom in front of a more romantic scene. Once you’ve mastered the ideas and techniques in this tutorial, you’ll be ready to put your compositing skills to work in a way that’s best for you and your images.
Simple Examples for Advanced Results
There’s no secret to high-end composites. We use simple examples, each blending two images in Photoshop, that will have you feeling confident enough to start combining a dozen photos in no time.






Comments
Post a Comment