Step 1
Open Photoshop and create a new document. I am using 2880x1800 pixels. After that fill the background layer with black.
Step 2
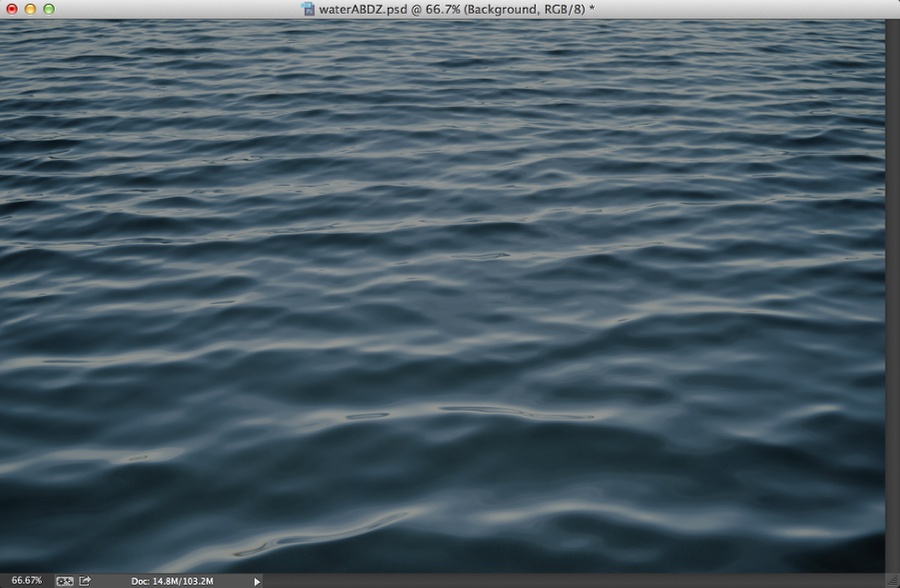
We will need a nice photo of water and some ripples or waves. The one I am using is courtesy of
Shutterstock, titled
An image of a beautiful water background by
Markus Gann. After that change the opacity of this layer to 60%.
Step 3
Go to
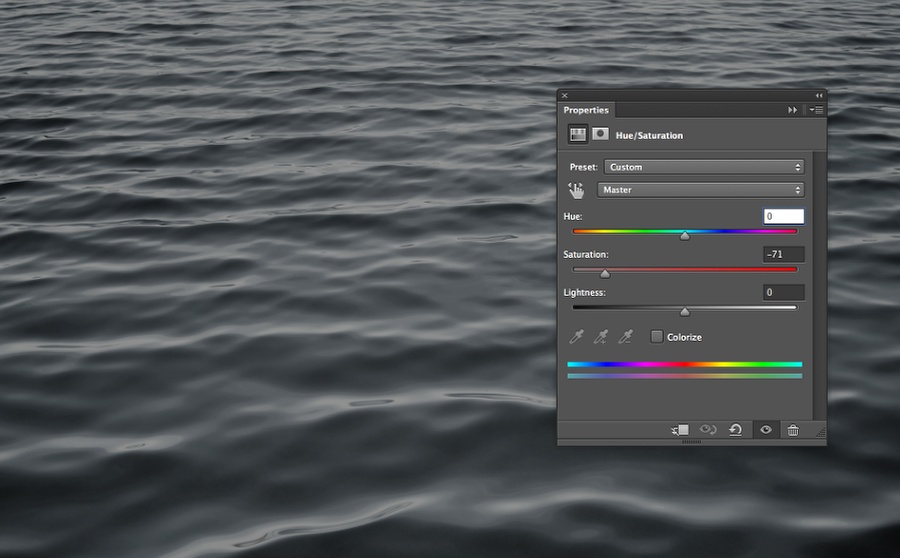
Layer>New Adjustment Layer>Hue and Saturation. Change the Hue to 0, the Saturation to -71 and the Lightness to 0.
Step 4
Go to
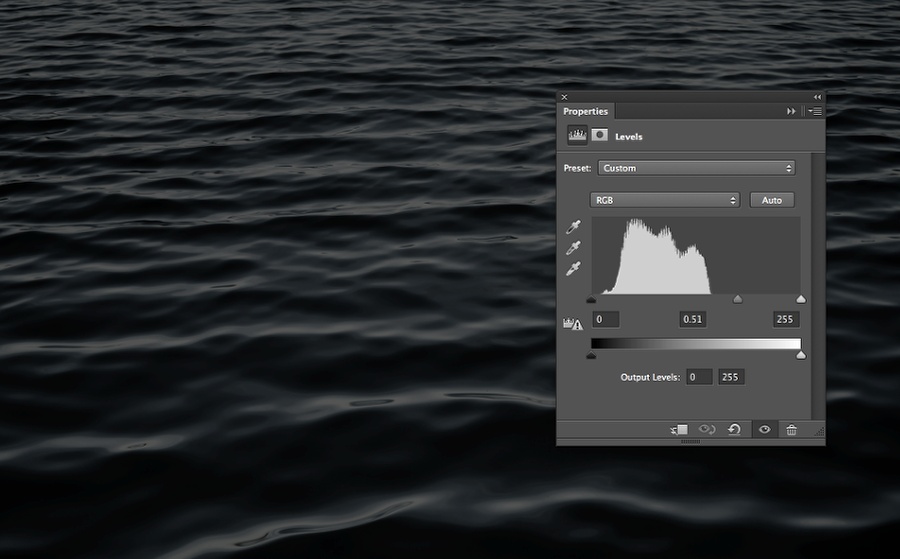
Layer>New Adjustment Layer>Levels. Use 0, 0.5 and 255 for the inputs.
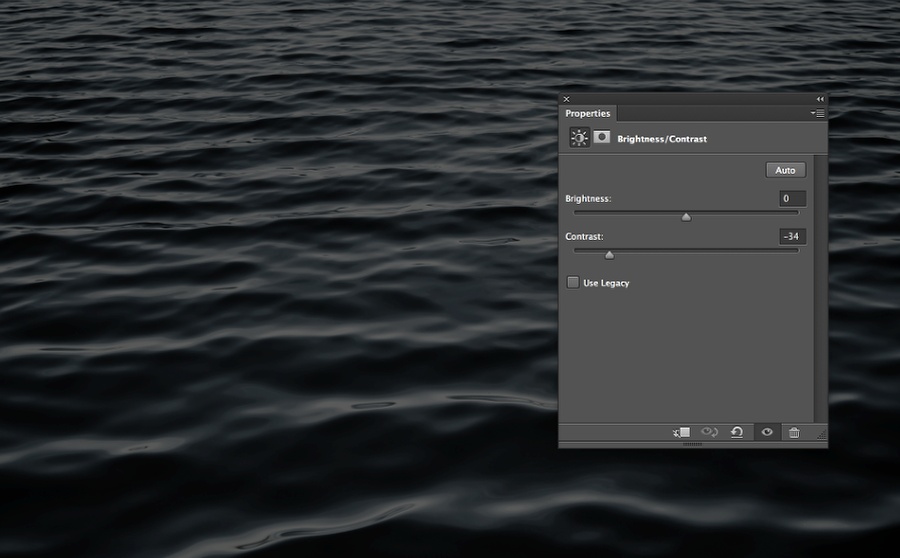
Step 5
Go to
Layer>New Adjustment Layer>Brightness and Contrast. Use 0 for Brightness and -35 for Contrast.
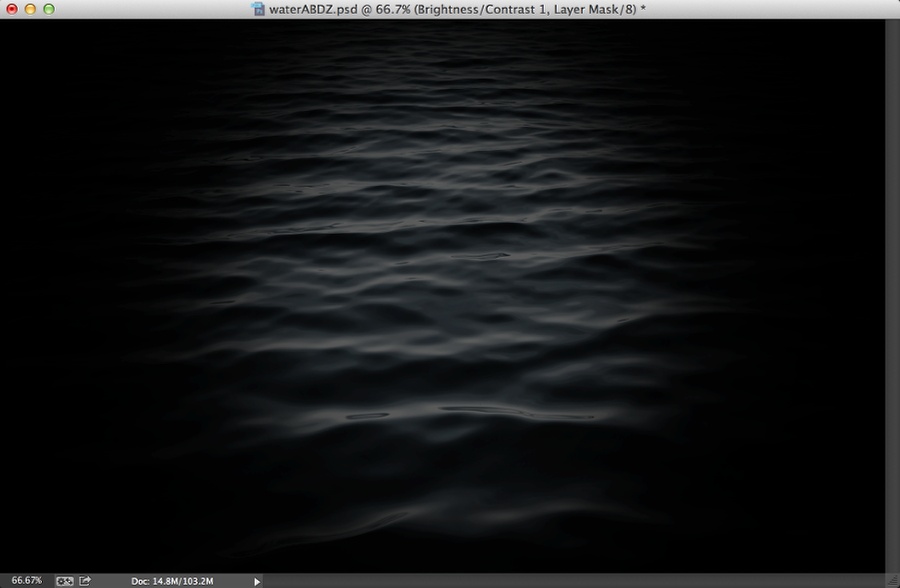
Step 6
Add a new layer on top of all other layers, including the adjustment
ones. Fill this layer with black and change the Blend Mode to Multiply.
With the
Brush Tool (B) use a very soft brush and white
for the color to paint in the center of the canvas The idea is to
create a nice vignette effect. After that, save this document with the
name Displace.psd.
Step 7
Add your logo to the design.
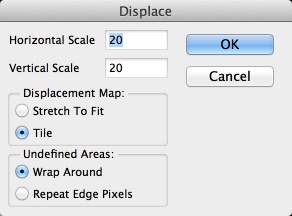
Step 8
With the layer of the logo selected go to
FIlter>Distort>Displace. Use the values below. After that use the Displace.psd file you saved in step 6.
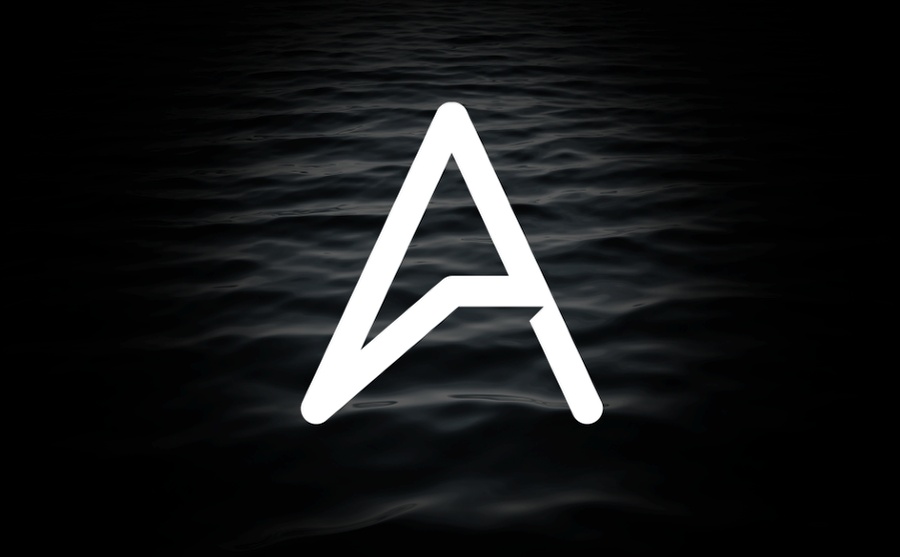
Step 9
This is the result you will have so far. The values might vary
depending on the image you are using for the Displace filter. So try
some variations until you get a result that you are happy about.
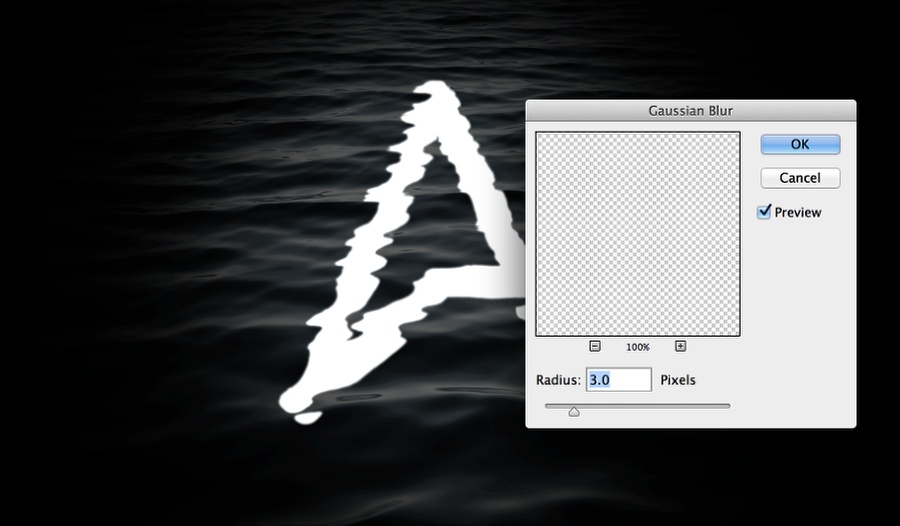
Step 10
Go to
Filter>Blur>Gaussian Blur. Use
3 pixels for the Radius. You can also apply a
Tilt-Shift blur after this to make the edges blurred.
Step 11
Add a mask to the symbol and then with the
Brush Tool (B)
and a very soft brush with black, start painting over the edges of the
symbol, top and down. The idea is make those parts darker as they are
underwater.
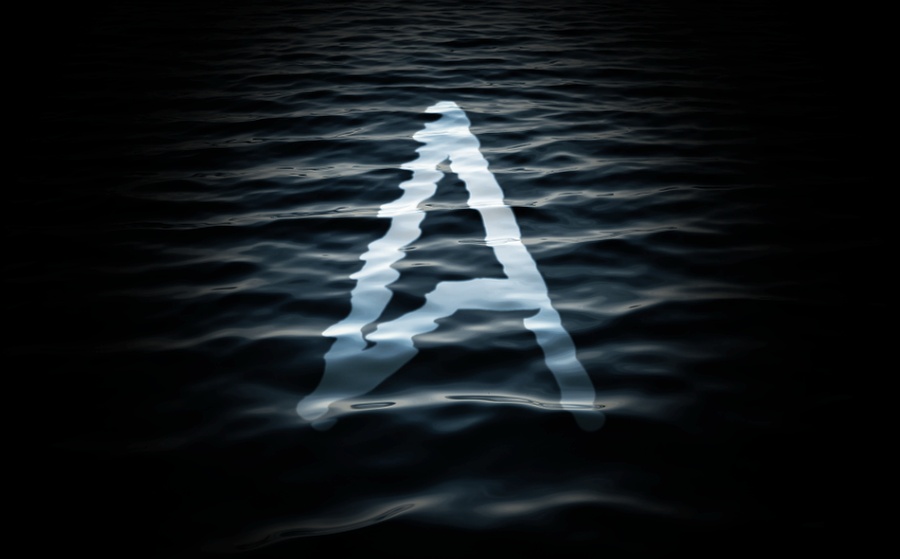
Conclusion
The last thing to do is just duplicate the original water image and
move the order so it will be on top of all other layers, then change the
Blend Mode to Overlay and you will be good to go. The whole process is quite simple but the end result is simply beautiful. Now you can try yourself.


Comments
Post a Comment