In this tutorial, I will show you the steps I took to create
this Create a Unique Break-Apart Text Effect with Urban Background in
Photoshop. This is an intermediate level tutorial so some steps can be
tricky, but why not have a try :)
The text itself is made up from wooden texture, along with some particle brush effect. You will be using techniques such as layer blending options, warp tool, image adjustments, and some paintings with custom brushes.
Finding a good business card printing company, can help streamline your marketing efforts.
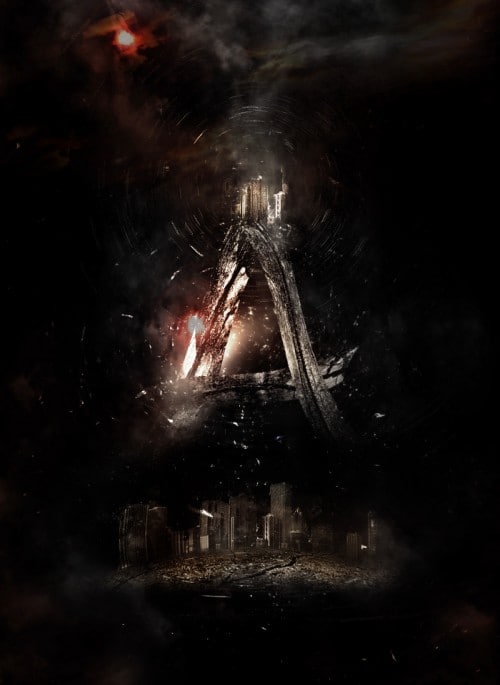
Here is a preview of the final effect I have for this tutorial: (click to enlarge)
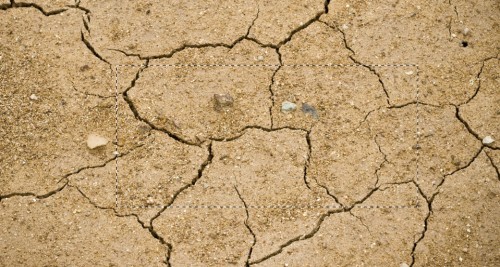
Load the crack texture into Photoshop, and use the rectangular marquee tool to select a portion as shown below:
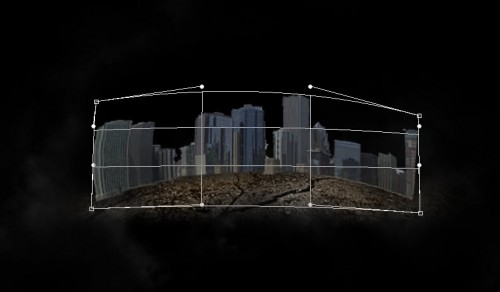
Copy and paste the selection onto our document, compress the texture down and apply the following perspectives with the free transform tool:

Use a soft eraser to fade the edges around this crack layer,
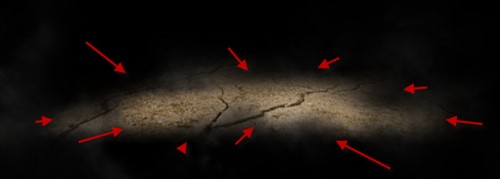
Then, add the following 3 image adjustment layer as clipping mask to this crack layer:
Black and White (set this adjustment layer’s opacity to 70%)
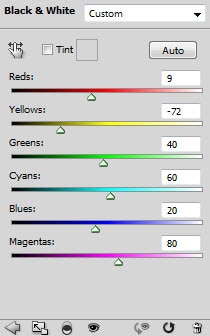
Levels

Curves

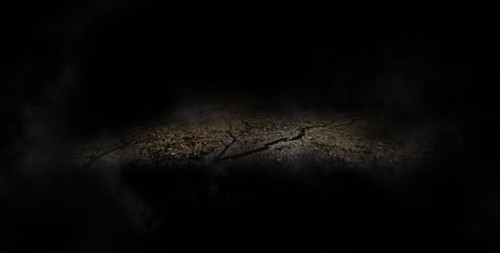
and you will have the following effect so far:
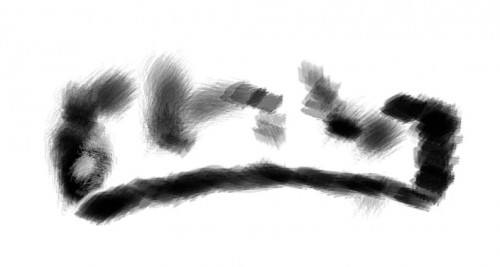
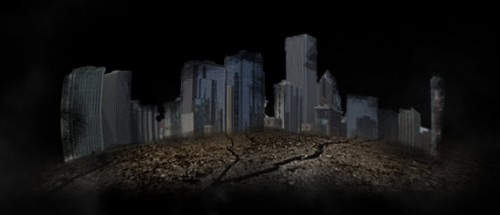
Use the Chalk Brush as an eraser (set its flow and opacity to around 50%), erase the edges of the building to create some damaging effect:
and here is the effect after the erase:
Add the following 3 image adjustment layers as clipping mask to this city layer:
Black and White
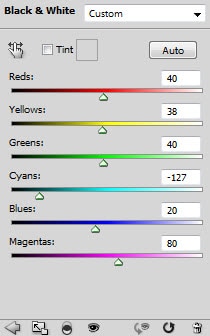
Levels

Colour Balance (Highlights)

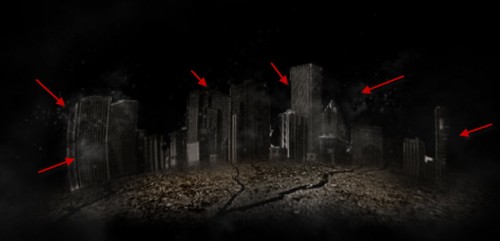
Create a new layer and use the smoke brush to paint some smoke around the building, you will have the following effect so far:

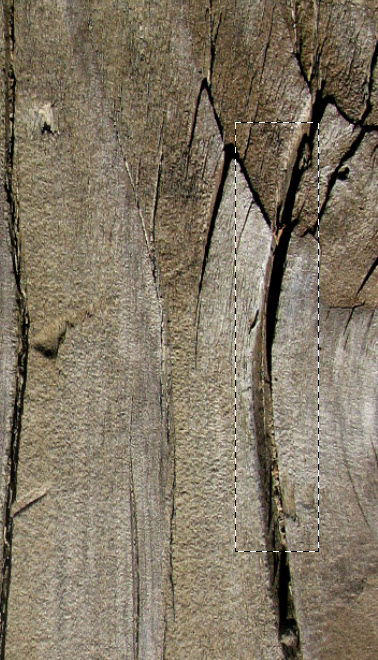
Load the wood texture into Photoshop, select a portion of it as shown below:
Copy and paste the selection onto our canvas, rotate and warp it as shown below:

Repeat the above the process, copy and paste another 2 pieces of wood onto our letter:
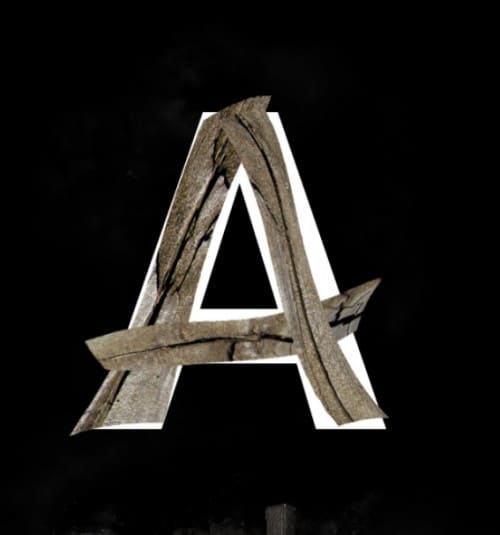
Turn off the original text letter and merge those 3 wood texture layer, use a soft eraser to remove the edges of the merged layer to create some depth:

Then, apply the following 3 adjustment layer to the text layer as clipping mask:
Black and White
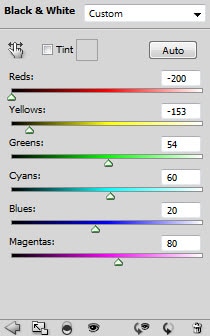
Levels

Curves

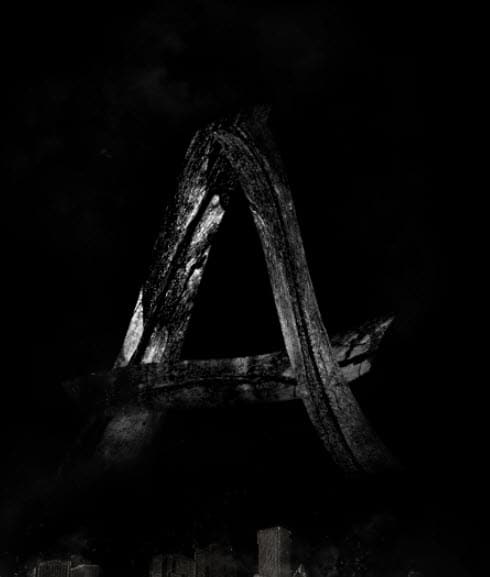
and you will have the following effect:
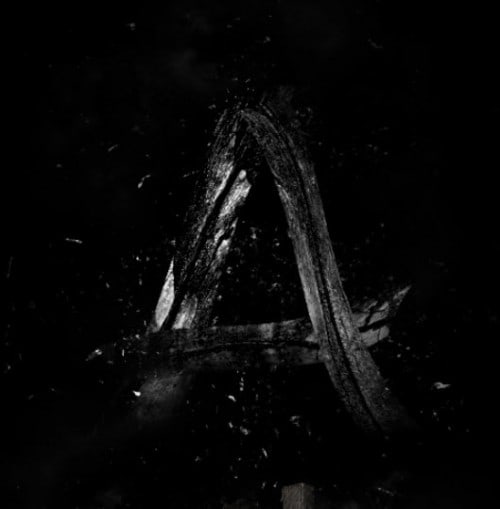
Duplicate this debris layer once and apply the following Radial Blur settings:

Reduce the layer opacity of this radial blur layer to around 60%, you will have the following effect:
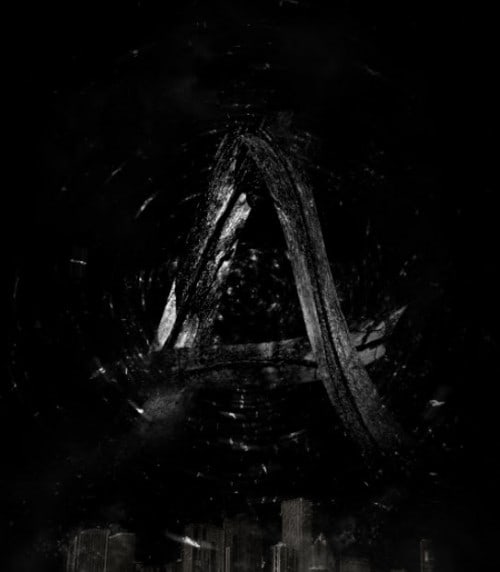
You can duplicate this radial blue layer once and resize it to a smaller scale, then move it to the top of the text as shown below:


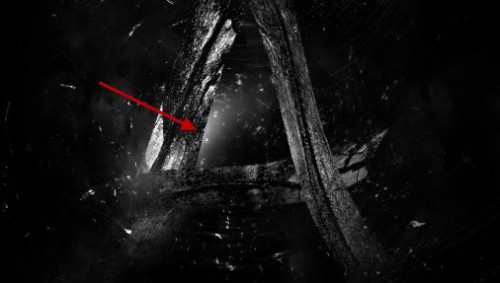
Also added some light coming from behind the text with a soft white brush:
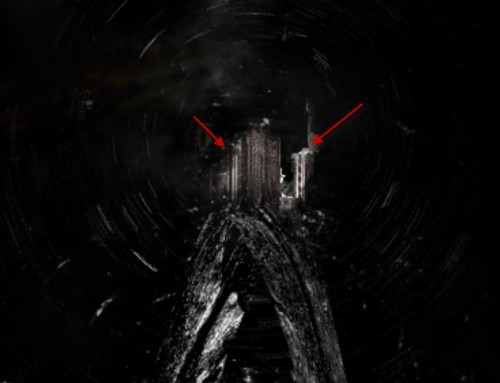
I added some buildings on top of the text from the city image (applied the same image adjustments as in step 2):
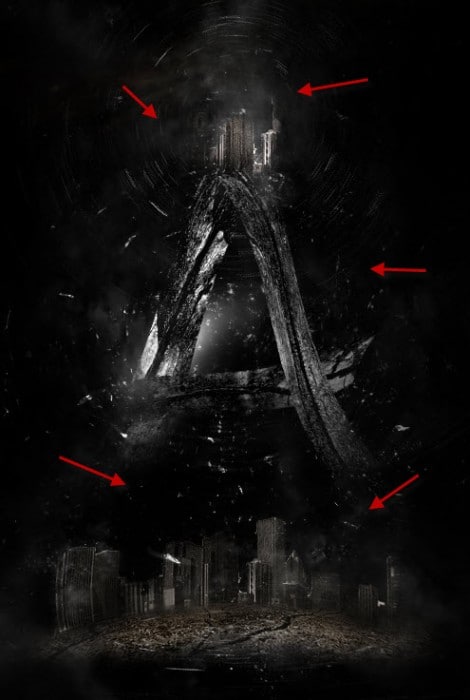
Further added some more cloud/smoke texture around the text, to the positions shown below:
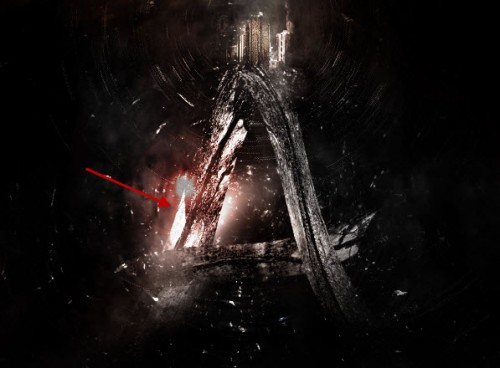
Plus some Lens Flare Filter effect (set blending mode to “Color Dodge”) on the text to spice up the effect a bit more:
Add some more colour and you will have the following final effect: (click to enlarge)

That’s it for this tutorial! Hope you enjoy it and find it useful :) Till next time, have a great day!
The text itself is made up from wooden texture, along with some particle brush effect. You will be using techniques such as layer blending options, warp tool, image adjustments, and some paintings with custom brushes.
Finding a good business card printing company, can help streamline your marketing efforts.
Here is a preview of the final effect I have for this tutorial: (click to enlarge)

Step 1
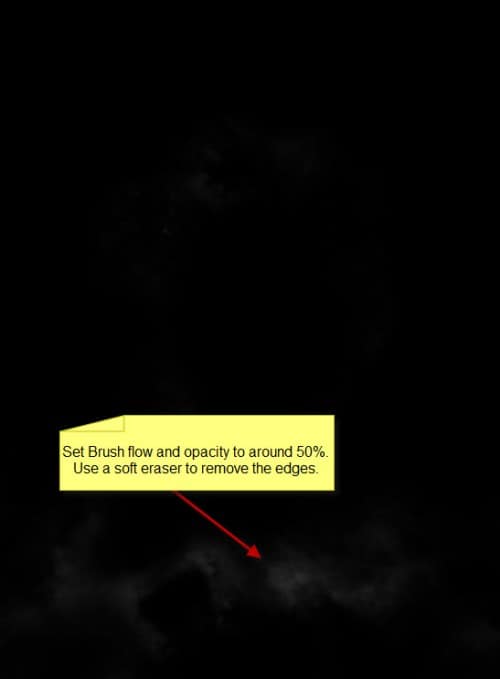
Create a new document sized 700px *960px (size doesn’t really matter in this tutorial, you can choose a size suits you) with black background. Create a new layer and use the smoke brush you download, paint some smoke patterns onto the canvas:
Load the crack texture into Photoshop, and use the rectangular marquee tool to select a portion as shown below:

Copy and paste the selection onto our document, compress the texture down and apply the following perspectives with the free transform tool:

Use a soft eraser to fade the edges around this crack layer,

Then, add the following 3 image adjustment layer as clipping mask to this crack layer:
Black and White (set this adjustment layer’s opacity to 70%)

Levels

Curves

and you will have the following effect so far:

Step 2
Now let’s work on adding some urban city buildings to the image. Load the city image into Photoshop, select the city portion with quick selection tool, copy and paste the selection onto our document, then resize and apply some warping to it as shown below:
Use the Chalk Brush as an eraser (set its flow and opacity to around 50%), erase the edges of the building to create some damaging effect:

and here is the effect after the erase:

Add the following 3 image adjustment layers as clipping mask to this city layer:
Black and White

Levels

Colour Balance (Highlights)

Create a new layer and use the smoke brush to paint some smoke around the building, you will have the following effect so far:

Step 3
Now let’s add the text onto the image. Create a new layer and use the type tool to type a letter onto the canvas using a bold font:
Load the wood texture into Photoshop, select a portion of it as shown below:

Copy and paste the selection onto our canvas, rotate and warp it as shown below:

Repeat the above the process, copy and paste another 2 pieces of wood onto our letter:

Turn off the original text letter and merge those 3 wood texture layer, use a soft eraser to remove the edges of the merged layer to create some depth:

Then, apply the following 3 adjustment layer to the text layer as clipping mask:
Black and White

Levels

Curves

and you will have the following effect:

Step 4
Now we can add some particle with the debris brush we download around the text:Hint: Use Sharpen and Blur Tool on the debris to create extra depth.

Duplicate this debris layer once and apply the following Radial Blur settings:

Reduce the layer opacity of this radial blur layer to around 60%, you will have the following effect:

You can duplicate this radial blue layer once and resize it to a smaller scale, then move it to the top of the text as shown below:

Step 5
OK we’re almost done! For some final touches, I added some shadow on the crack texture with soft black brush painting: (set brush flow and opacity to around 20%)
Also added some light coming from behind the text with a soft white brush:

I added some buildings on top of the text from the city image (applied the same image adjustments as in step 2):

Further added some more cloud/smoke texture around the text, to the positions shown below:

Plus some Lens Flare Filter effect (set blending mode to “Color Dodge”) on the text to spice up the effect a bit more:
Hint: If you have some difficulty with this lighting and colour effect,

Add some more colour and you will have the following final effect: (click to enlarge)

That’s it for this tutorial! Hope you enjoy it and find it useful :) Till next time, have a great day!
Comments
Post a Comment