
Step 1
Download this image and open it in Photoshop. If you want to change the dimensions of your image, go to Image > Image Size.

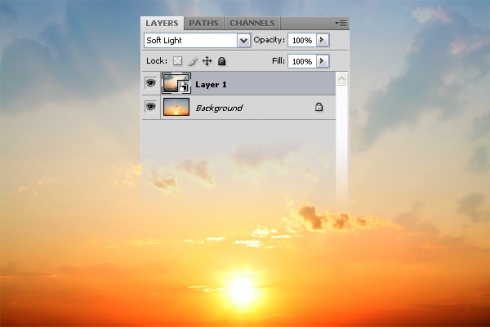
Step 2
Download this image,
open it in Photoshop and move it into your document using the Move Tool
(V). Right-click on this layer and select Convert to Smart Object. Then
go to Edit > Free Transform (Ctrl+T), hold down the Shift key and
scale this layer down.
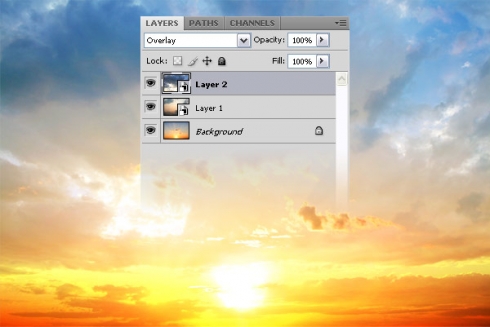
Step 3
Download this image,
open it in Photoshop and move it into your document using the Move Tool
(V). Right-click on this layer and select Convert to Smart Object. Then
go to Edit > Free Transform (Ctrl+T), hold down the Shift key and
scale this layer down. Set the blend mode of this layer to Overlay.
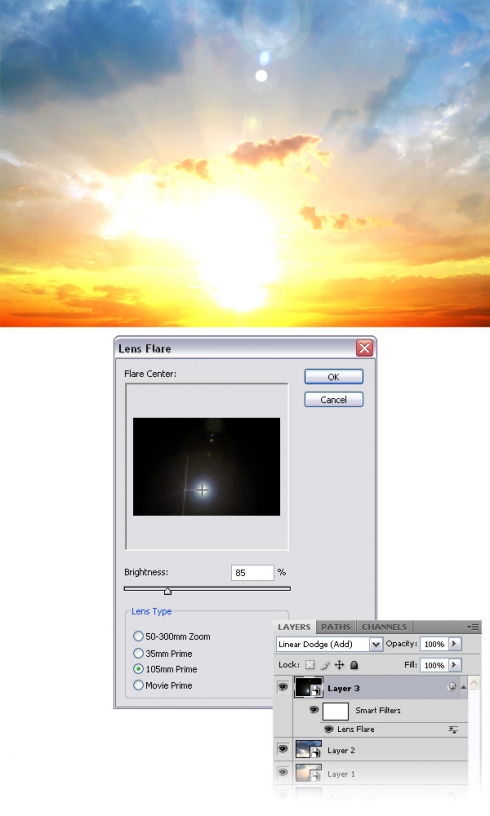
Step 4
Create a new layer and fill it with black. Right-click on it and
select Convert to Smart Object. Then go to Filter > Render > Lens
Flare and use the settings from the following image. Set the blend mode
of this layer to Linear Dodge (Add).
Step 5
Download the
Lines vector pack
and open the .AI file in Illustrator. Use the Selection Tool (V) to
select some lines that you like, copy them (Ctrl+C) and paste them into
your Photoshop document as a smart object (Ctrl+V). To change the color
of your lines, double-click on your layer to open the Layer Style
window, click on Color Overlay and chose any color you want.

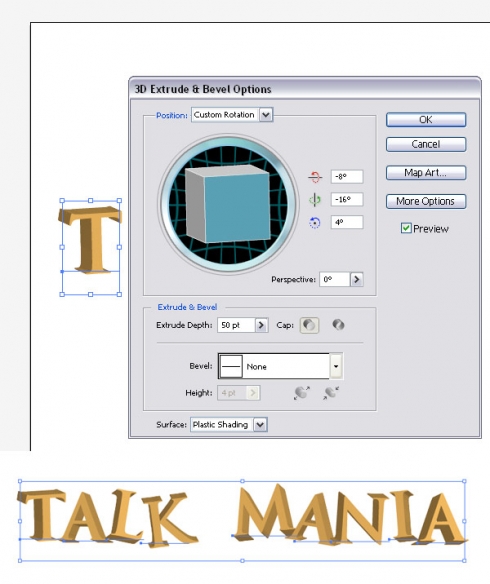
Step 6
Now we are going to create a 3D text. Open a new document in Adobe
Illustrator, select the Type Tool (T) and write the first letter of your
text using the color #FFC364. Select your letter using the Selection
Tool (V), then go to Effect > 3D > Extrude & Bevel and
experiment with the settings. Continue to write each letter of your text
using the Type Tool (T) and add an Extrude & Bevel effect to each
one of them using different settings.
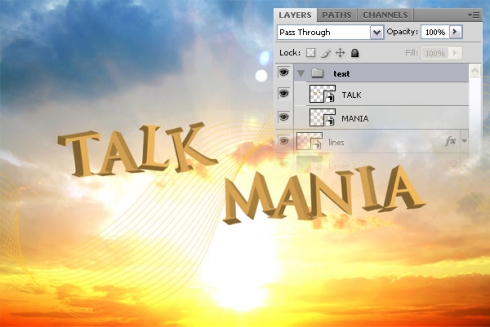
Step 7
Select each word of your text using the Selection Tool (V), copy it
(Ctrl+C) and paste it into your Photoshop document. Group all these
layers and name the group "text."
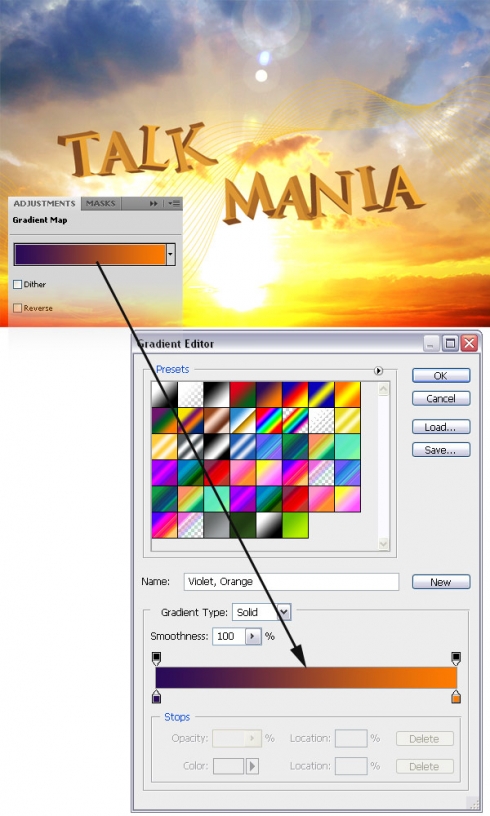
Step 8
Go to Layer > New Adjustment Layer > Gradient Map and use the
settings from the following image. Set the blend mode of this layer to
Soft Light 70%.
Step 9
Download the
Butterfly vectors
and open the .AI file in Illustrator. Select a butterfly that you like,
copy it (Ctrl+C) and paste it into your Photoshop document (Ctrl+V).

Step 10
Go to Layer > New Adjustment Layer > Channel Mixer and use the
settings from the following image. Set the opacity of this layer to 80%.

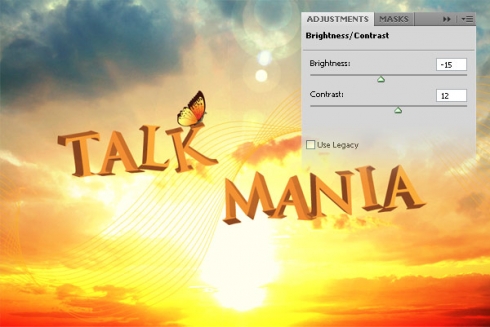
Step 11
Go to Layer > New Adjustment Layer > Brightness/Contrast and use the settings from the following image.
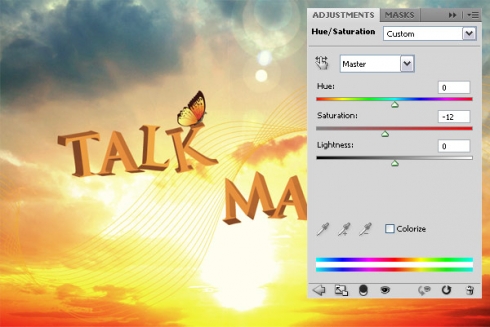
Step 12
Go to Layer > New Adjustment Layer > Hue/Saturation and desaturate the image a little bit.
Final Result
Comments
Post a Comment