Here’s our list of the best creative ideas for Adobe Photoshop. Take a look, and you’ll be able to find some great techniques for photo editing and post-production manipulation.
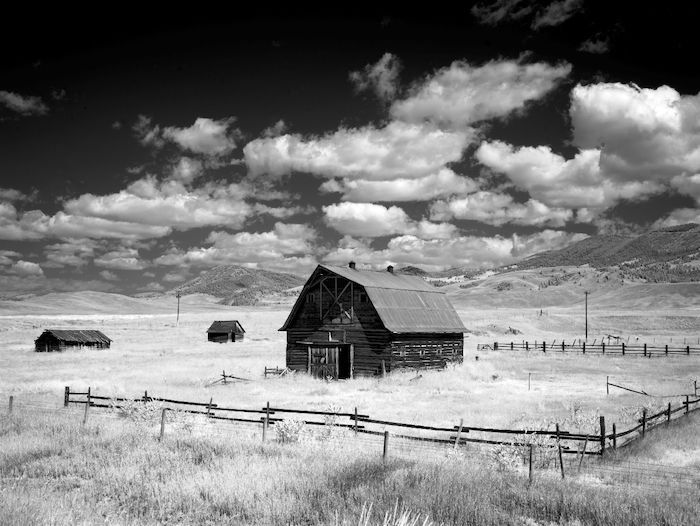
1. Turn Your Colour Photos Black and White
Colour photography has been around for more than 70 years. And yet, black and white photography still entices photographers today.
With black and white photography, you can’t rely on colour to make your images impressive. You’re looking for something different. Look for textures and patterns. Think about content and composition.
These days, you don’t need to go out and buy new rolls of film to create excellent black and white images. You can use simple Photoshop editing tools to turn your colour photos into amazing monochrome photos, or you can even experiment with colour splash effects for a more unique result!
The process is straightforward, and you don’t need to be a Photoshop master. Click the link in the heading and follow our easy tutorial on making black and white images in Photoshop.
2. Add Lens Flare to Your Photos
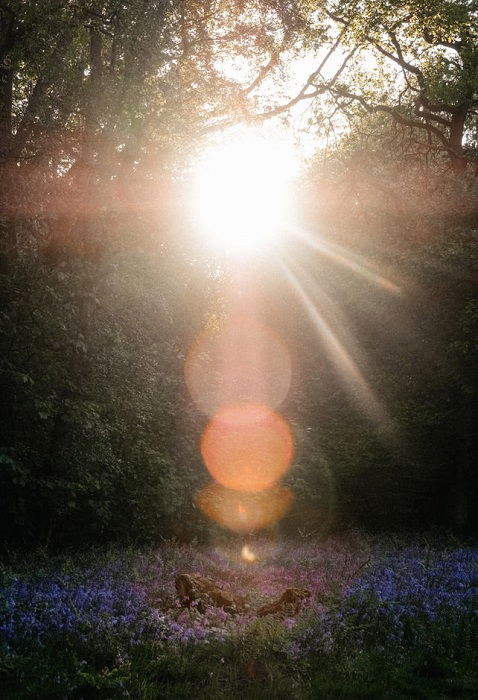
Lens flare is often an inconvenience. And Photoshop is often used to remove it from photos in post-processing. But these days, you can use Photoshop to add flare, too.
Adding lens flare is a great way to give your images a dreamy glaze. It can add mystery and romance to golden hours scenes and sunsets.
Lens technology is constantly improving. High-quality lenses have an anti-reflection coating. It’s a benefit to a lot of photographers. But it means achieving a flare effect naturally is more complicated.
Thankfully, you can get an excellent flare effect with a bit of photo manipulation. We have a simple Photoshop tutorial for adding lens flare in post-production. Click the link in the heading above and give it a go.
3. Use Photoshop for Double-Exposure Effect
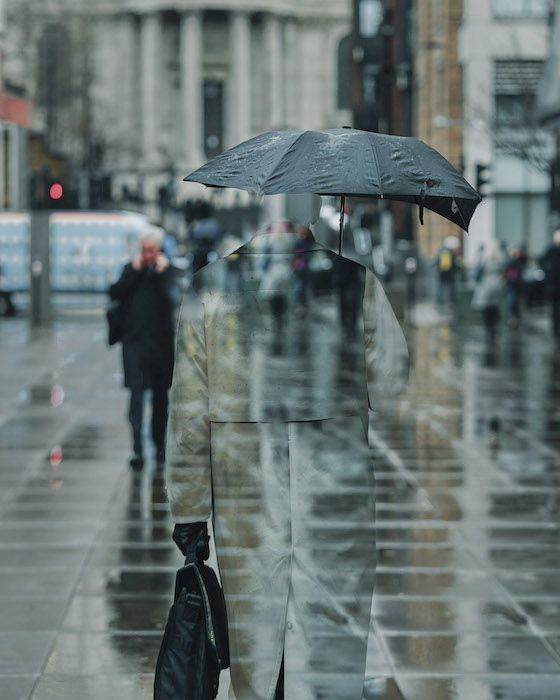
Double exposure is an excellent experimental photography technique you can try yourself. You can make unique images.
Double exposure is a feature of film photography. It’s where one section of the film is exposed twice. Initially, this was considered a malfunction. But the double-exposure effect became something photographers wanted.
With a film camera, you have to rewind the film roll to expose the same piece of film a second time. It is a risky process. You never know what the final image will look like until it is developed.
You can add the double-exposure effect to a digital photo thanks to Photoshop. And the process is simple.
You need two images. And using different adjustment layers, you can merge them in Photoshop for a splendid double-exposure effect.
And the beautiful thing about digital double exposure is the creative control you have. You no longer need to experiment with your film shots. You can now get the exact effect you want without the waste and risk.
Click on the link in the heading for a full Photoshop tutorial.
Digital collage artist Anna Maghradze uses layers, blending modes, and other Photoshop techniques to create effects like this in her artwork. She uses both her images and free stock photos.
4. Brighten Your Photos with a Double-Light Effect
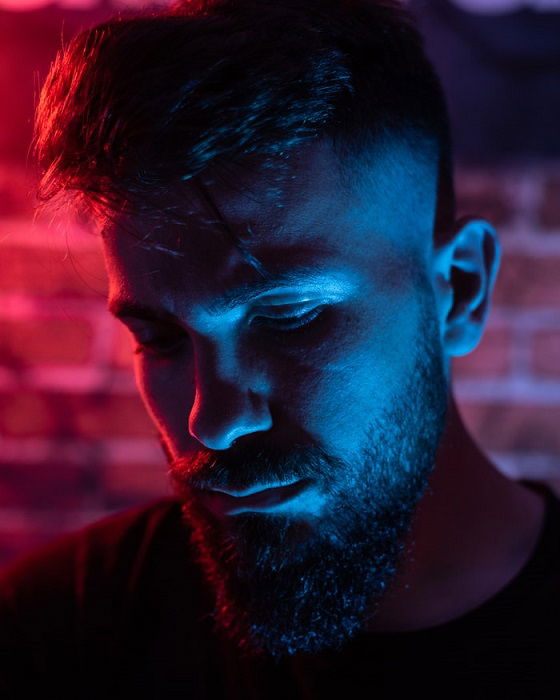
A double-light effect gives your images a professional look without a full studio setup. The result is very popular with portrait and fashion photographers.
Using Photoshop, you can create realistic lighting effects. You can give your shots a double-light effect with colour treatment. Adding two colours to your pictures can create contrasting moods or warmth and coolness.
There are a few steps involved. But you will learn a few other Photoshop processes along the way. All you need to start is a digital photo with two light sources. Then, with a bit of Photoshop work, you can transform your image.
You can learn the whole process by following the link in the heading. It’s a great Photoshop tutorial with a complete step-by-step guide.
5. Create Surreal Miniature Portraits in Photoshop
Have you ever wondered what it would be like to be small? With a few Photoshop techniques, you can put yourself into the world of the tiny.
You can take inspiration from our contributor, Joel Robison. He’s a master of surreal miniature portraits, creating fantastic scenes full of fun and imagination.
Once you’ve browsed Joel’s gallery, you can check out the tutorial through the link in the heading. Learn the specific techniques, then let your imagination run wild.
You can use these fantastic effects to introduce elements of fantasy. You can experiment with self-portraits, like Joel. Or you can use friends and family for surreal portraits.
This type of photo editing does involve some advanced techniques. But even if you are new to Photoshop, you can still give it a go. It’s a great way to experiment and learn new editing methods.
6. Create Amazing Cinemagraphs with Photoshop
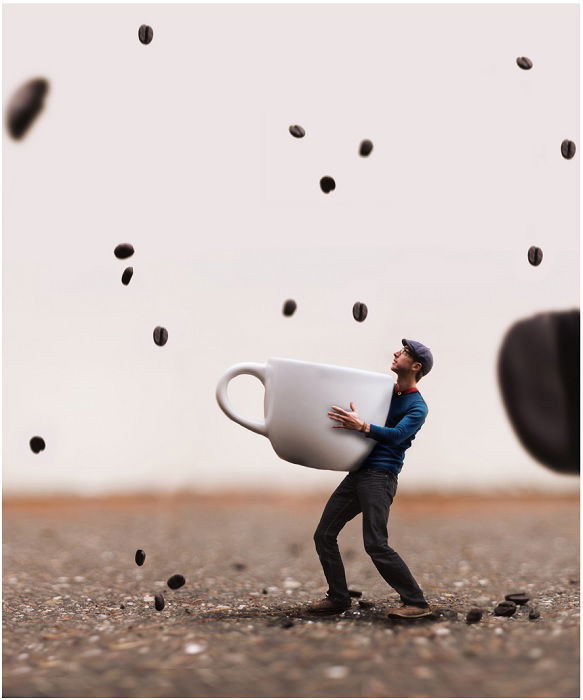
Cinemagraphs are a great way to add magic to your photography. No matter what your style of photography is, they are a great way to impress.
Cinemagraphs are photos that feature one moving element. It could be snow falling, a sky swirling, or hair moving in the breeze. It’s not a GIF, as most of the photo remains a still image. It’s only the one element that moves.
Our contributor Anya Anti has some excellent cinemagraphs in her collection. She uses them to enhance magic and wonder in her fantasy photography.
Once Anya’s amazing cinemagraphs have inspired you, create your own using a few Photoshop actions. You need a short video to work with. Then, with only a few steps on Photoshop, you can turn it into a cinemagraph.
7. Add a Retro 3D Effect to Your Images Using Photoshop
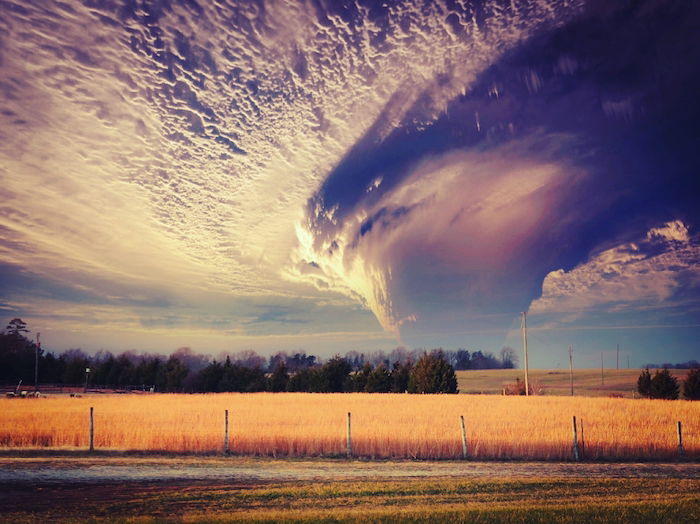
3D comes in and out of fashion all the time. And we’re all familiar with the strange images that you need retro glasses to look at. But you no longer need any film studio technology to get that effect.
If you click on the header link above, you’ll find a video tutorial that will teach you how to get this cool Photoshop effect.
You can turn any digital photo you have into a retro 3D image. With a few blending modes and adjustment layers, you can impress your friends. And you’ll be ready for the next 3D trend.
8. Create a Watercolor Paint Effect Without Washing Brushes
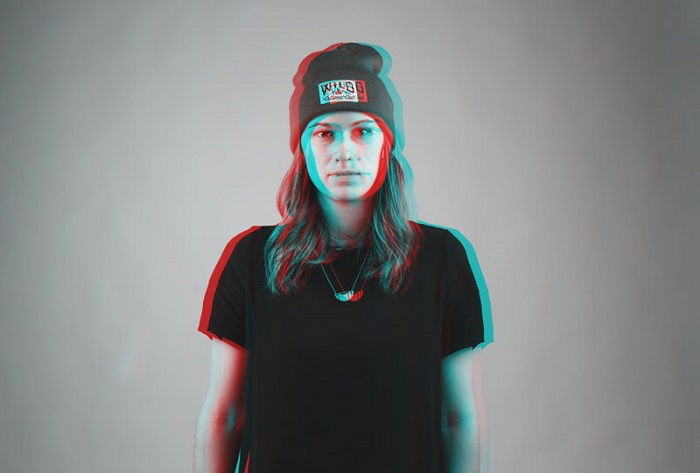
You can transform your digital photos into beautiful watercolor images. It’s a great way to make portraits even more special.
This photo manipulation technique uses watercolor brushes to create a digital painting. You start with any digital portrait you have. And by adding some textures and a bit of brushwork, you can make a digital work of art.
This isn’t the easiest of photo manipulations in Photoshop. But learning this technique will give you plenty of knowledge to apply elsewhere.
Hit the link in the heading above for a tutorial. You’ll learn how to achieve the watercolor effect in Adobe Photoshop.
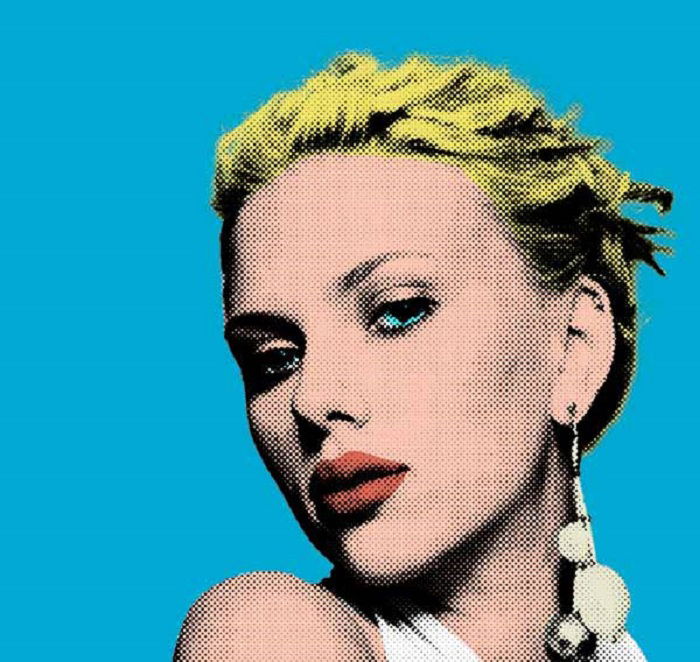
9. Create Pop Art with Photoshop
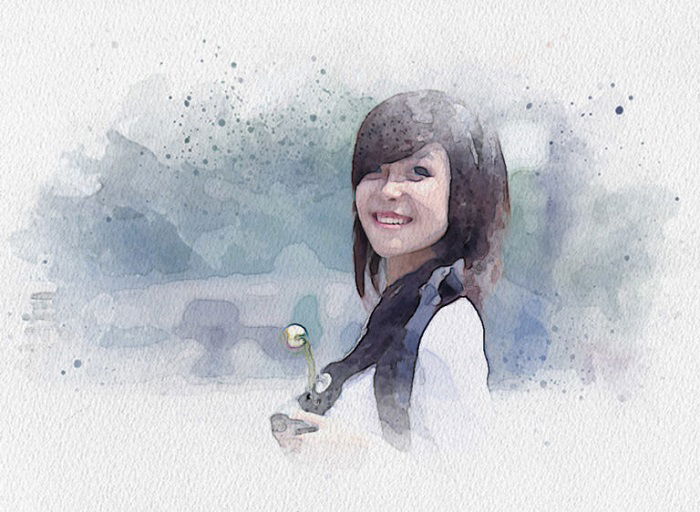
Awaken your inner Andy Warhol and turn your images into some fab pieces of pop art. Take any digital image you have. And with a bit of photo manipulation and painting techniques, you can make something bold and bright.
You can change the graphic elements of your photo, turning a standard image into something retro and vibrant.
The Photoshop tutorial will teach you how to desaturate your images. Then you will learn how to create halftone patterns. These will be valuable techniques for other types of photo manipulations.
The link in the heading above will give you a step-by-step guide. Click it and create your own stunning artwork today.
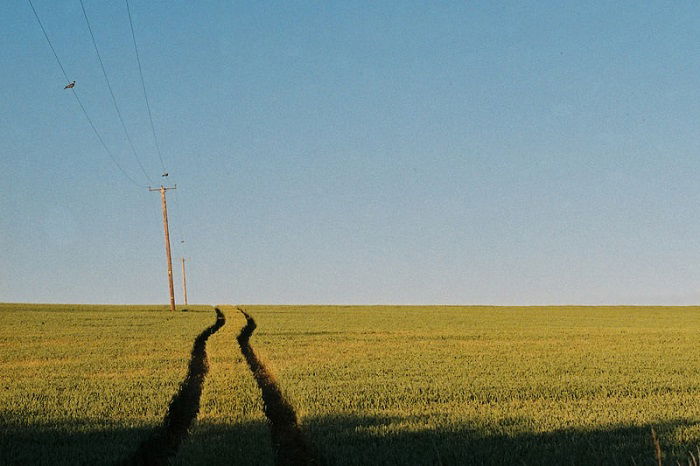
10. Give Your Digital Photos a Retro Feel
Over the years, digital photography has overtaken film. It’s cheaper and more convenient. But many photographers still want that grainy texture you get on film photos.
You don’t need to run out and buy a new roll of film for your old camera to achieve this look. We’ve got a Photoshop tutorial to give your digital images the film-photo effect.
It’s a simple process with only a few steps to follow. Even if you’re a Photoshop beginner, you can give this photo manipulation technique a go. And if you love the look of old photos, you won’t be disappointed.
There are plenty of Photoshop tutorials online for this photo effect. Click the heading above for detailed, step-by-step instructions.
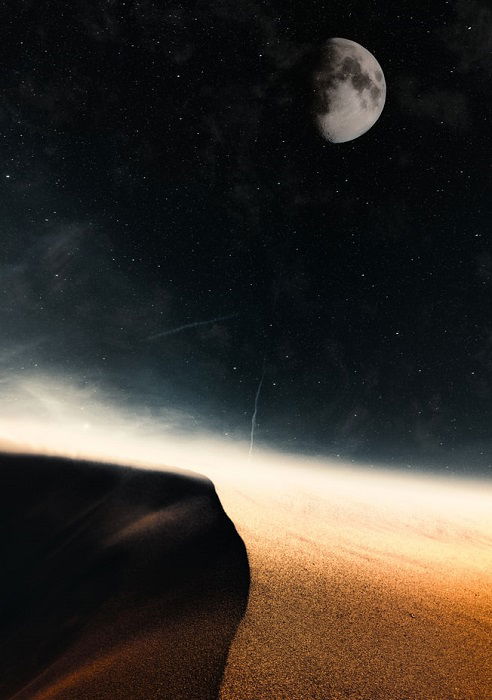
11. Create Composite Images With Photoshop
Compositing is a creative photo manipulation technique anyone can try. You can start by combining two photos. Then you can introduce more to create stunning images.
The images you use to create composites don’t have to be photos. You can play with mixed media to achieve different effects in your final image.
One of our collaborators, Anna Maghradze, loves creating composite images in Photoshop! Be sure to check out her gallery for inspiration.
If you’re experienced with the Adobe program, there won’t be many Photoshop actions that you haven’t seen before. But if you’re a beginner, that’s no problem. Combining images on Photoshop is easier than you might expect.
The link in the heading above will take you to one of the best Photoshop tutorials you’ll find.
12. Create a Cool Droste Image on Photoshop
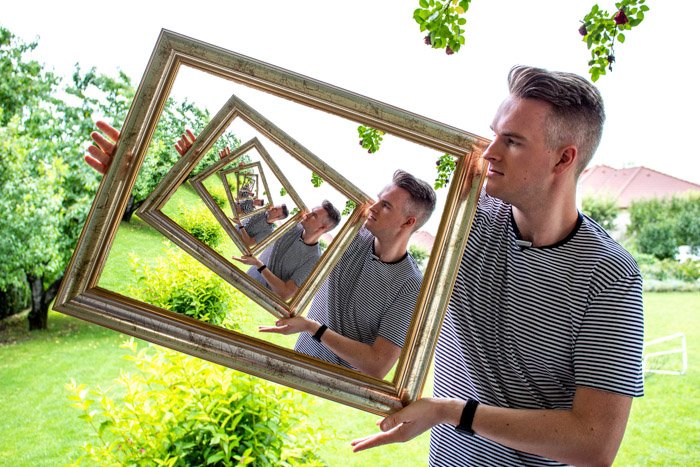
The Droste effect is having a picture within a picture. Usually, it’s the same picture repeated to create a surreal and dream-like effect. Often, it will be the same picture repeated several times.
It looks surreal and technically tricky. But the Droste effect is easy to achieve with a bit of photo manipulation in Photoshop.
Your main image needs to include a type of frame. It can be a painting or a TV screen. It will be where the image is repeated. If you get the angle correct, you can have your image repeat an infinite amount of times. Or it will at least get very small.
The header link above will take you to the Expert Photography tutorial. It shows you how to create the Droste effect in Photoshop. And it’s full of extra tips and tricks.
13. Try The Multiple Exposure Effect
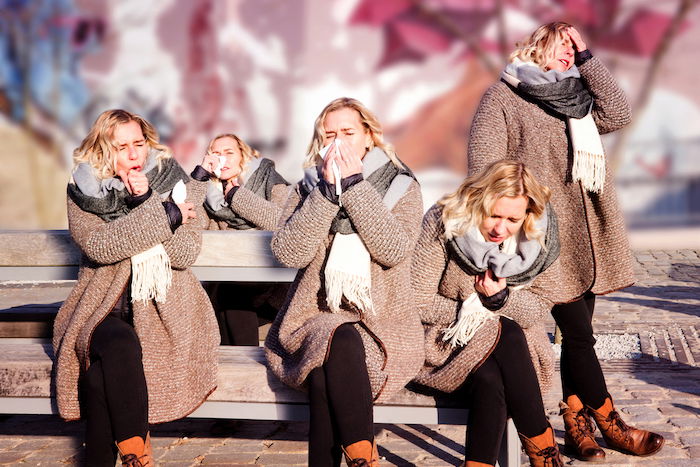
Multiplicity is an excellent Photoshop effect that adds surrealism and humour to your work. The multiple exposure effect includes your subject more than once in the same scene.
You can use two images to start with, which is easier as you’ll be using different layer masks. Then once you get the hang of it, you can experiment with more layers.
The images will need to be of the same scene. And the framing of the composition needs to be precisely the same. Then you take several photos where your subject is in different positions.
You bring the images together using Photoshop CC. Hit the link above to see one of the best Photoshop tutorials on the multiple exposure effect.
14. Go For a Unique Look With an Infrared Effect
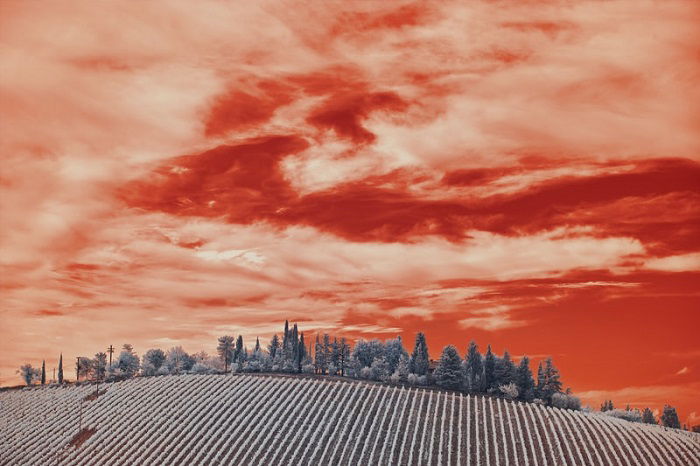
You can completely change the feel and purpose of a set of photos with a few changes in Photoshop CC. Giving your images an infrared effect is a great way to make them stand out.
Adding the infrared effect is simple but can have a significant impact. And there’s a lot of flexibility too. You can introduce subtle effects. Or you can completely change the colour palette, making them more dramatic.
The process is easy. If you’ve played with adjustment layers and blending modes before, then you’ll soon get the hang of it.
There are some excellent tutorials out there. But if you click on the one in the heading above, you’ll get a great Photoshop tutorial that is full of extra trips.
15. Apply a Dreamy Bokeh Effect to Your Photos
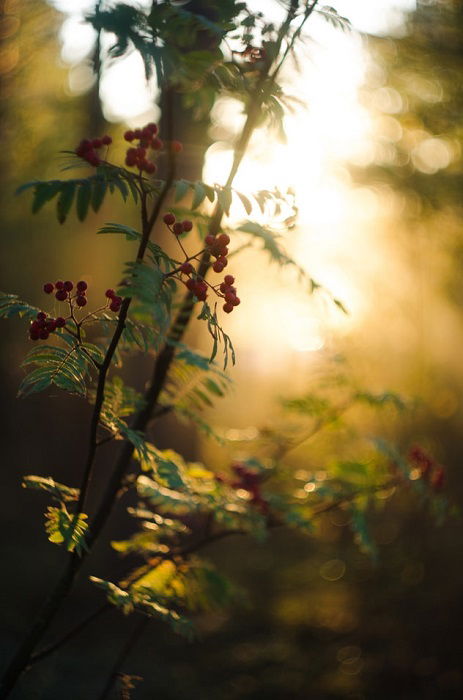
The bokeh effect is when your subject is focused, but your background is out of focus. If you set to have a shallow depth of field, then the background will have a soft blur.
You can achieve this effect with your camera. But if you didn’t get it quite right at the shoot, then you can add the bokeh effect in post-production using Photoshop.
There are a few steps involved in the process. But you’ll be familiar with most of the Photoshop tools you need.
If you click the link in the heading above, you’ll get an excellent tutorial for adding the bokeh effect to your photos. And there are some extra Photoshop tutorials too.
Conclusion
Creativity with photography doesn’t end when you turn your camera off. There are so many ways to change and add effects to your work with Photoshop CC.
Comments
Post a Comment