Photo Manipulation in Photoshop


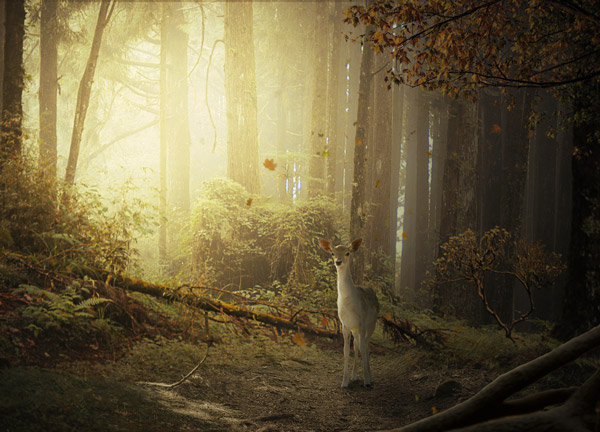
Create a Fantasy Deer Photo Manipulation in Photoshop

Step 1

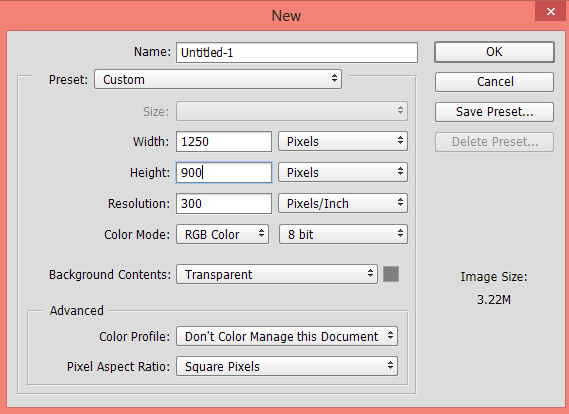
Create a new document in Photoshop with the following settings :
deer1

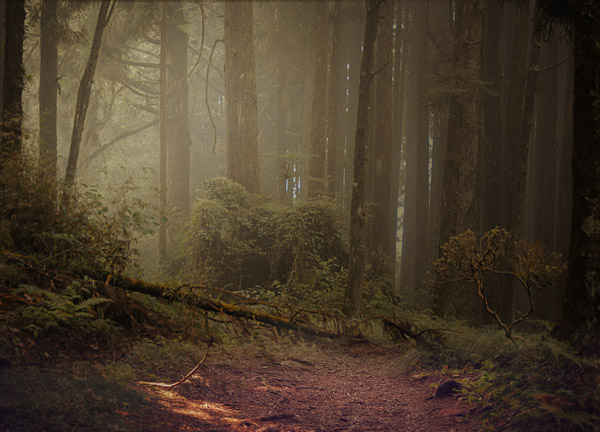
Add the Forest

Step 2

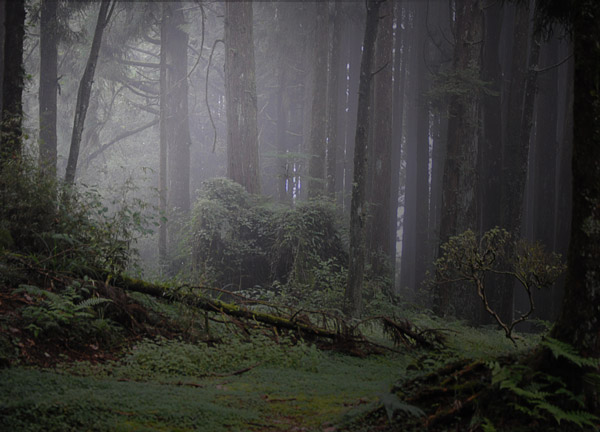
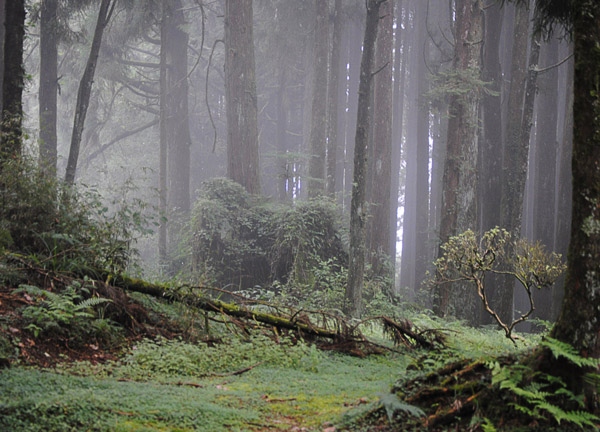
Go to File > Place Embedded and place the forest image to main document.
deer2

Step 3

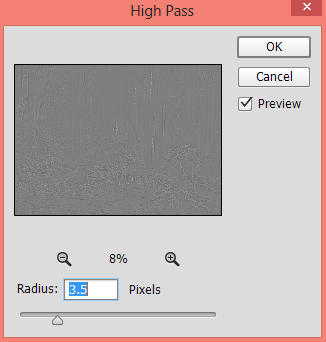
Time to add sharpness to forest using High Pass filter. Duplicate the forest layer by CTRL + J. Convert the duplicated forest layer into Smart Objects. Now go to Filter > Other > High Pass and apply it with the following settings :
deer3
deer3a
If you don’t add the sharpness to forest then you’ll have a blurred background for deer.

Step 4

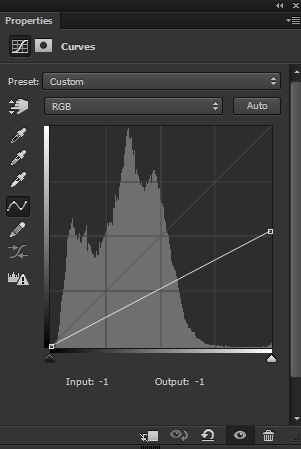
Make a Curves adjustment layer and reduce the brightness of the forest. To add an adjustment layer, go to Layer > New Adjustment Layer > Curves or click the third icon at the bottom of layer panel.
deer4
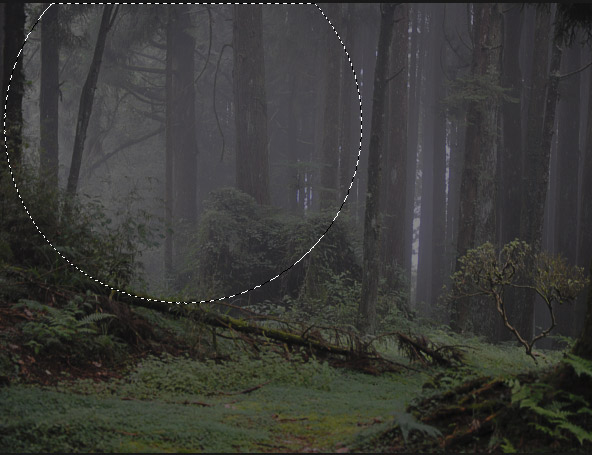
On the layer mask of Curves, mask the effect on the selected part using a soft round black brush as I am aiming to create light source on the left side of the scene. Use a soft, basic black brush for masking the effect with lower opacity around 40%-50%.
deer4a
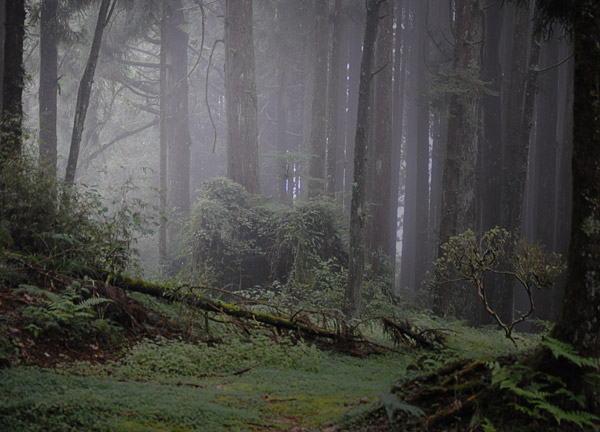
Results with maintained brightness on the left side :
deer4b

Step 5

Add a Brightness/Contrast adjustment layer, reduce the brightness and increase the contrast little bit.
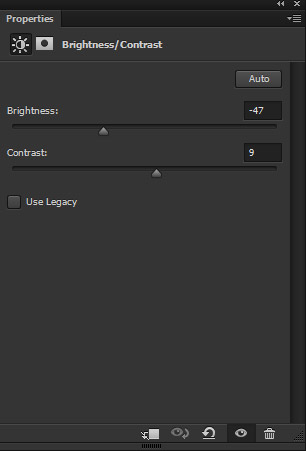
deer5
On the layer mask of Brightness/Contrast, mask the effect on the left side using soft round basic black.
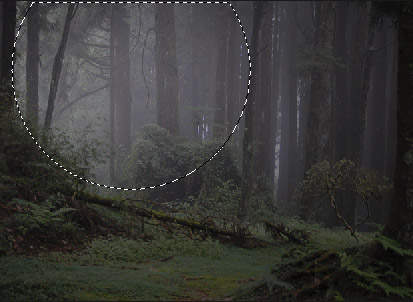
deer5a
Results with more darkness :
deer5b

Step 6

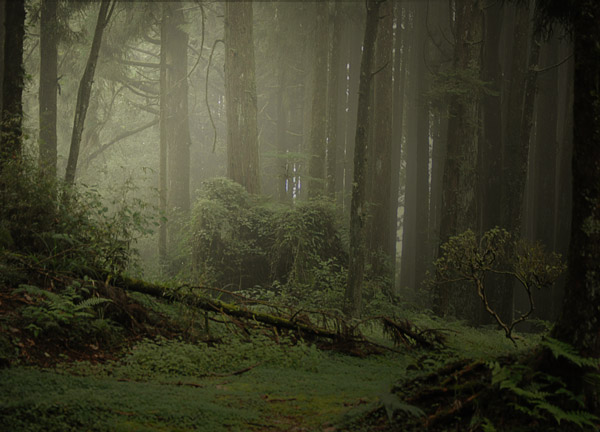
Add a Curves adjustment layer and use the Blue Channel to add yellow color tones to forest.
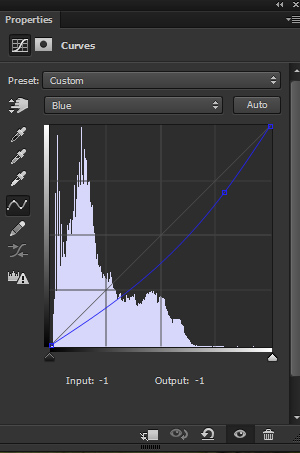
deer6
Results :
deer6a

Step 7

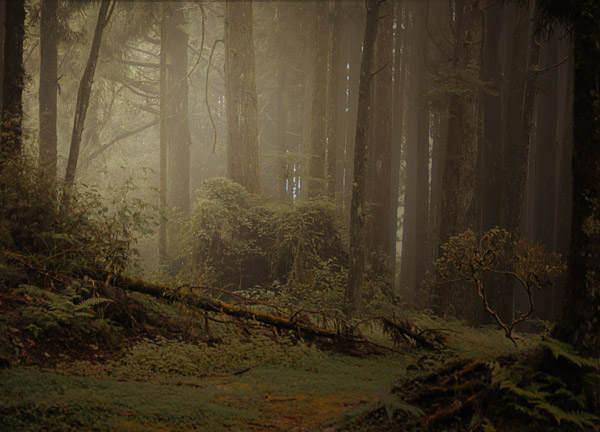
Make a Selective Color adjustment layer and choose the yellow colors to enhance the colors of the forest.
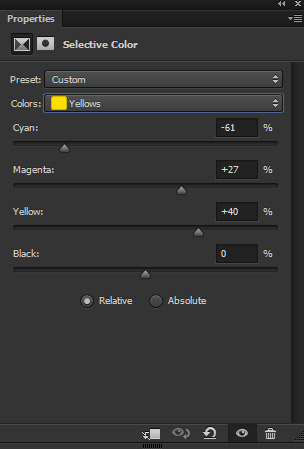
deer7
Results :
deer7a
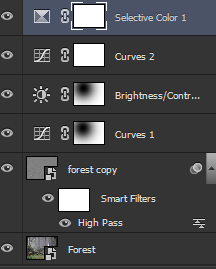
Layer panel arranged so far :
deer7b

Add the Beach

Step 8

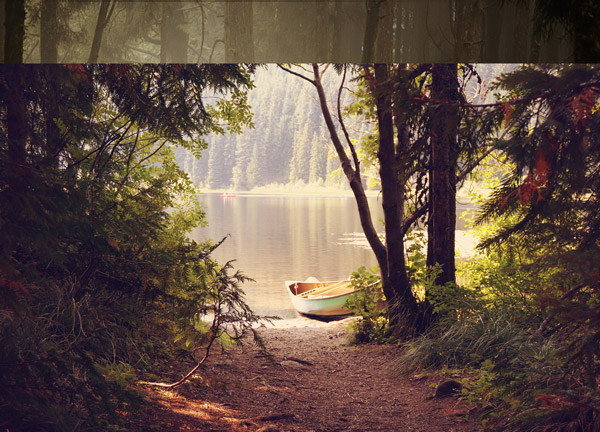
Add the beach image to main document and place it shown below.
deer8

Step 9

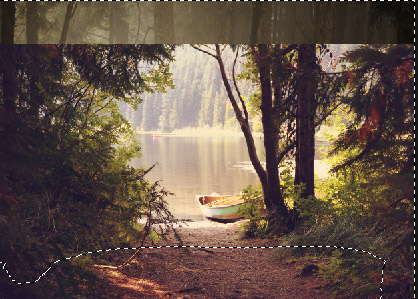
The aim of adding the beach image is to get its forest path parts and add them to existing forest. Add a mask to beach image by clicking second icon at the bottom of layer panel or go to Layer > Layer Mask > Reveal All. Now use a soft, basic black to mask the selected parts of beach.
deer9
Results after masking :
deer9a

Comments

Popular posts from this blog

Use x-ray techniques in Photoshop to show naked skin through clothing

    Do those new naked body scanners have you freaked out at the airports? As far as the TSA is concerned, those x-ray machines are here to stay, but you might as well take comfort in knowing that airport security guards aren't the only ones looking at your private parts. Practically anyone with a computer can manage to see through your clothes, and it's all thanks to a little program called Photoshop. Thanks, Adobe. With a few tweaks using the tools in Photoshop, you can see those boobs in no time, male or female. The video is in German, but it's not hard to figure our what's going on, especially if you're familiar with Photoshop. First, create a few duplicate layers, then get a handle on some of these tools to make the naked body through the clothes: * Auswahl erstellen (Create Selection) * Tonwertspreizung (Input Levels) * Belichtung (Exposure) You can also do this see-through clothing effect in free design programs, such as  GIMP .

40 latest creative photoshop text effects

Create a Glowing Liquid Text with Water Splash Effect in Photoshop In this tutorial, we will show you the steps we took to create a Glowing Liquid Text Effect in Photoshop. We will be practising the use of liquify filter, layer blending options, as well as some image adjustments. Create a Realistic Wooden 3D Text Image In this tutorial we are going to take a few 2D textures as well as a few Photoshop techniques to create a realistic 3D text image. Easy X-Ray Typography In Photoshop In this tutorial we will show you how to create a simple x-ray effect of a letter, in this case the Abduzeedo logo A. The whole process is quite simple but it will require a couple of hours to pull it off. Easy Furry Text In Photoshop In this tutorial we will show you how to create a really cool and super simple furry text in Photoshop CS6. We will use basic filters and tools but it’s nice to say that we took advantage of the a new feature in Photoshop CS6 that is to apply layer...

Royal 3D Text Effect in Photoshop CS6

  Just make sure to check the 3D settings under Edit -> Preferences -> Performance, and Edit -> Preferences -> 3D. Default values should work fine, but if anything seems to be not working properly you can always check those settings. Step 1 - Create a new 1600 x 1200 px document and Fill the Background with black. Create the text in white using the font Dunkin Sans. The font size is 400 pt and the text is better written in All Caps (if you’re not using only numbers). Step 2 - With the text layer selected, go to 3D -> New Extrusion from Selected Layer. This will instantly convert the text layer into a 3D layer. All the 3D scene elements can be found in the 3D panel (Window -> 3D). Click the main mesh name to edit its settings. - The 3D Mesh settings and attributes can be accessed and modified through the Properties panel (Window -> Properties). If you scroll down the Properties panel you’ll find the Character Panel button, which ...