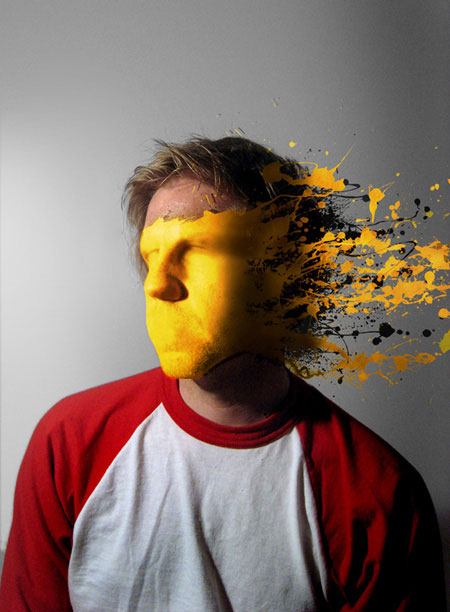
Use various tools such as the Cloning tool to remove facial features
and the Brush tool to create a realistic splatter merged with
professional blending techniques to mould the paint splatter over a
face.
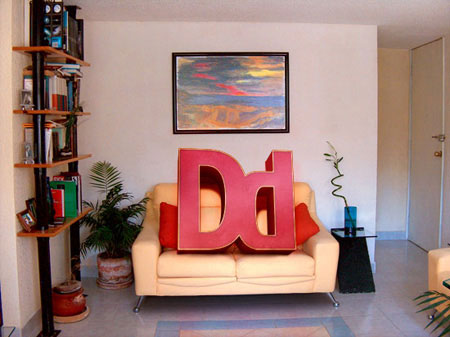
Learn how to combine vector art with pixel art in this superb
tutorial here at Six Revisions. Use various blending modes and
manipulation techniques to make a flat-looking 3D object really pop out.
Learn to apply the Warp tool effectively (as well as a few other
tricks) to manipulate real smoke to look like a skull. You can use the
technique on other various mediums such as water and clouds.

Use color balances and levels to change the overall feel of a stock
photo, and the Burn tool to make certain areas of an image darker than
others to make them appear correctly in any given environment. Select
areas of stock photos using the Magnetic Lasso tool or a quick mask and
merge them into your composition.
Use gradients and custom strokes to make flat objects appear
three-dimensional – combine this with stock photography and textures to
produce a vintage and very realistic radio icon. The same technique can
also be used to produce other icons such as guitar amplifiers and
televisions.

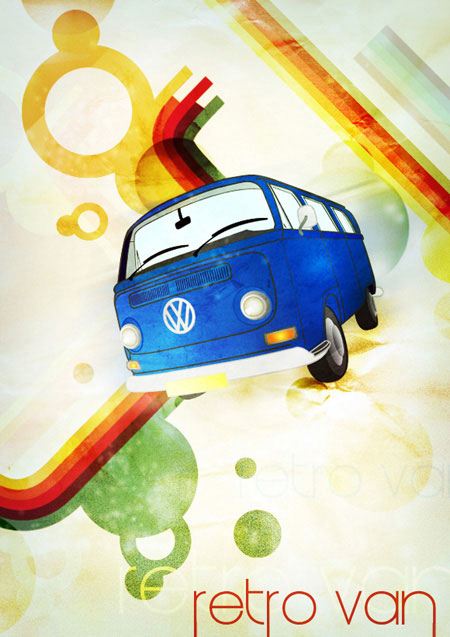
Learn how to combine vector art with pixels, add texture to clean
artwork, and play with blending modes. A little bit of shameless
self-promotion here, but this tutorial did get me a lot of great
feedback, and the first part of the tutorial (the vector van) is going
to be featured in a top French Design magazine!
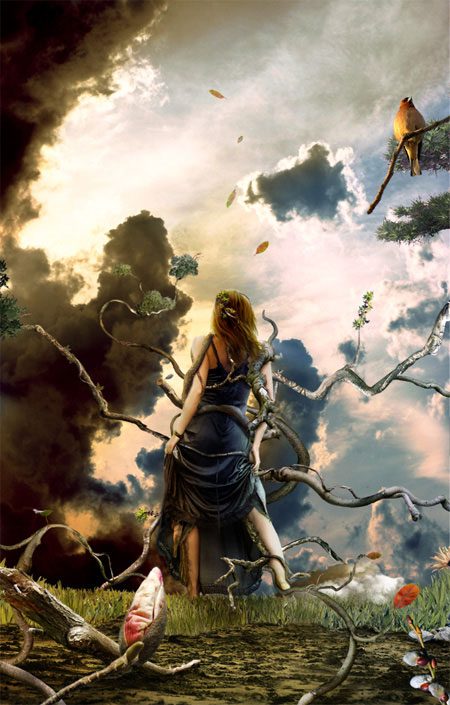
Use professional manipulation and editing techniques with various
stock photos to make a beautiful composition. Use the Warp tool to
change angles and shapes to make them fit exactly how you want them in
your composition.

Follow this tutorial and work with textures, levels and layer styles to create a realistic and incredibly awesome space scene.

Learn how to combine stock photos, photography and textures to create
a vintage composition whose primary elements are a world map, a diary
and a cup of coffee to finish things off.

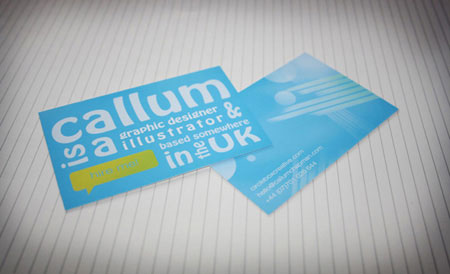
Make use of Photoshop’s guides and custom type settings to create an abstract typography-based designer’s business card.
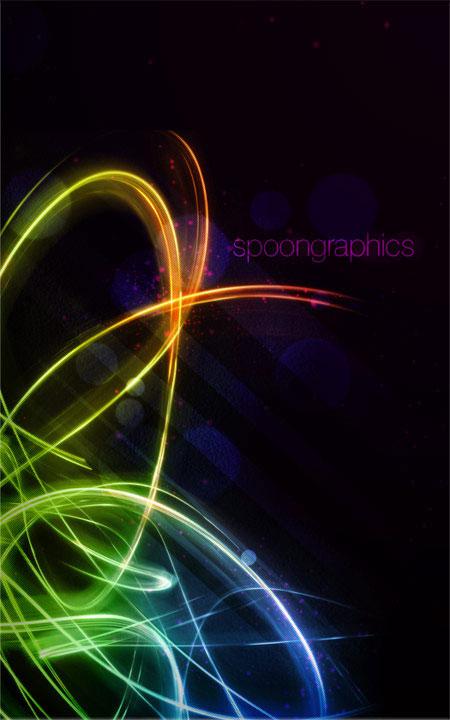
Get your torch and SLR camera out for this tutorial as you’ll be
needing it to create some superb lighting effects. Combine that with
Photoshop’s excellent selection of image adjustment tools such as
levels, curves and the hue/saturation level to produce a stunning
vibrant light effect.
Combine neat and tidy typography with gradient splats, a handful of
coffee-stained textures and some ink brushes, and what do you get? A
modern and very cool wet ink typography effect!

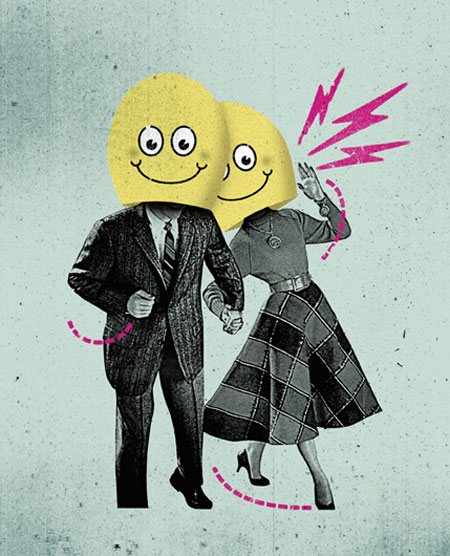
Retro/vintage art is one of the most-loved design trends of 2009 and
we’re sure that’s not going anywhere quickly! In this tutorial, you’ll
learn how to manipulate stock photographs, work with the Pen tool and
make your overall composition look retro!
In this extremely detailed tutorial, you’ll learn how to make various
components of a television remote control including the back, front,
individual buttons and even the circuit-board. Why? Because you’re about
to combine the lot together to make an almost life-like motion bullet
shot effect!

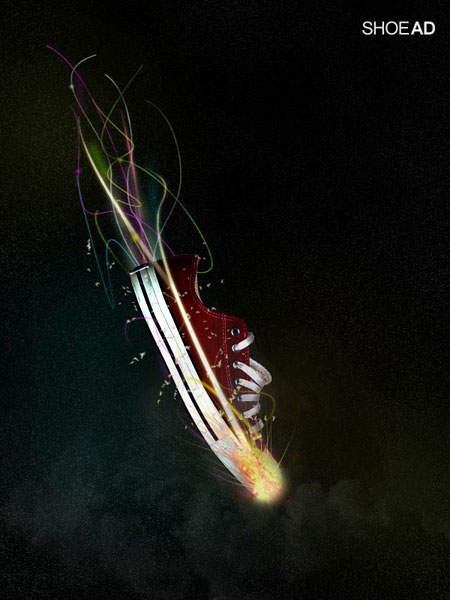
Use the Eraser tool to remove areas of a stock image to nicely
combine it around another object. You’ll also create custom lines with
the Pen tool and learn how to stroke and skew them and turn them in to
little colorful beams of light.
Learn how to duplicate layers by nudging them down to create a
remarkable 3D typography effect in Photoshop without the aid of 3D
software. Learn how to create a drop shadow and add realistic lighting
effects to finish off your newly learned text effect technique.
In this tutorial you’ll learn various techniques and effects on how
to reproduce a legendary film poster for the popular horror movie called
"Day of the Dead". You’ll be using and manipulating various textures
and stock photos to create a great composition.
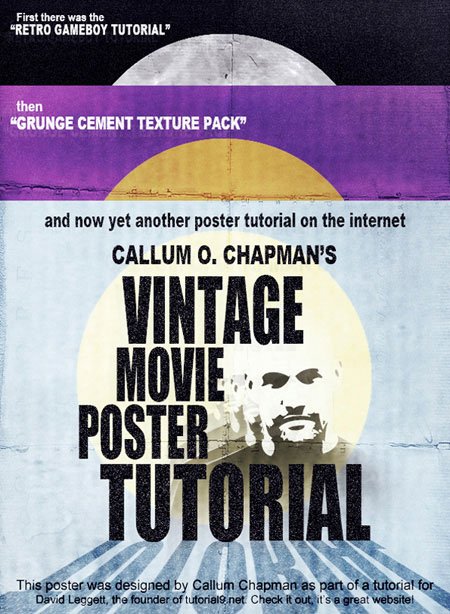
Sometimes vector art can look a little too crisp and unnatural. In
this tutorial, Derek Lea will be teaching you how to combine your vector
art with textures to give it an awesome worn-and-torn look!

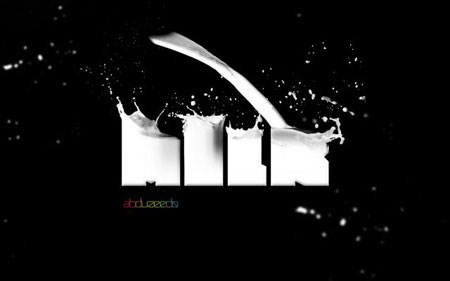
After learning how to create some custom typography in Illustrator,
you’ll be instructed in great detail how to merge stock photographs of
(splashing) milk with your custom type to produce this great milky
typography effect.
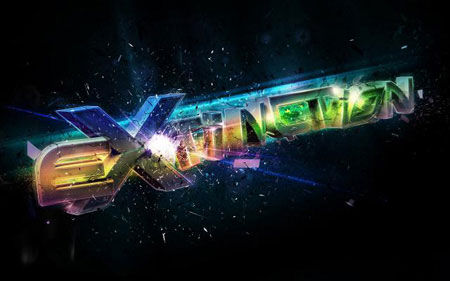
With some help from Cinema 4D to create your text, you’ll be using
brushes, motion blurs and various stock photos and textures with
different blending modes to create this wonderful piece of typography
art.
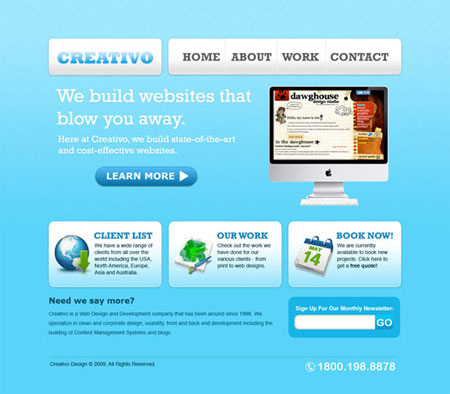
Learn how to correctly use a grid layout template when designing a
new website. Combine various tools and effects to create a clean and
modern "web 2.0" style web mock-up.
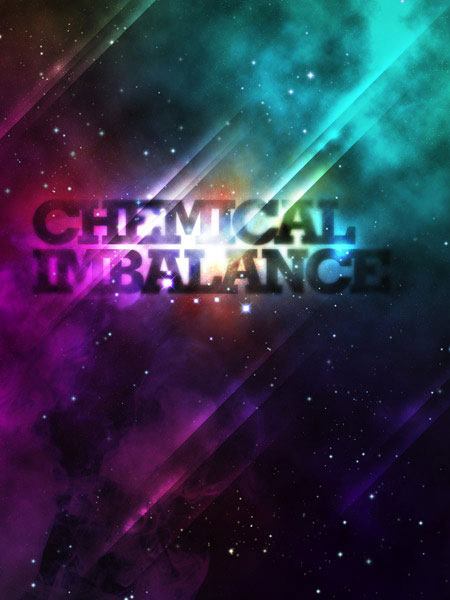
In this tutorial by Chris Spooner, you’ll be learning how to use
advanced lighting techniques and stock photography manipulation to
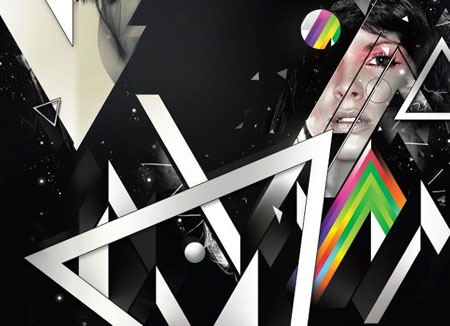
produce a trendy galactic style poster design.
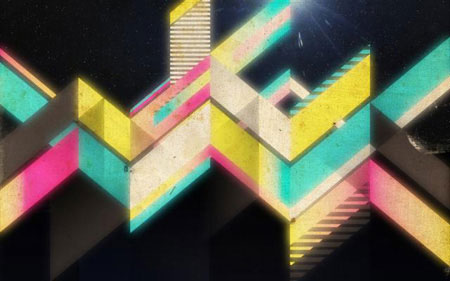
Effectively combine vector files with pixel art in this great
tutorial by Fabio Sasso. You’ll learn how to create custom geometric
shapes in Illustrator and then merge them with some great Photoshop
lighting effects and noise filters.
Create some custom-sized type in Photoshop and manipulate it using
various techniques such as adding glows, playing with motion blurs,
modifying colors and adding reflections.

Follow through the detailed web design tutorial to learn how to create a simple but modern and sleek mock-up in Photoshop.
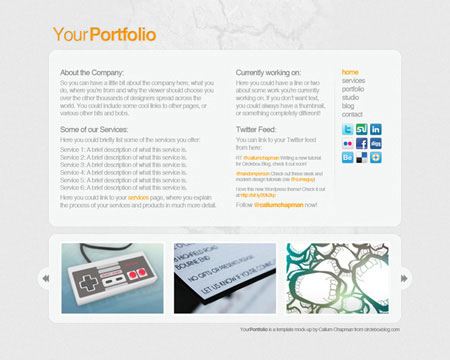
Learn how to correctly and effectively use guides to your advantage
when designing for the web, and pick up several tips and tricks along
the way whilst you pay attention to every single tiny detail in the
design.

This incredible and inspiring tutorial by Tyler Bramer published on
Smashing Magazine is probably one of the most detailed of the year.
You’ll learn an endless amount of techniques in the tutorial including
photo manipulation, blending techniques, lighting effects and much, much
more!

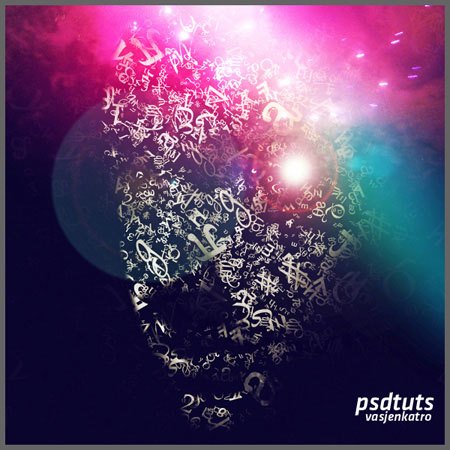
Create a slightly freakish typography and retro "space face" in this
tutorial by following through the detailed steps on how to manipulate
typography, add extreme bursts of color and how to effectively use light
to make your image stand out.
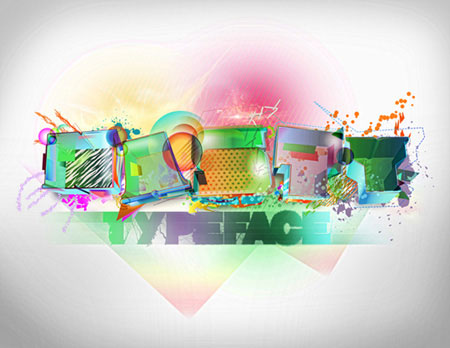
Once again you’ll be using both Illustrator and Photoshop in this
tutorial: Illustrator to create the 3D typography, and Photoshop to add
some great lighting effects, gradients, shadows and an awesome HDR
effect.
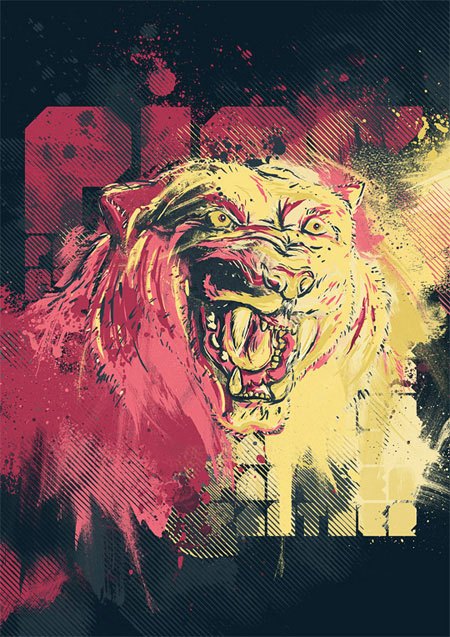
In this tutorial you’ll be manually tracing a stock photograph in
Photoshop (graphics tablet recommended!), adding some awesome colored
grungy and splattered areas followed by some great halftone brushes and
some strong, bold typography.
Deconstruct and reproduce a vintage magazine advertisement in
Photoshop by following this superb tutorial by Danny Outlaw at his blog
Outlaw Design. Learn how to professionally combine grungy textures with a
clean and professional stock photograph.

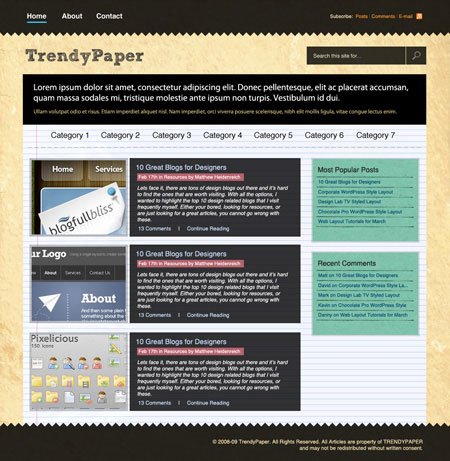
Follow this great tutorial written by Matthew Heidenreich to produce a
trendy and modern paper-themed web design mock-up. Use various textured
photographs and scanned images to make a realistic paper look.
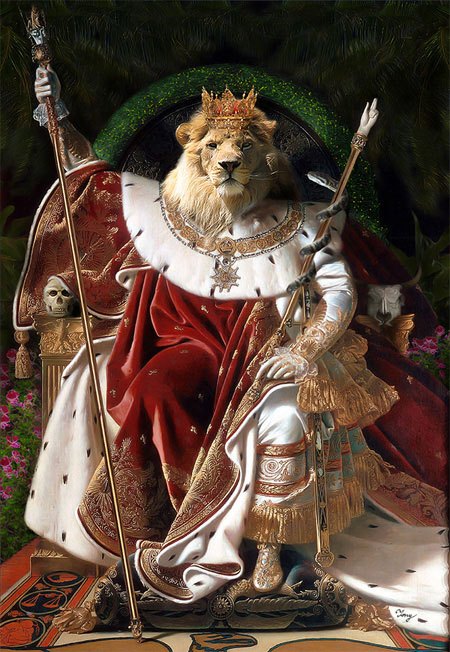
In this detailed and (probably) very recognized manipulation, you’ll
learn how to manipulate and merge a lion’s head and various other items
and creatures into a famous portrait painting of Napoleon.
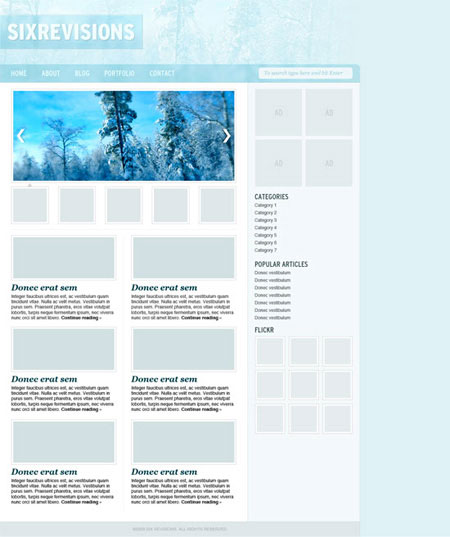
Although this tutorial by Ionut Ciursa is relatively new, it lands a
well-deserved place in this list. You’ll learn some very handy
techniques such as making a frosted header banner and how to effectively
use guides when designing for the web.
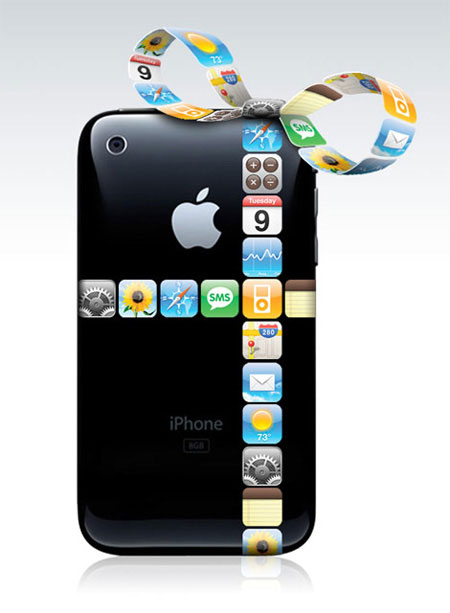
In this tutorial you’ll learn how to create an Apple-inspired
application gift ribbon (as seen in Apple’s latest Christmas promotional
period). You’ll be using various tools such as the Warp Transform tool
and the Gradient tool.
Use the Pen tool and several layer styles to produce a modern and
stylish mail icon in Photoshop. Icons created using this technique are
suitable for the web, print documents, and even application icons.

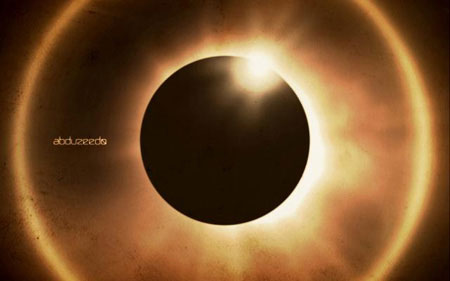
The popular TV show, "Heroes", has become a hit for the catchy
storylines and the fantastic art that is associated it. This tutorial
shows how to produce the eclipse in very simple and easy to understand
steps. You’ll learn some great lighting techniques as well as how to
apply grungy textures.
This could ultimately be one of the best and most helpful tutorials
you’ll ever read. Learn simple but superb techniques on how to add
special finishes to your print work such as spot colors, spot varnishes
and more!
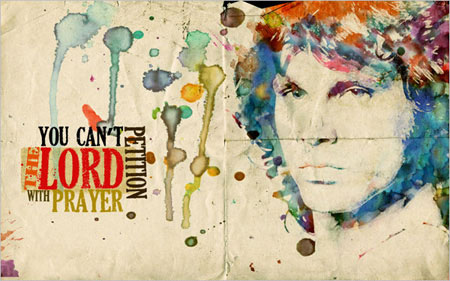
To make this great watercolor wallpaper effect in Photoshop, you’ll
need to know how to use advanced layer mask techniques. Not too sure how
to do that? This tutorial teaches it perfectly.
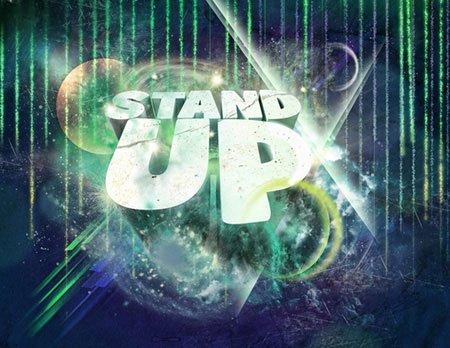
Combine various blending modes and manipulation techniques in this
tutorial to create a stylish and modern green planet with wavy lines.

This tutorial combines both 3D Max (20%) and Photoshop (the remaining
80%) but can, however, all be produced in Photoshop. You will be
learning techniques on the basics of lighting, mapping, rendering,
applying textures blurs and various other tips and tricks to produce
this galactic style poster design.
If you want a way to freak out your other half or one of your
friends, this is a great technique to learn. Taught by Simon Rudd, he
walks you through the steps on how to separate limbs (nice!) using
various tools and techniques such as how to use the Heal tool, how to
use layer masks and how to use adjustment levels.

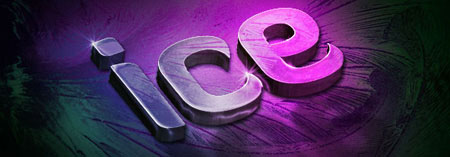
Andrew Houle talks you though how to create some great 3D typography
in this tutorial. You’ll learn how to color 3D illustrations by using
gradients and how to use hue, saturation and lightness levels to
productively change the feel of the final image.
In this tutorial, David Cousens takes you through the design process
of his digital painting "Broken Link" from sketch to the finalized
digital piece of art. Throughout the tutorial you’re bound to pick up on
hundreds of little techniques such as light sources, basic drawing
techniques and how to add a bit of a dirty feel to your final image.
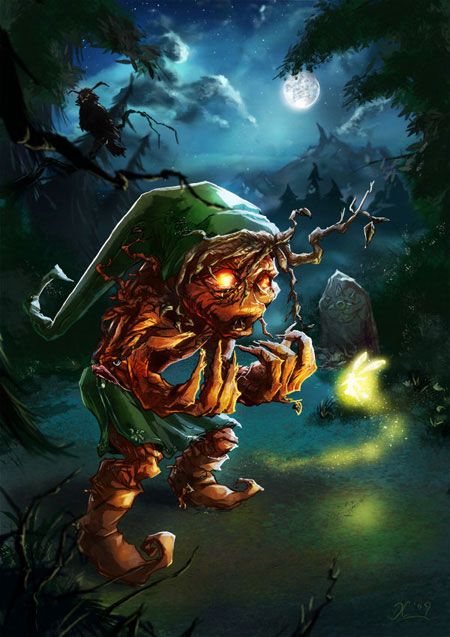
In this awesome tutorial you’ll learn how to make a realistic and
grungy peeling sticker from scratch using Photoshop’s simple tools such
as the Ellipse tool, the Polygonal Lasso tool and feathered brushes.
This tutorial is great for making your own icons for web and print, or
even for designing your own real stickers!

This effect is known as the "letterpress text effect" and has been a
huge design trend of 2009 – the effect is still expanding and I can’t
see it going very far in 2010. For that reason, this tutorial by Chris
Spooner made it into the list with a well deserved place. Use very
simple techniques to create this stylish and effective text effect!
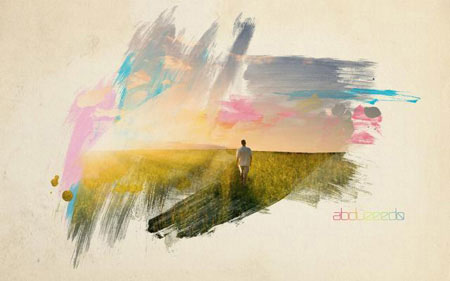
This piece of art was inspired by the master Scott Hansen. Fabio
Sasso walks you through how to create your own digital wallpaper like
Hansen’s using a combination of layer masks and watercolor brushes.
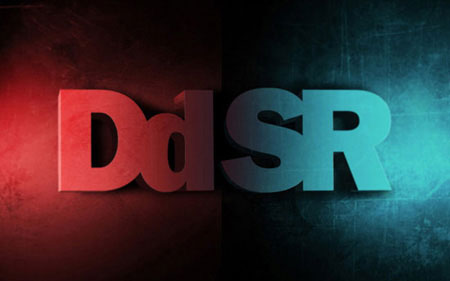
In this tutorial, university lecturer Eren Goksel will teach you how
to use the 3D Orbit tool, the Mosaic filter and various other techniques
to design a 3D text block type effect in Photoshop.

To create your own stunning and bold 3D text you will use a
combination of Illustrator and Photoshop to create your 3D type and
several layer styles and tools such as the bevel and emboss style,
Gaussian blurs and layer masks.
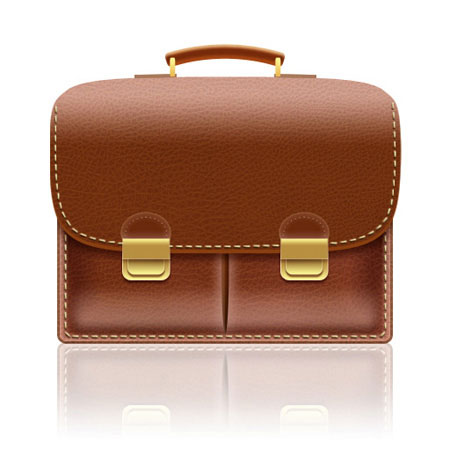
Combine the use of textures, rendered clouds and loads of great tools
and techniques to produce a realistic briefcase icon that can be used
for various projects, both web and print.


Comments
Post a Comment