1. Cross Processing
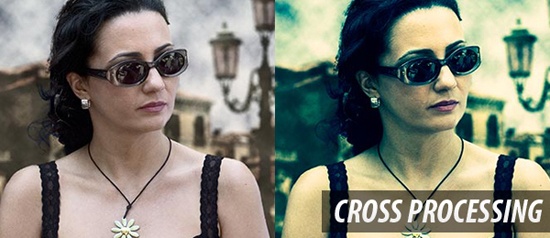
You can learn how to apply the Cross Processing film-developing technique digitally to your images by reading through this quick and educational tutorial that leverages the powers of the Curves tool in Photoshop.
2. Lomo Photography

Take your ordinary digital photos and simulate the Lomo Photography effect (also known as Lomography) that will apply a dreamy and surreal effect onto your images in this tutorial that uses a Levels Adjustment layer among other Photoshop techniques.
3. HDR Photo Effect

Create a pseudo-HDR image by reading through this popular Photoshop tutorial that uses basic Photoshop tools, options, and techniques such as adjusting Shadows/Highlight settings and changing layer Blending modes.
4. Gritty Effect
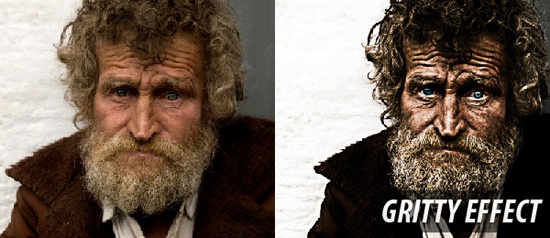
Improve your photos with a dramatic gritty bronze effect to make them truly pop though the techniques discussed in this Photoshop tutorial. The tutorial uses a combination of techniques including the utilization of a Curves Adjustment layer.
5. Dave Hill Look Photo Effect
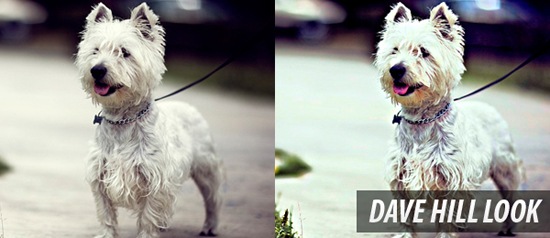
This simple but impressive tutorial takes inspiration from Dave Hill‘s unique photography work to create stunning HDR-like renditions of ordinary photographs using a combination of techniques that involves the Unsharp Mask in Photoshop.
6. Soft Focus Photography
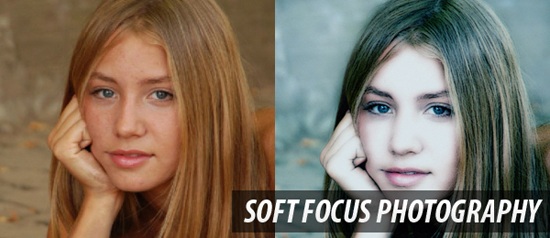
Learn about an image-enhancing technique that you can easily apply onto your images by reading through this handy Photoshop tutorial from photoshoptalent.com that uses a Color Balance adjustment layer as well as other Photoshop options and techniques.
7. Movie Photo Effect
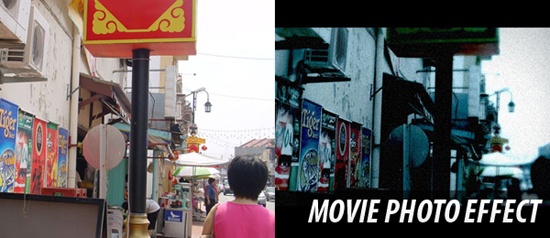
By following along this Photoshop tutorial, even the plainest photos can embody a stylish Hollywood film look-and-feel. The technique involves a few Image Adjustment (Image > Adjustment) options like tweaking Exposure and Hue/Saturation settings.
8. Extreme Contrast Photo Effect
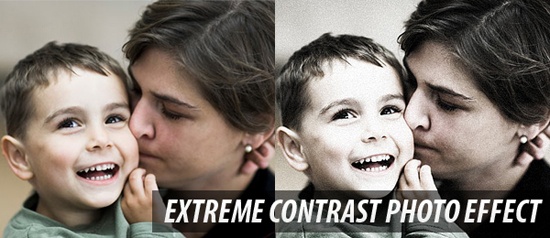
In this Adobe Photoshop tutorial, you will learn how to add some noise, how to take advantage of Photoshop’s sharpening tools, and how to add a simple Adjustment layer to give a photo an "extreme contrast" effect.
9. Infrared Photo Effect

The infrared photo effect can be a unique and stunning way to create one-of-a-kind photos. Learn how to simulate this photography technique digitally through this helpful Photoshop tutorial that takes advantage of Photoshop’s Channel palette.
10. Soft Focus & Glow Effect
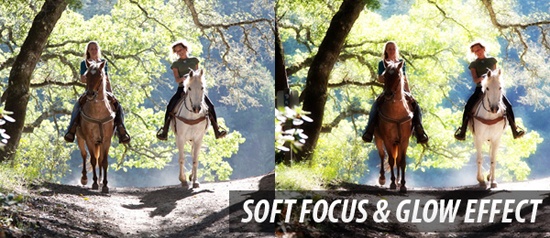
Do you want to change a plain and boring scene into a dreamy and surreal photo? If so – check out this wonderful tutorial on applying a soft focus and glow effect onto your photos using the Gaussian Blur filter and adjusting layer Blending modes.
11. High Pass Filter
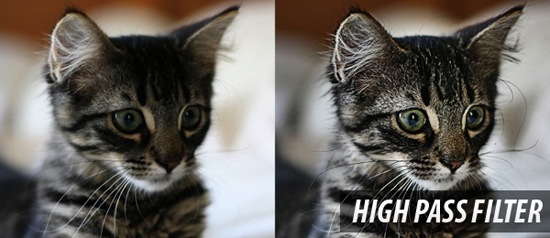
In this straightforward image-editing tutorial, you will learn a quick technique for enhancing your images to give them a subtle HDR effect by using Photoshop’s handy High Pass filter and adjusting layer Blending modes.
12. Vintage Photo Effect

Renowned graphic/web designer Veerle Pieters discusses a method for putting on a vintage photography effect on images in this tutorial that uses a few techniques like adding a Brightness/Contrast Adjustment layer and utilization of Smart Filters.
13. Split Toning Black & White Effect
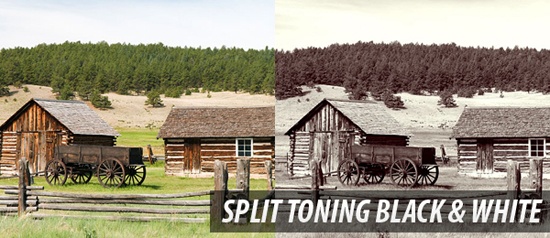
Learn to apply the split toning (a variance of sepia toning) photography effect which takes ordinary photos to produce a vintage-style photo effect. This tutorial uses several Photoshop options like adding a Color Balance Adjustment layer and the Channel Mixer.
14. Change Hair Color Tutorial
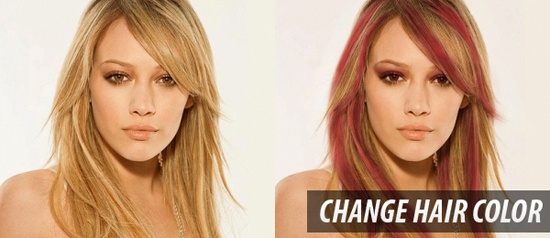
If you want to add a bit of spice in your photos – one way to do so would be to change the subject’s hair color. Learn about a method for coloring hair in this tutorial that shows where Photoshop’s notoriety for digital manipulation comes from.
15. Coloring Effect Tutorial
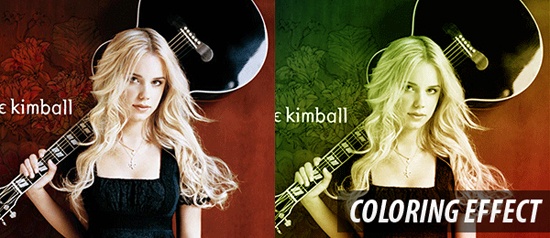
In this quick and simple Photoshop tutorial, you will get a chance to discover some methods for coloring your images using a few tools and options such Adjustment layers, modifying Blending modes, and the Blur filter.
16. Light Effects

Enhance your images by adding a few cool lighting effects; learn how in this Photoshop tutorial. The tutorial uses various Photoshop tools such as the Gradient tool and taking advantage of the Pattern Overlay layer style.
17. Snow Photo Effect

Add some weather into your photos by viewing this tutorial that teaches its readers how to add falling snow onto a photograph. The tutorial adds in the snow by using the Add Noise Photoshop filter, blurring it, and overlaying it onto the image’s layer.
18. Streams Of Dusty Light
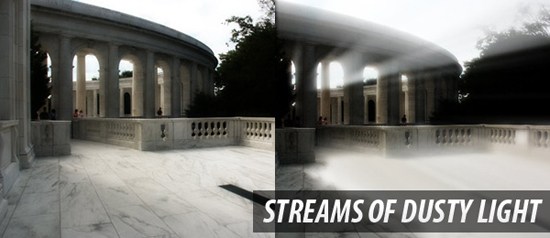
This interesting Photoshop tutorial shows you how to add a surreal stream of light to make your photos truly unique and eye grabbing. The tutorial leans on the Radial Blur filter to create the streams of light.
19. Photo Color Correction
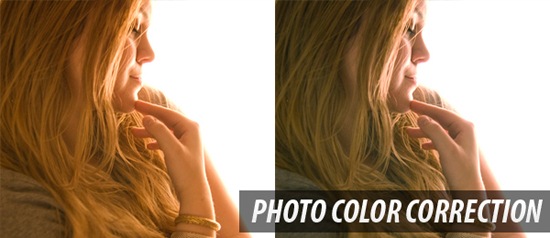
If you have an image that you would like to correct for color, Photoshop is here to help! Read this PSDTUTS tutorial in order to learn about one of Photoshop’s strongest tools: the Curves Adjustment tool.
20. Enhance Skin Tutorial
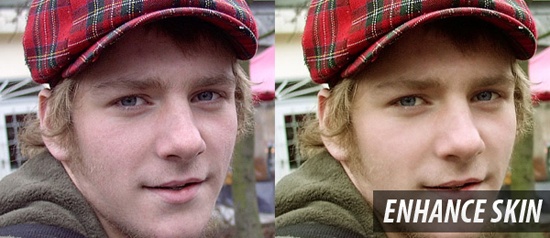
In this Photoshop photo-editing tutorial, you’ll come across a process for effectively improving your subject’s skin. One of the Photoshop tools you’ll be encountering in the tutorial is the Healing Brush tool.
21. Gaussian Blur
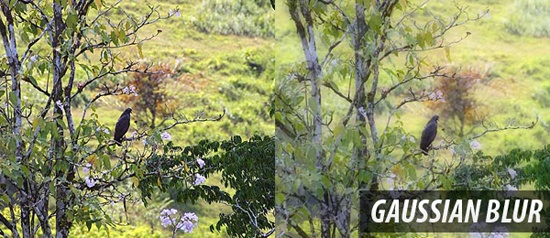
Using the Gaussian Blur filter on images can result in unique photo scenes. If you’d like to know how you could use this Photoshop filter in a manner that enhances your photos, you should read this excellent tutorial.
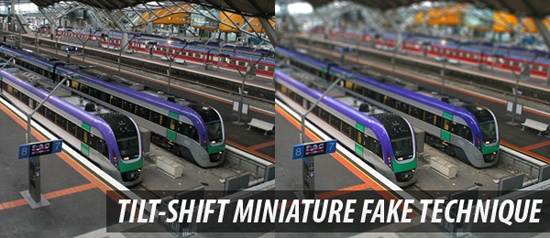
22. Tilt-Shift Miniature Fake Technique
Comments
Post a Comment