Quick Tip: Create an Extruded Glossy 3D Text Effect in Photoshop
Final Product What You'll Be Creating
People
love 3D effects. They also love the look of shiny, glossy, graphics as
well. Today, we will combine those two popular styles and create an
extruded 3D glossy text effect in Photoshop. Let’s get started!
Step 1
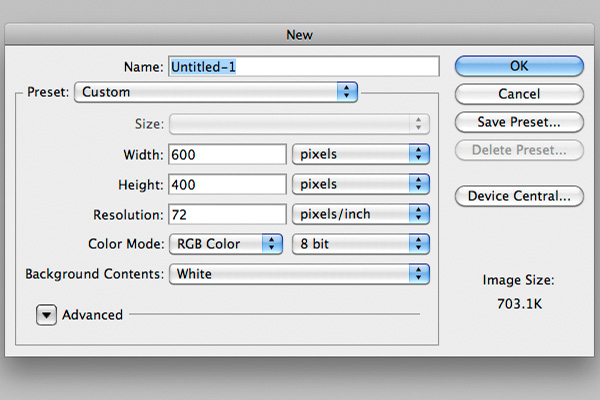
Create a new document, make it 600px by 400px.
Step 2
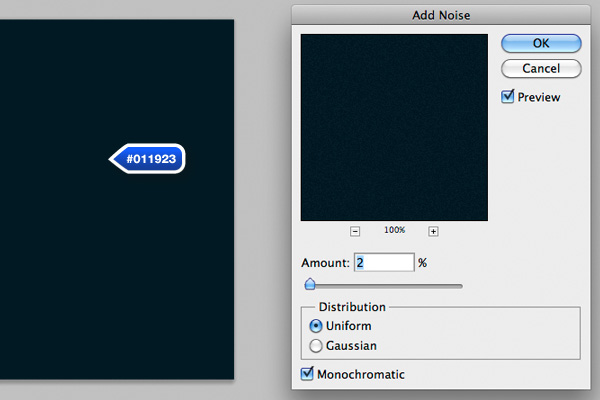
Fill the background with #011923. Now, add some noise, go to Filter > Noise > Add Noise. 2% should be ok.
Step 3
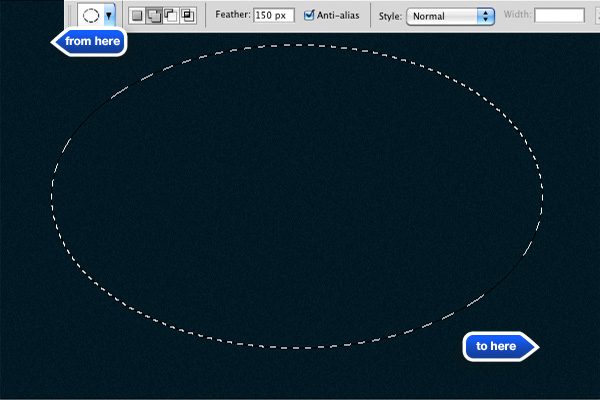
Create a new layer and select the Elliptical Marquee Tool (M). Add a 150 px feather and drag out a shape as shown below.
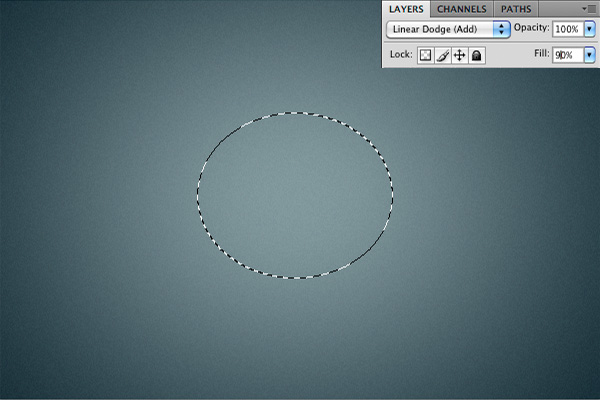
Fill the selection with white and set the blending mode to Linear Dodge (Add) and bring the opacity down to 90%.
Step 4
Select
a nice-looking bold font. I used Helvetica Neue LT Std 85 Heavy, but
you can use anything you like. Set its size to about 160 px and fill it
with white.
Duplicate
the text, set the color to something darker. Send the darker text layer
behind the original and adjust the width as shown below using the
transform tool (T).
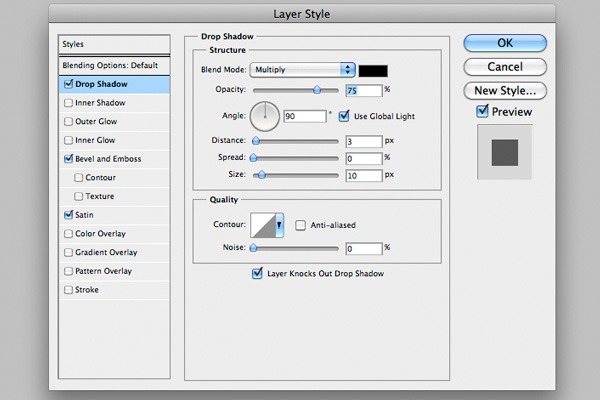
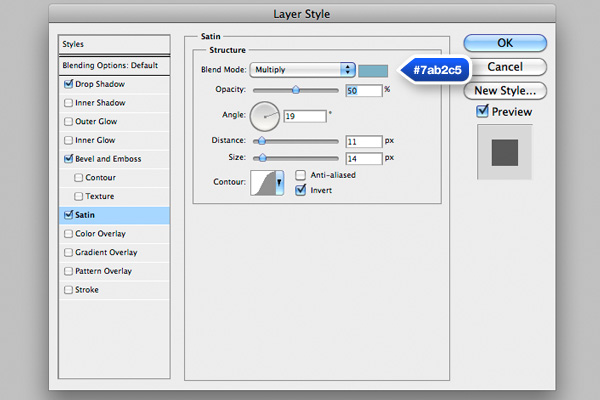
Step 5
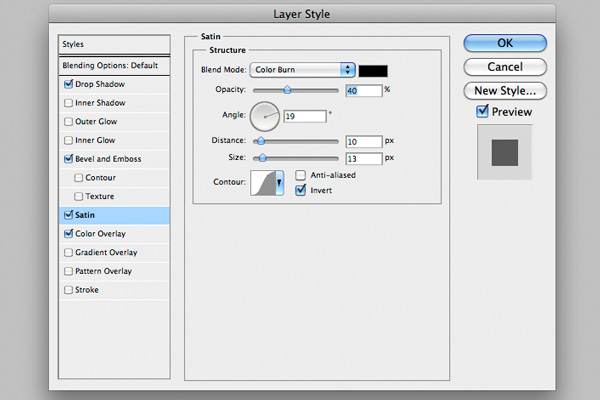
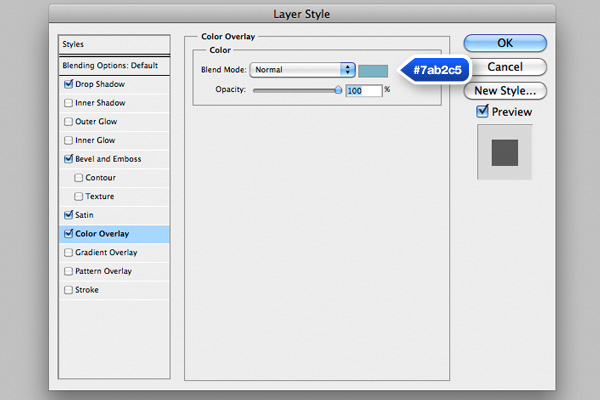
Apply the following layer styles to the white text layer.
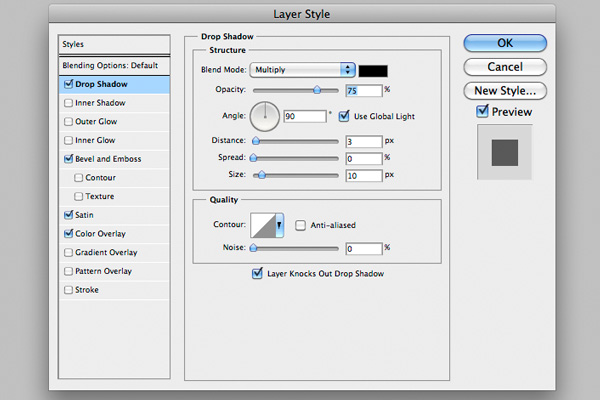
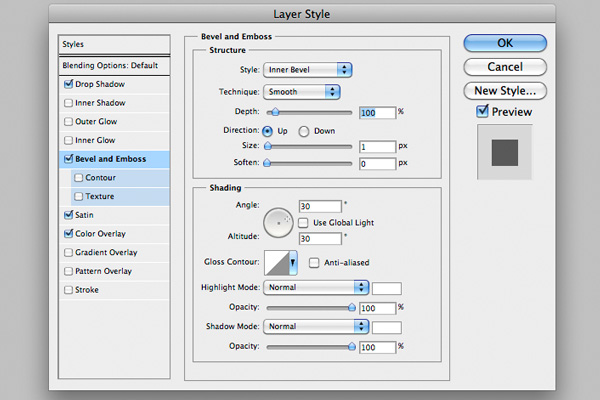
Step 6
Apply the following layer styles to the darker text layer.
Step 7
Grab the Brush Tool and select a big 200 px wide soft brush. This is what we will use to create some shiny reflections.
Paint the areas as shown and set the layer’s Blending Mode to Soft Light.
Step 8
Duplicate
the text layer and rasterize it (Layer > Rasterize > Type).
Select the Elliptical Marquee Tool (M) and create a wide shape as shown.
Make sure to reset the feather value to 0px, we want this edge really
sharp.
Now take the Eraser Tool (E) and start erasing the top part of it to get a nice and soft gradient.
Step 9
Use
the Brush Tool again to create some soft spots and hit Cmd/Ctrl + T to
bring up the Free Transform options. Scale down the width and rotate it
45 degrees by holding Shift while rotating. Duplicate it and rotate it
again to get this x shaped sparkle.
Step 10
Create
some copies of this sparkle and make them a little bit smaller, place
them in the brighter areas. That’s it, you are done! Hope you enjoyed
working on this tutorial!


Comments
Post a Comment