Final Image
As always, this is the final image that we’ll be creating:
Step 1
So let’s start with a new document of 3300 px width and 2336 px height at 300 resolutions. I created large document because I wanted to print it on A4 size.
Step 2
Press U and select rectangle tool and create a rectangle of document size and apply gradient overlay with colors 890000 & ffb400. Now select transform tool and increase rectangle size from document size to 4515 px width and 3196px height.

Duplicate the rectangle and apply 10% transparency with normal mode. Your gradient will automatically transform and results will be like this.
Step 3
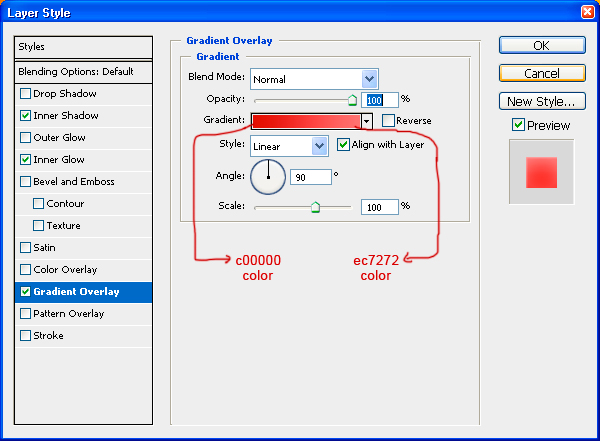
Now select type tool and write letter “H”. Font is your choice but I used here font Akashi of 180 pt weight. Go to the layer style option and reduce the Fill Opacity to zero in Advanced Blending. Now apply these layer styles.Gradient overlay: color c00000 & ec7272
Inner glow: color fba8a8, opacity 76%, blending mode screen.
Inner shadow: color ffc7c7, 65% opacity and size 13px.


Step 4
Now duplicate the letter H and name it emboss. Remove all layer style and fill opacity to 100%. Shift it slightly right and down to give it emboss look. Now ctrl + click on text layer “H” and press delete to remove unwanted area.
Ctrl + click emboss layer, right click and click on “Make Work Path”. Now select direct selection tool by pressing A and select anchor points. Adjust them and fill it with color d90000 to give it a real 3d look.

Step 5
Now isolate all the faces of emboss layer like right face, bottom faces, and apply these layer style.


Step 6
Apply layer style same as in step 5 here.
Step 7
Now select the bottom of letter H and apply gradient overlay same as in step 5 with 90 degree angle.
Step 8
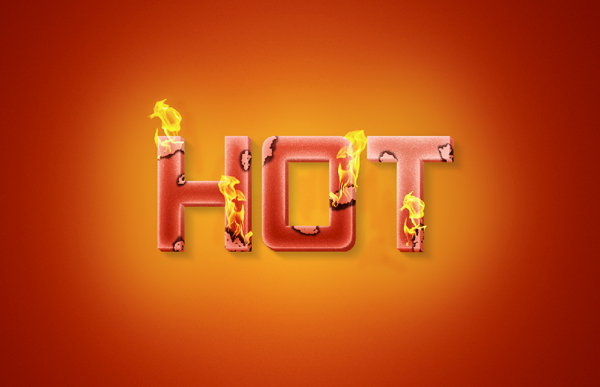
Repeat step 3,4,5,6 & 7 in letter O and T. The result will look like this.
Step 9
Merge all layers of text HOT and name it hot. Change its blending mode to overlay. Duplicate the HOT layer and change blending mode to darken name it HOT 1. Duplicate this HOT1 layer.
Step 10
Ctrl + click HOT1 layer, select a soft brush of color black and size 100 px and paint the shadow of text considering the source of light on top left. Change its opacity to 10% and blending mode to multiply.
Step 11
Now ctrl + click letter H, O, and T and save this selection to HOT and apply layer mask. Create new layer & name it shadow, load selection HOT and fill it with black color. Apply motion blur of -36 degree and decrease its opacity to 25% with multiply mode.
Step 12
Copy HOT layer and change its blending mode to dissolve. Create a new Hue/Saturation adjustment layer with setting; Hue 6, Saturation 3, Lightness 0. Create clip mask by pressing alt + click on between the adjustment layer & HOT layer.
Step 13
Duplicate HOT layer again and keep it on top go to Filter gallery choose Reticulation filter with these settings:Density: 3
Foreground Level: 40
Background Level: 5
Change its blending mode to soft light. Name it R filter.

Step 14
Looks good! Now select brush of 15 px size and 100% hardness, press F5 to access brush option and increase size jitter to 100% on Shape Dynamics. On the scattering option keep scatter 90%. Now click layer mask button bottom to layer pallet. Click on the layer mask, choose black color and hide the area where we’ll burn it.
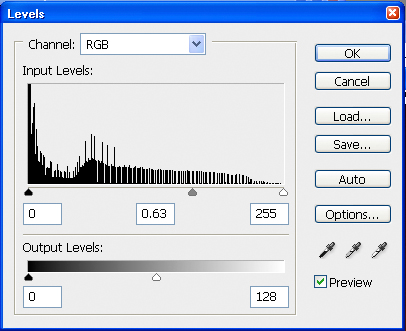
Step 15 Create a level adjustment layer below R filter layer with these settings.

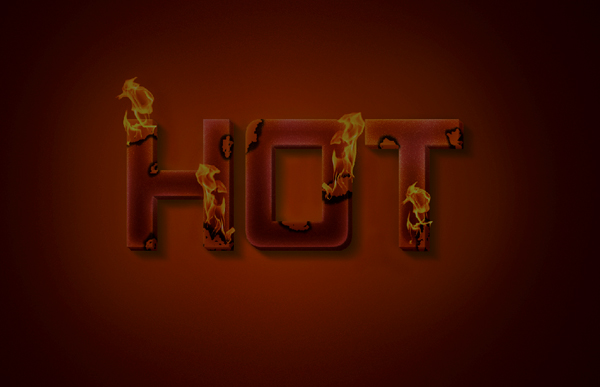
Click on layer mask, press ctrl + I. It will mask everything; now select a soft brush of size 20, color white, and opacity 70% and paint around hidden areas of R filter layer. Now ctrl + click on R filter layer and hide selected area. The result will look like this.

Step 16
Add layer mask to HOT layer and hide the area outside burned texture. This will give a warmer feel to the text inside burning texture.
Step 17
It’s time to add some fire on it. I used images from sxc.hu Drag images into document and change color mode to screen and duplicate image twice to get desired result.

Step 18
We’re near to complete. Now it’s time to add some finishing. Create a new layer select gradient tool and use colors cb0b0b, f89d9d and f2acac. Add noise of 3px, monochromatic, distribution Gaussian. Keep color mode to multiply. Add layer mask and mask areas around text HOT by a smooth brush.
Step 19
Create a level adjustment layer with these settings. Now we are facing a problem that is letter H & O is darker then T. To fix this problem add layer mask and hide area of H & O by painting soft 70% opacity brush.
Create curve adjustment layer with input 84 and output 100.

Now create another level adjustment layer with these settings and name it level 2.
The result will look like this.
Step 20
Nearly finished the whole effect but not looking very impressive right? Ok, apply layer mask to “level 2” adjustment layer, select large soft brush with color black and hide the area around fire. This will add life to the scene because we added fire’s light refracted on text and texture.That’s all friends!
And We’re Done!
That’s the tutorial finished! I hope you’ve enjoyed it and learnt something useful. Click on the image below if you would like to view the full sized final image: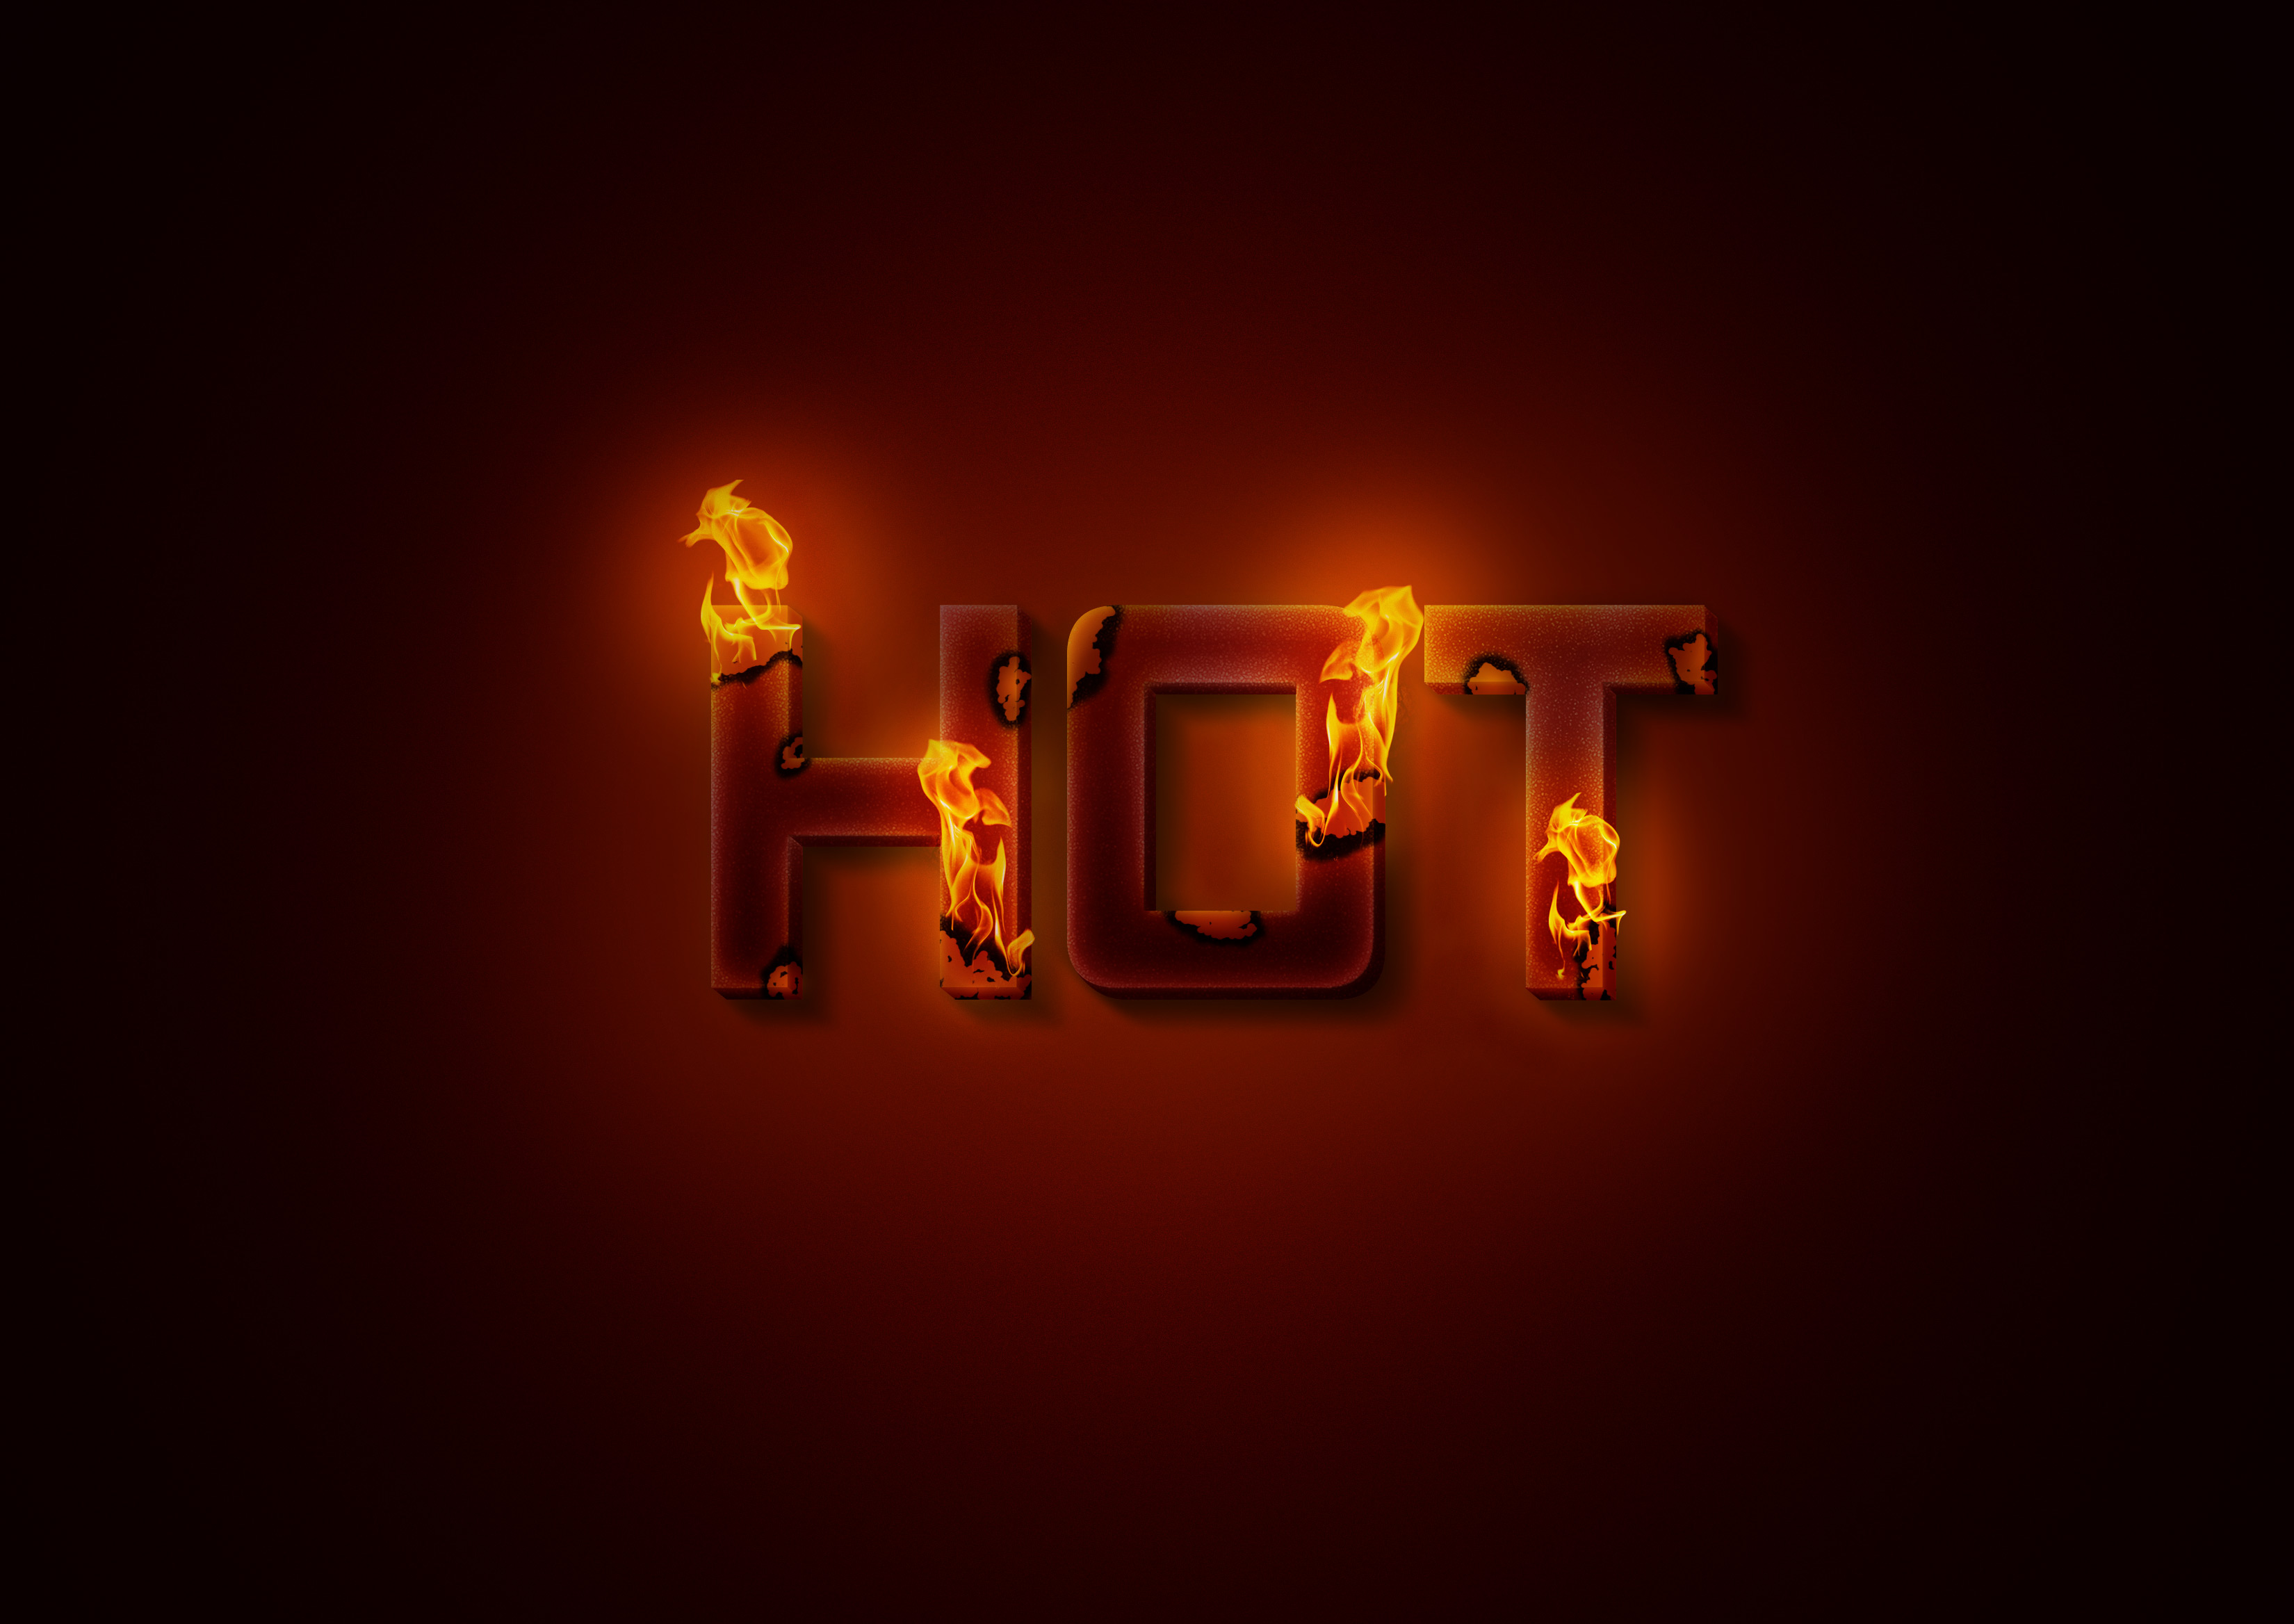
Comments
Post a Comment