Last week Rockstar announced that they will release more information about Grand Theft Auto V this week. It will definitely be an awesome game and we are looking forward to getting a copy. Because of that we decided to recreate the logo using Illustrator and Photoshop, but not only because we like the game, the effect used in the logo is quite cool and it's something we always wanted to try.
So for this tutorial we will show you how to create a nice money style effect using Illustrator and Photoshop. The process is a little bit long and we will just give you a high level explanation. It's important that you try to not only follow but modify the process so you can come up with your own effect.Step 1
Create a new document in Illustrator. Then with the Type Tool (T) add the letter V using Baskerville Bold. After that go to Type>Create Outlines. Rotate the V so you can create a A.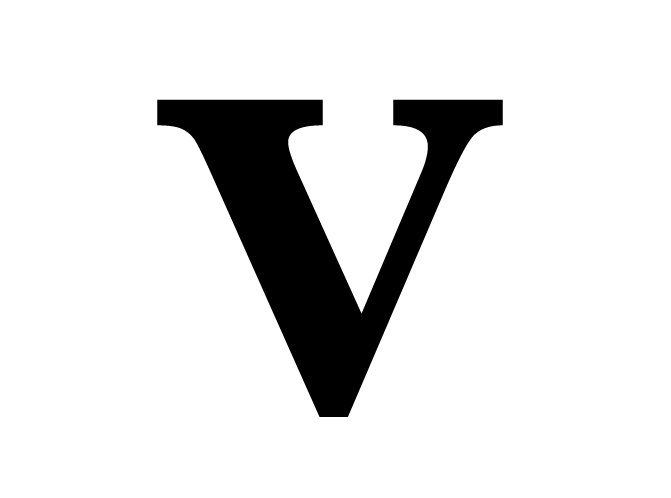
Step 2
With the Ellipse Tool (L). Create an ellipse and then duplicate it like the image below.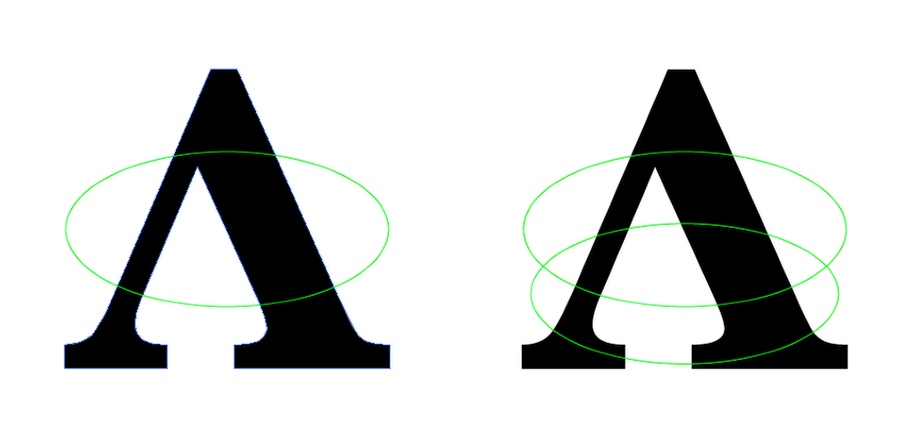
Step 3
With the LIne Segment Tool (\) create the connection of the 2 parts.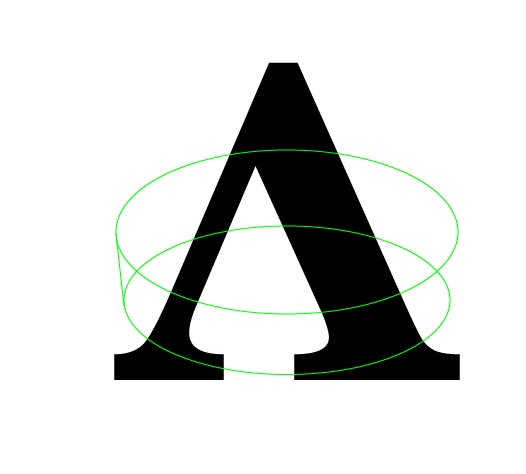
Step 4
Using the Pen Tool (P) create a sort of curve as the paper the ribbon is folding. Just create something like an wave.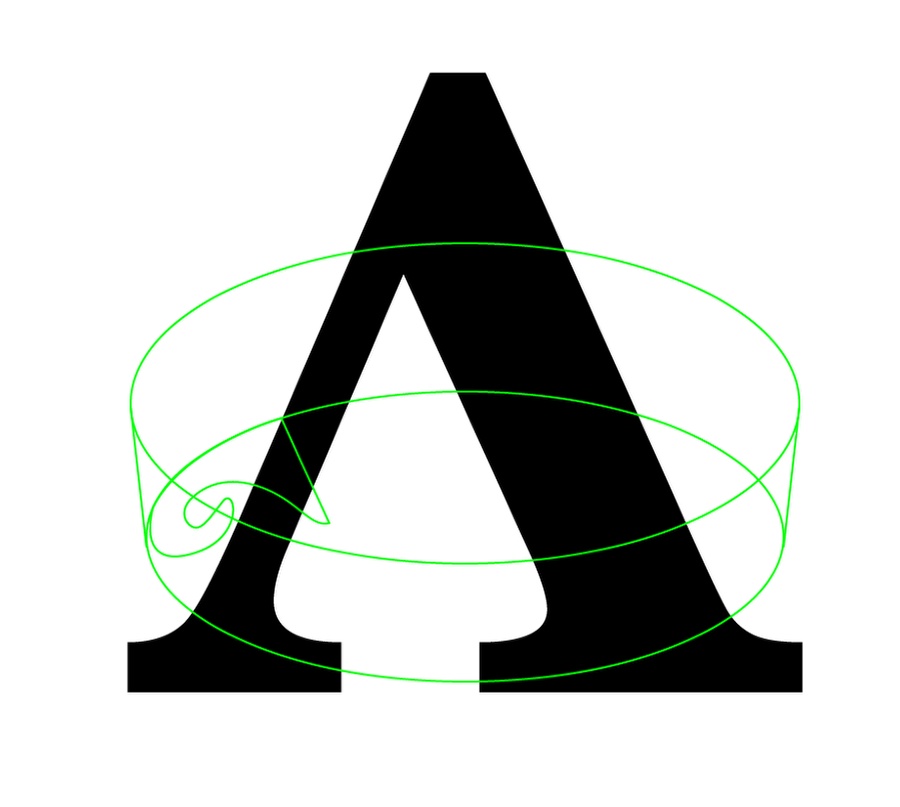
Step 5
Duplicate the last object and move to the other site.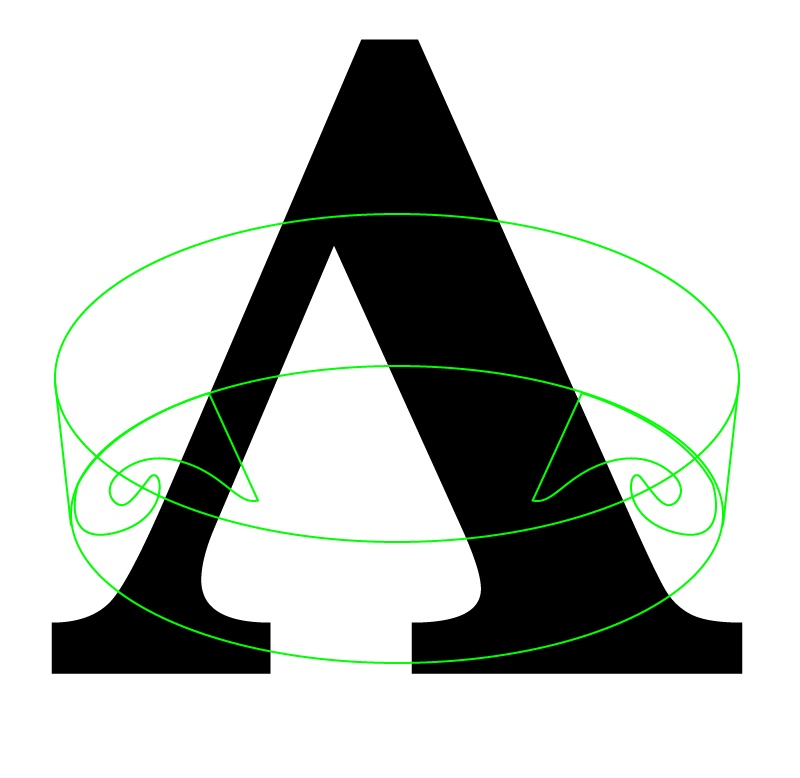
Step 6
For the A let's add 2 strokes The first one is and bigger one is going to be black with 7pt for the weight. The second one, and the one that will be on top will be 3pt weight in white. Also change the fill color to green. For the other strokes use 3pt with black.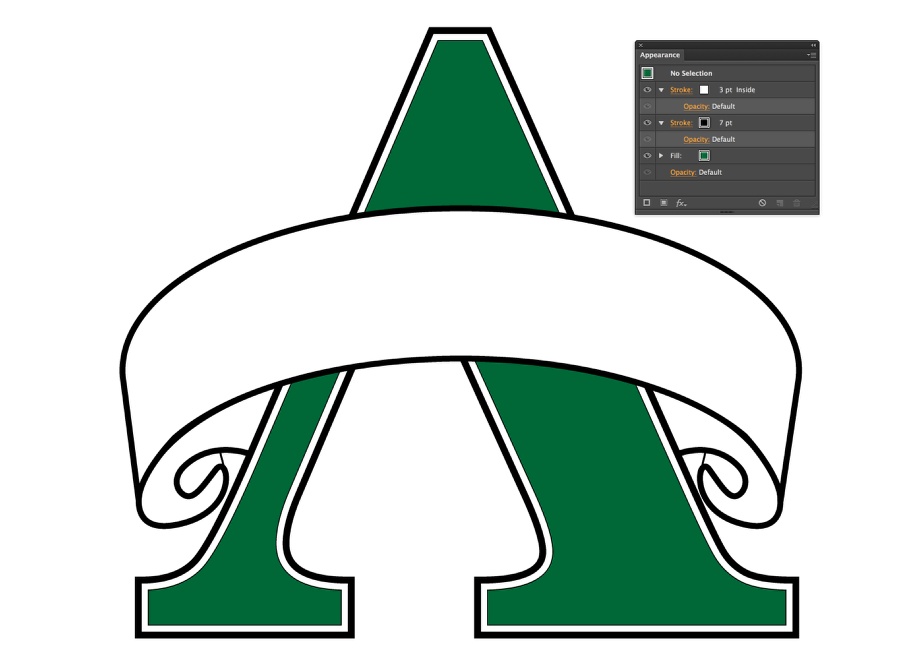
Step 8
To create the nice shadow effects with lines is quite simple. Create 2 lines following the ribbon shape. You can make the curves a little different .
Step 9
Using the Blend Tool (W), click on both lines to create the effect. After that, double click on the Blend Tool icon to open the Blend Options use Specified Steps with 20 steps. Also create some little shadows with the Pen Tool (P) like in the image below.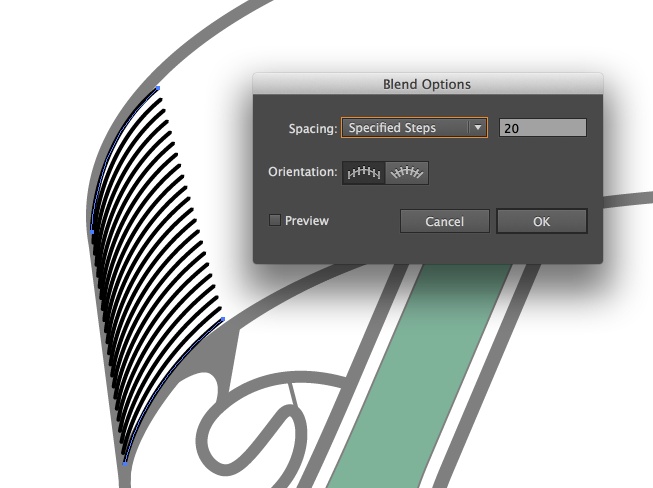
Step 10
Repeat the same process to the other parts of the ribbon. Always follow the curves of the ribbon to create a nice 3Dish effect.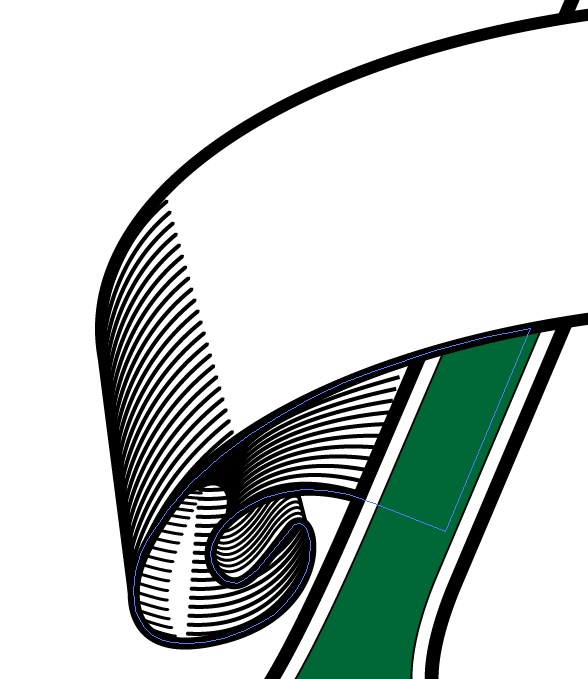
Step 11
Repeate the same thing on the other side. You can also add more lines like the 2 in the center.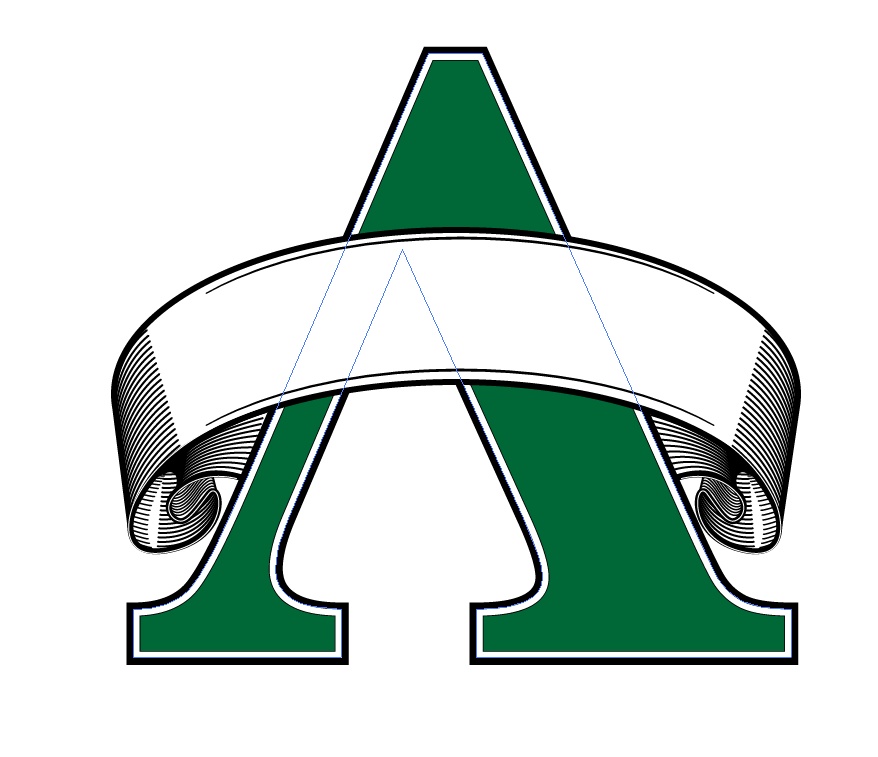
Step 12
Add the text you want and go to Object>Envelope>Make it with Warp. Use Arch for the style, 26% and for the Bend.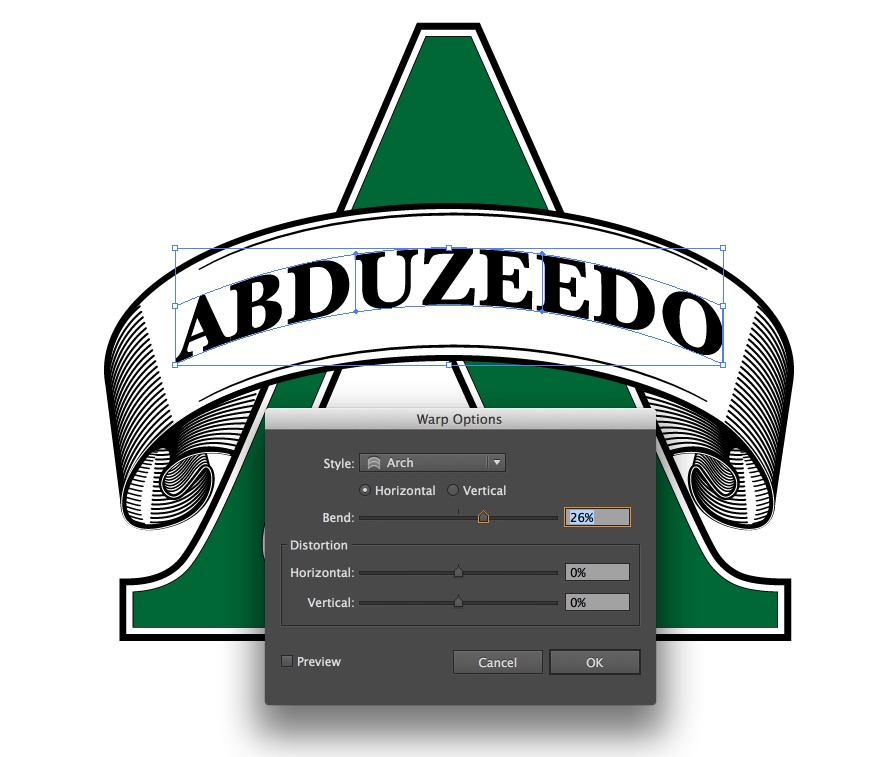
Step 13
To create the background of the letter A. Create an arc with the arc tool or pen tool. After that duplicate it and rotate it. Connect the vertices using the Direct Selection Tool (A) options.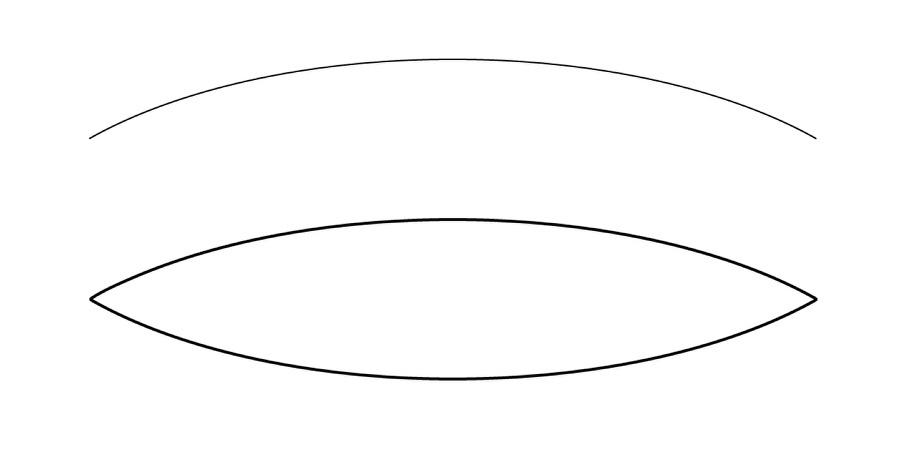
Step 14
Click on the Rotate icon. Then holding ALT, select the vertices on the left. The rotate dialog box will appear. Use 15º for the Angle and click copy.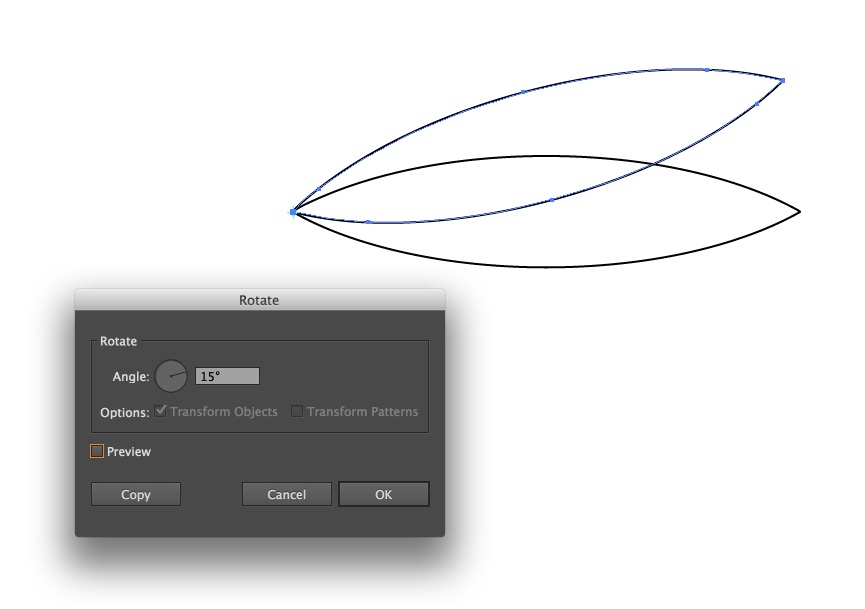
Step 15
Repeat the same process until you have something like the image below.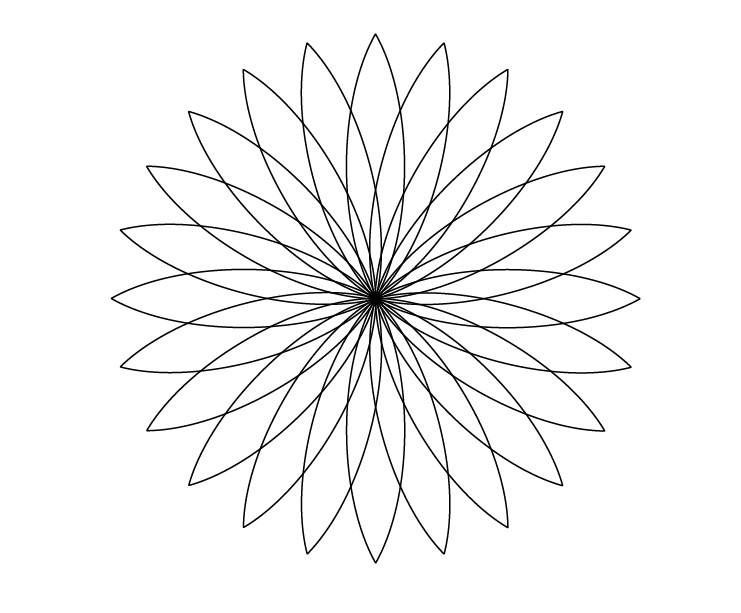
Step 16
Duplicate the object and rotate a few times to make the symbol more detailed.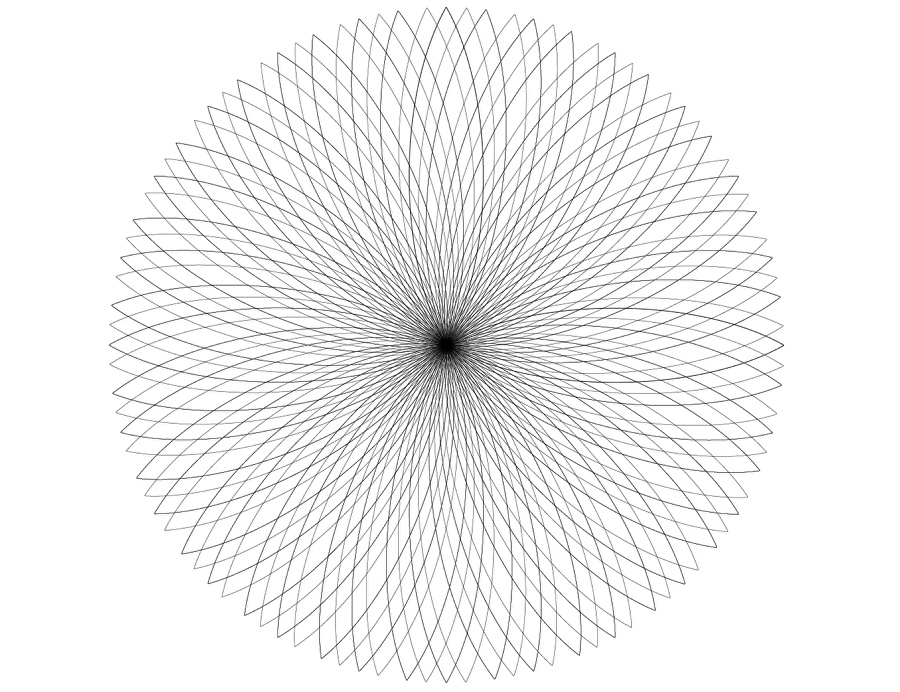
Step 17
Move the object on top of the A. Select the duplicate the A and move it so it's in front of all the other objects. Remove the strokes and change the color to white. Cut it. Select the object created in the last 2 steps, then go to Transparency. Double click on the clip thumb and paste it using Command + F, so it pastes in place. Using clipping mask will also make the texture visible only on top of the A.
Step 18
Now in Photoshop, copy all objects from Illustrator and paste it in Photoshop in separated layers. Then for the shadows, use the Eraser Tool (E) to make the lines different.
Step 19
Add a green gradient replacing the dark green. To do that is pretty simple, just select the green area with the Magic Wand Tool (W), then fill the layer with a new color and use Layer Styles to add the gradient. For the pattern, using the Layer Styles, change the color to white, using Color Overlay with Color Dodge for the Blend Mode.
Step 20
Using Layer Styles, add a Bevel and Emboss to the text like the image below.
Step 21
Let's use an old paper tutorial. The one I used is from Shutterstock, it's called old grunge antique paper texture from photolinc. Group the layers used for the symbol and change the Blend Mode of the group to Multiply.
Step 22
Copy the object used for the texture in Illustrator and paste it in Photoshop. Rescale it so it covers the whole document.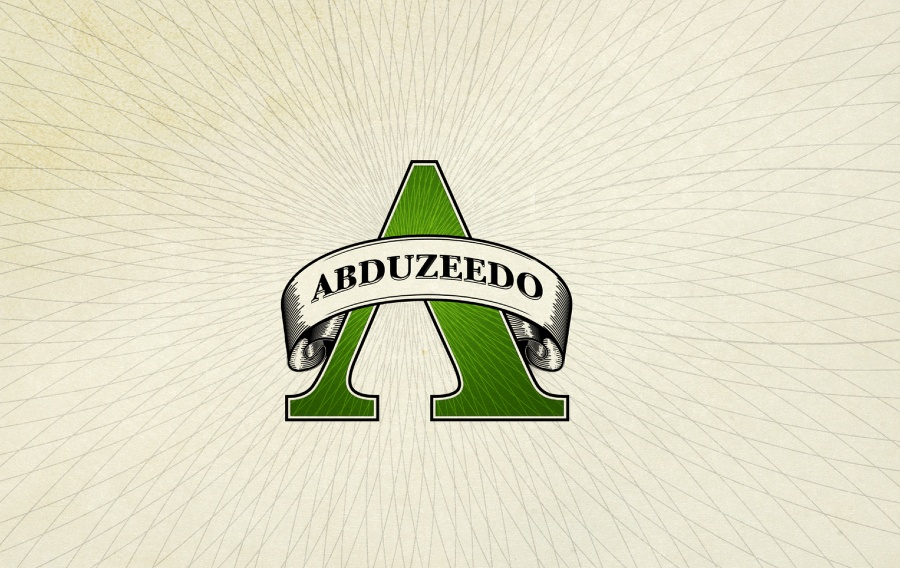
Conclusion
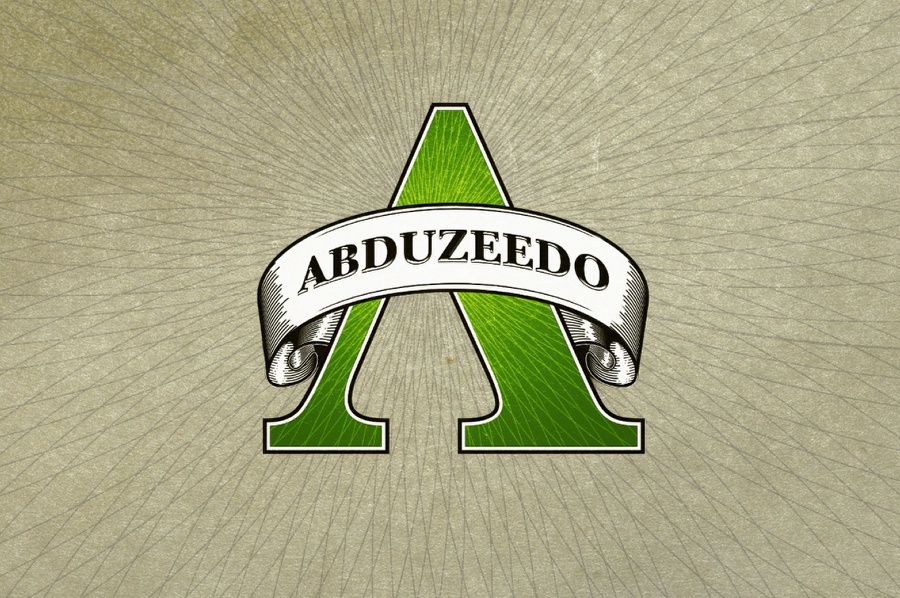
Duplicate the group with the symbol and merge the group. Use Soft Color for the Blend Mode, then duplicate it again and go to Image>Adjustment>Desaturate. After that select all layers and duplicate them. Merge the new layers into one. Move this layer underneath the 2 symbols with soft light and the effect is done.Despite the fact it is a long tutorial, the process is quite simple and I am sure you will be able to apply that to your own projects.
Comments
Post a Comment