Step 1: Setting Up the Texture PSD
This PSD will serve as a place to create certain textures used in the final layout. I find it helpful to create textures in a separate document. It’s like a sandbox for experimentation.Make a new document in Photoshop that is 1024px wide by 1024px high at 72dpi.
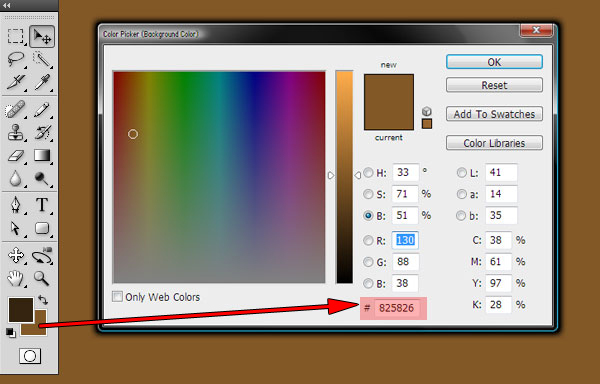
Set the foreground color to #34240f by clicking the topmost color swatch in the Tools palette and entering this number at the bottom of the Color Picker dialog box. Set the background color by the same method to #825826. Fill the “Background” layer with this color by pressing Command + Backspace.
Step 2: Making the Corkboard Texture
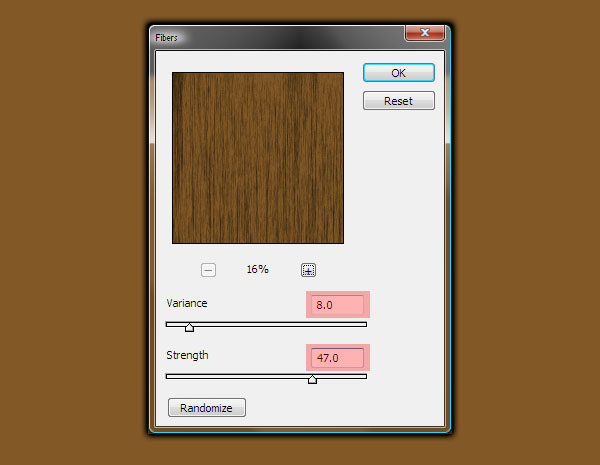
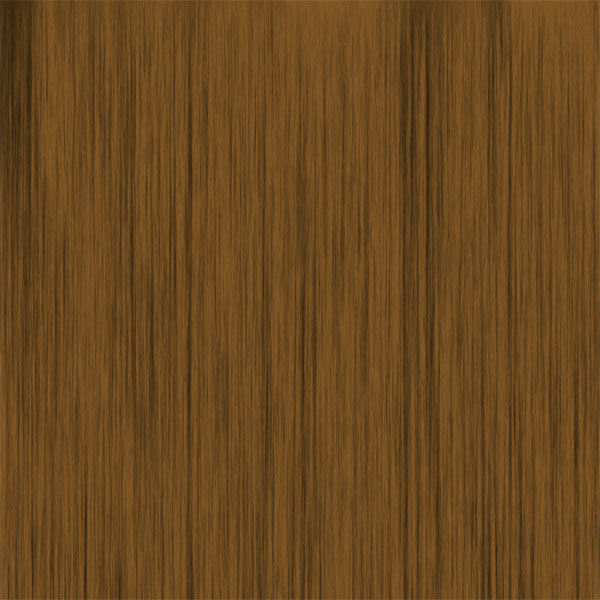
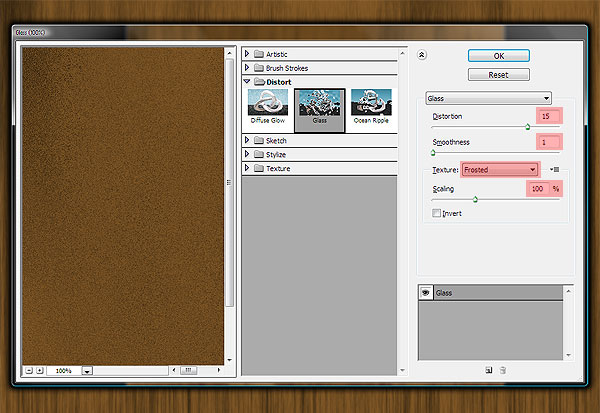
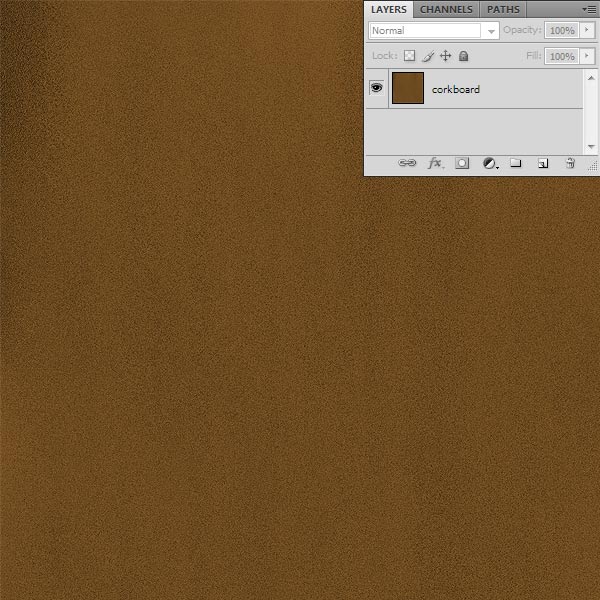
Now go to Filter > Distort > Glass. In the Glass filter dialog box, set Distortion to 15, Smoothness to 1, Texture to Frosted and Scaling to 100%. Click OK.Go to Filter > Render > Fibers. In the Fibers filter dialog box set Variance to 8.0 and Strength to 47.0. You will probably need to click the Randomize button several times to get a texture that has an even distribution of Step 1′s foreground and background colors. The best way to get a feel for the overall effect is to reduce the magnification of the preview image by clicking the minus sign below it until the minimum is reached, in this case 16%.
Step 3: Setting up the Main Layout
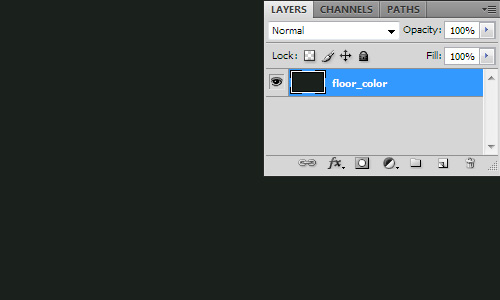
Create a new document that is 500px wide by 300px high at 72dpi. These dimensions are arbitrary and meant for the tutorial only. Save this document as “main_layout.psd.”Rename the “Background” layer to “floor_color” and fill it with #1a211c. This can be accomplished by setting the foreground color in the Tools palette to #1a211c and pressing Alt + Backspace.
Step 4: Bringing in the Corkboard Texture
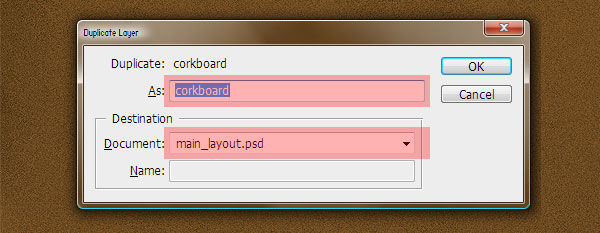
Go back to the “textures.psd” document. Right-click the “corkboard” layer and select “Duplicate Layer…” from the contextual menu.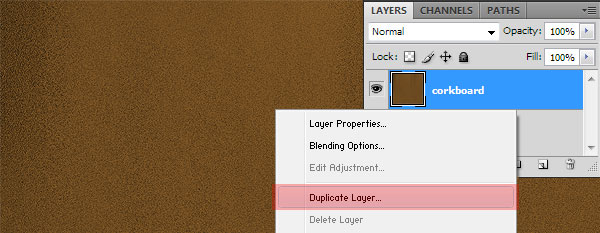
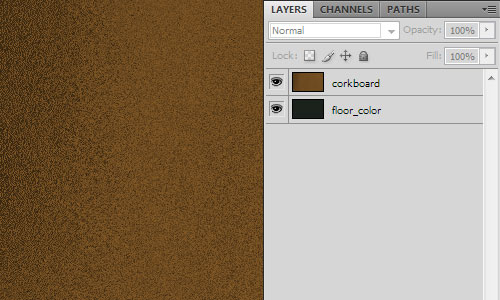
Step 5: Resizing and Repositioning the Corkboard Texture
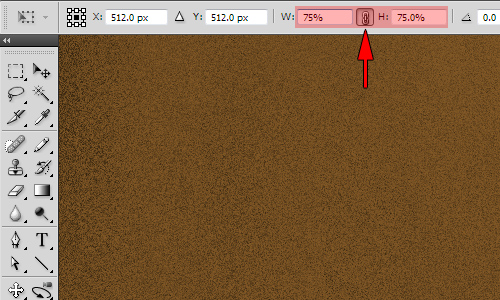
With the “corkboard” layer selected in the Layers palette, press Command + T, the keyboard shortcut for the Edit > Transform > Scale command. In the Transform Tool Options palette click the Maintain Aspect Ratio icon (noted with a red arrow in the image below) between the width and height fields, and enter 75.00% for the width. Press Enter twice and the transform will be complete.Clicking the “Maintain aspect ratio” icon ensures that the layer will be scaled equally in both directions. Alternatively, 75.00% can be entered in both fields without clicking the icon; the result would be the same.
Step 6: Revealing the Floor Layer and Adjusting the Corkboard Color
With the “corkboard” layer selected use the Rectangular Marquee tool (M) to select a region that is 500px wide by about 230px high, starting at the upper left of the layout.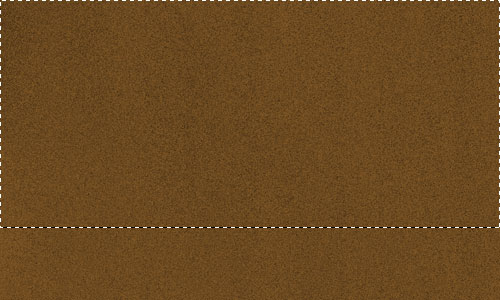
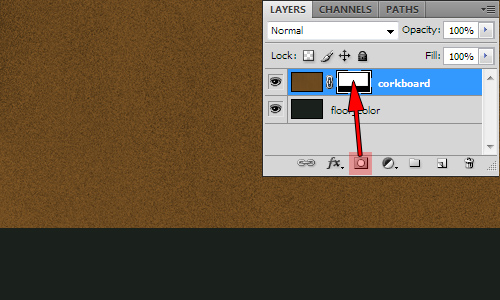
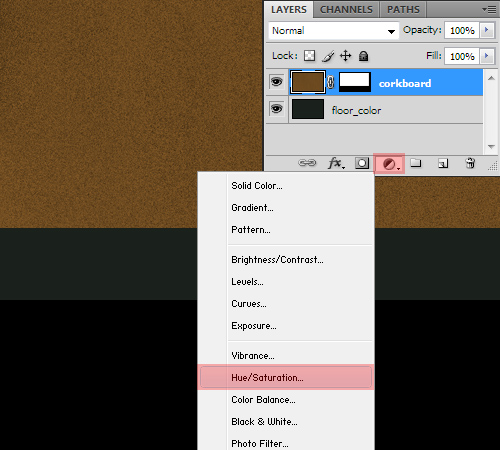
Select the “corkboard” layer. At the bottom of the Layers palette, click the “Create new fill or adjustment layer” icon, and select Hue/Saturation.
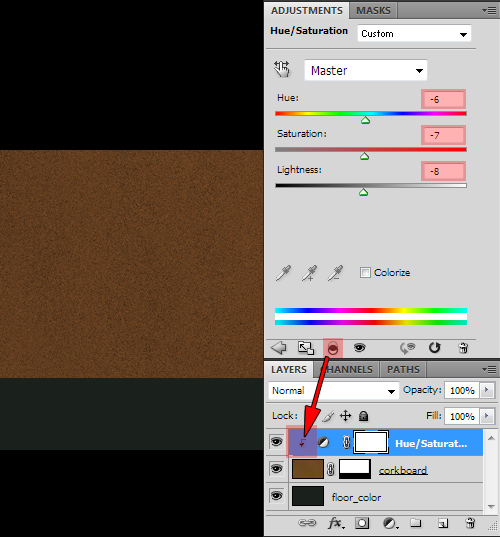
Also, so that the Adjustment layer only affects the “corkboard” texture layer, click the Clip To Layer icon at the bottom of the Adjustments palette (it looks like two intersecting circles stacked one on top of the other). This causes the Adjustment layer to affect only the layer directly below it in the Layers palette, which is indicated in the Layers palette by a downward-pointing arrow on the “Hue Saturation” layer; the name of the layer below it will be underlined.
Step 7: Adding a Shadow Beneath the Corkboard
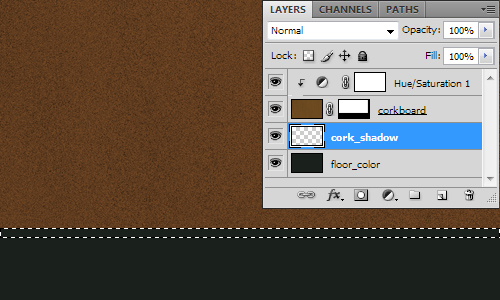
Make a new layer above the “floor_color” layer by clicking the Create New Layer icon at the bottom of the Layers palette (indicated by a red arrow in the image below). Once the new layer is created, move it directly above the “floor_color” layer and rename it to “cork_shadow.” Layers are rearranged in the Layers palette by clicking and dragging them into position above or below other layers.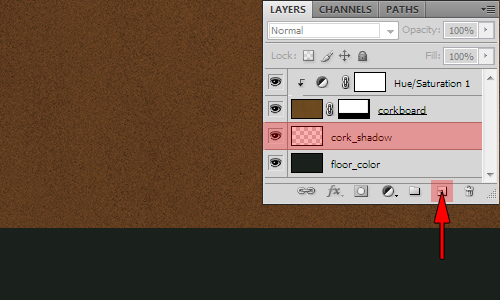
Step 8: Adding a Lip on the Corkboard
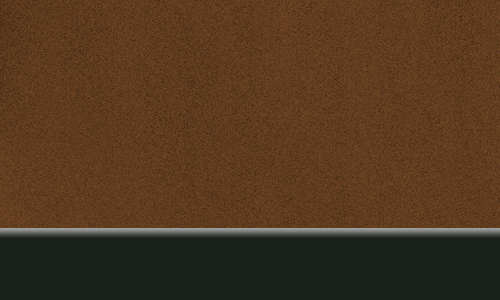
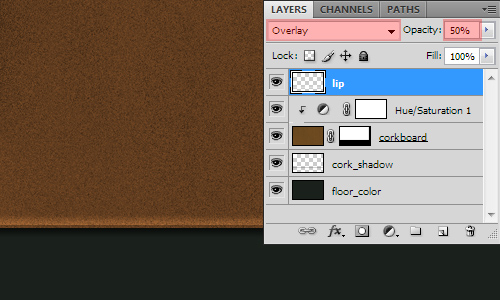
With the “cork_shadow” layer selected, press Command +J to duplicate it. In the Layers palette, drag the copied layer (automatically named “cork_shadow copy”) to the top of all other layers. Rename this layer “lip.”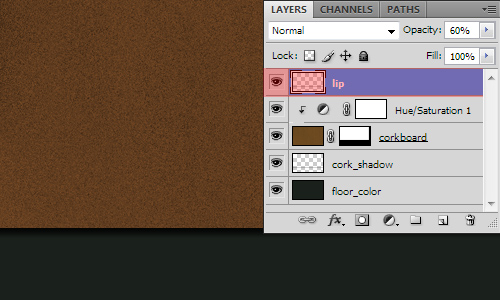
Step 9: Adding a Shadow to the Floor
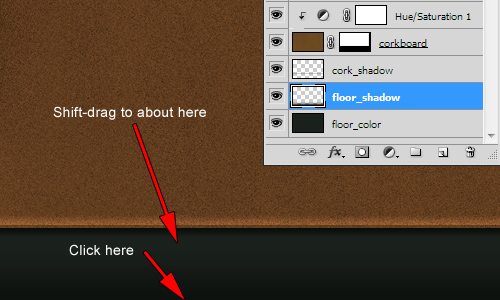
Make a new layer above the “floor_color” layer and name it “floor_shadow.” Make sure the foreground color in the Tools palette is black.Using the Gradient tool (G) with the “floor_shadow” layer selected, click at the bottom of the layout and Shift-drag to about three-quarters of the way up to the bottom of the corkboard. Finally, change the layer opacity to 50%.
Step 10: Adding Floorboards
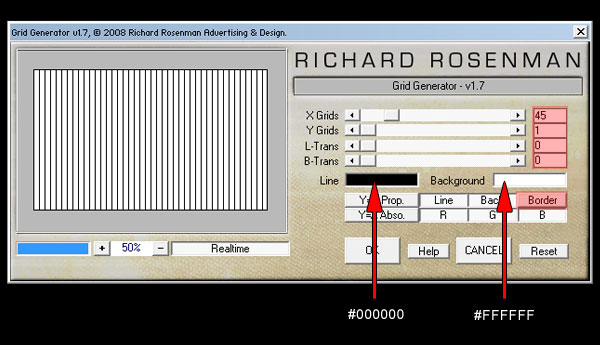
Next, we’ll add some lines to suggest floorboards. Make a new layer above the “floor_color” layer, fill it with black and name it “floorboards.”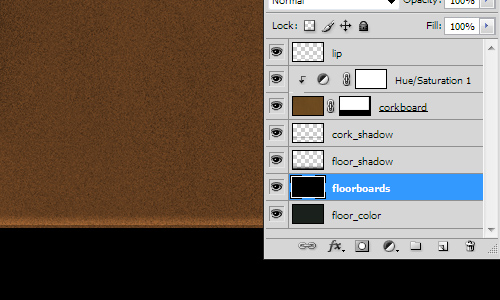
Step 11: Adding Perspective and Highlights to the Floorboards
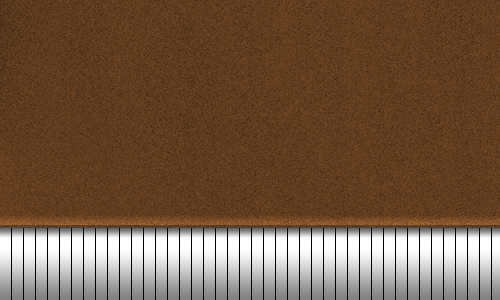
Go to Edit > Transform > Perspective. Adjust the perspective of the “floorboards” layer by dragging the handles in the upper and lower corners of the transformation box left and right (indicated by red arrows) until it looks something like the image below. Note that the handles will need to be dragged beyond the edges of the document. When done, press Enter to apply the transformation.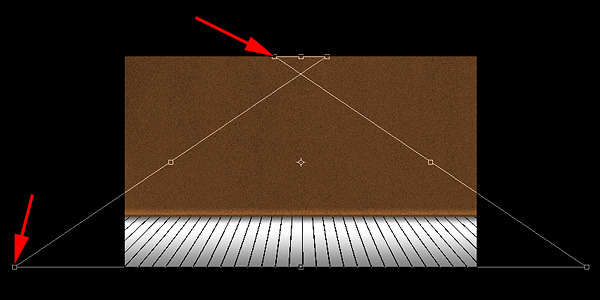
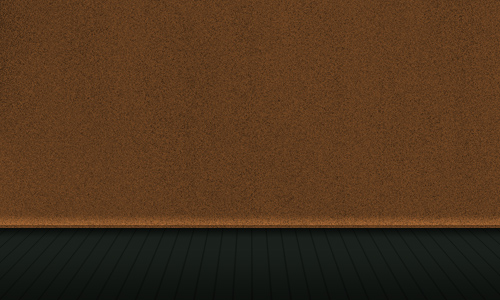
Invert it by pressing Command +I, change its blending mode to Overlay and its opacity to 10%.
Finally, nudge it 1px to the right by pressing the Right Arrow once. This will give a subtle highlight to the floorboards.
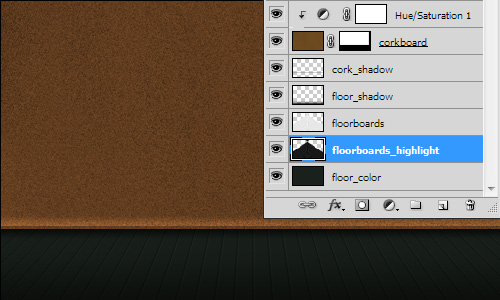
Step 12: Adding an Overall Highlight to the Floor
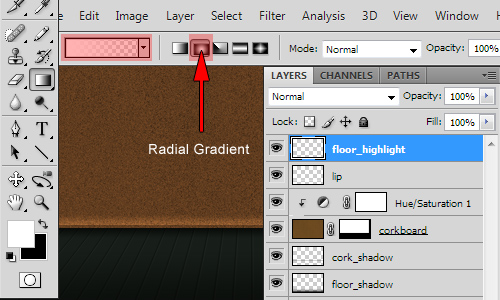
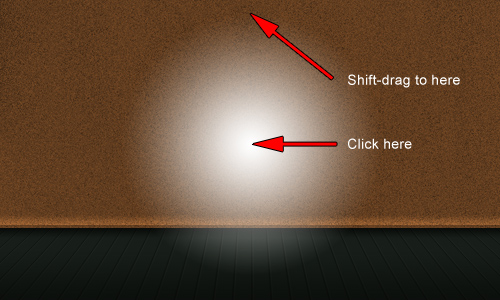
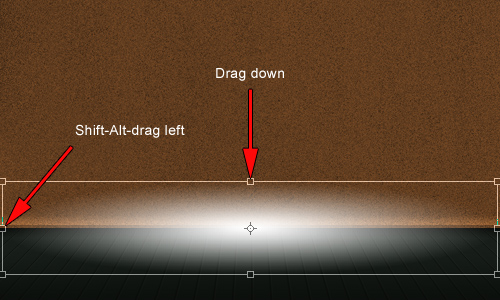
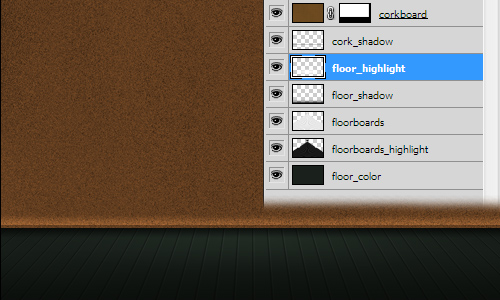
Make a new layer and name it “floor_highlight.” Move this new layer to the top of the Layers palette, above all other layers.Change the foreground color to white by pressing D, then X, on the keyboard (this resets the Tools palette color swatches to default and then reverses them). Select the Gradient tool (G), and change its preset to Foreground to Transparent and its type to Radial Gradient.
Step 12: Creating the Light Housing
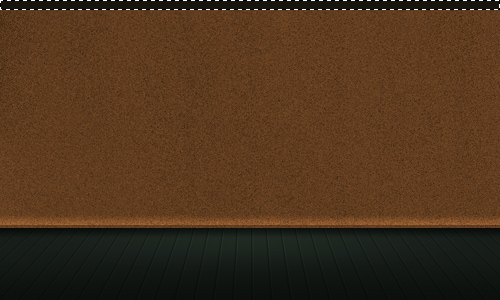
Make a new layer and move it to the top spot in the Layers palette. Name this layer “light_housing.”At the very top of this layer, use the Rectangular Marquee tool (M) to make a selection that’s 500px wide by 10px high. Change the foreground color in the Tools palette to #17150e and fill the selection with this color by pressing Alt+Backspace.
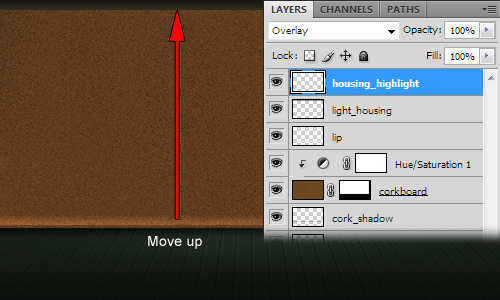
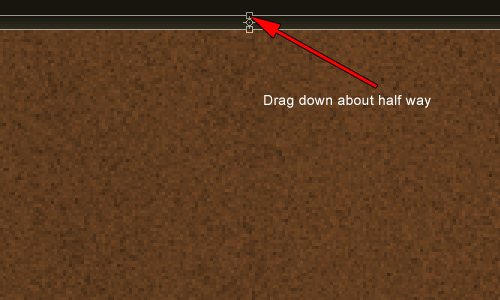
Step 13: Adding a Shadow Beneath the Light Housing
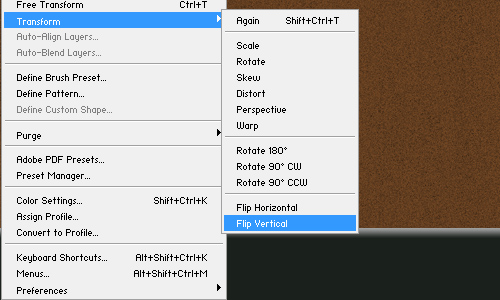
Select the “housing_highlight” layer in the Layers palette and press Command + J to duplicate it. Rename the layer “housing_shadow” and invert it by pressing Command +I.Flip the layer vertically by going to Edit > Transform > Flip Vertical. Then, nudge it down 1px by pressing the Down Arrow once.
Finally, change its opacity to 80%.
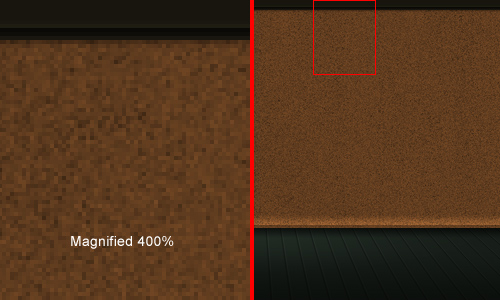
Step 14: Creating a Light
Launch IES Generator. At the bottom left of the application window, click the Load button and locate the “1589835-nice.IES” profile that you downloaded in the Tutorial Preparation.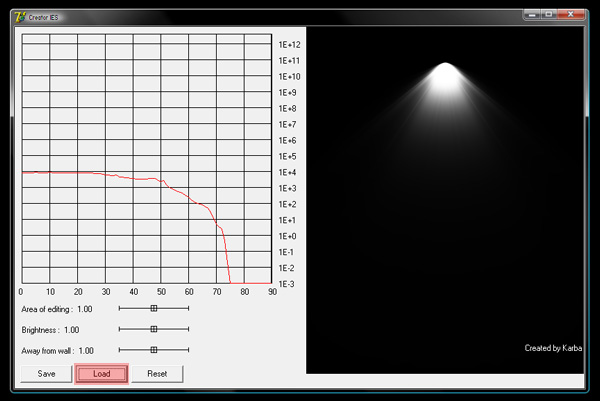
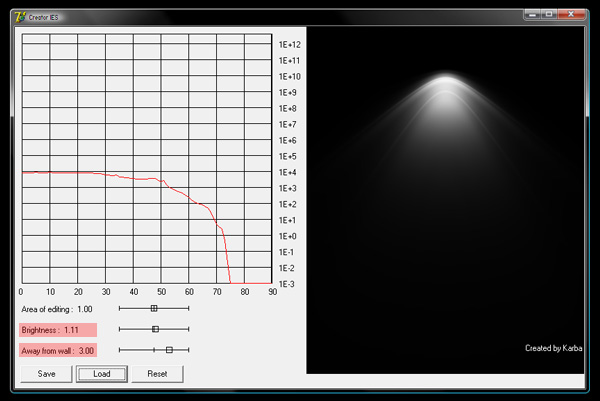
Step 15: Bringing the Light into Photoshop
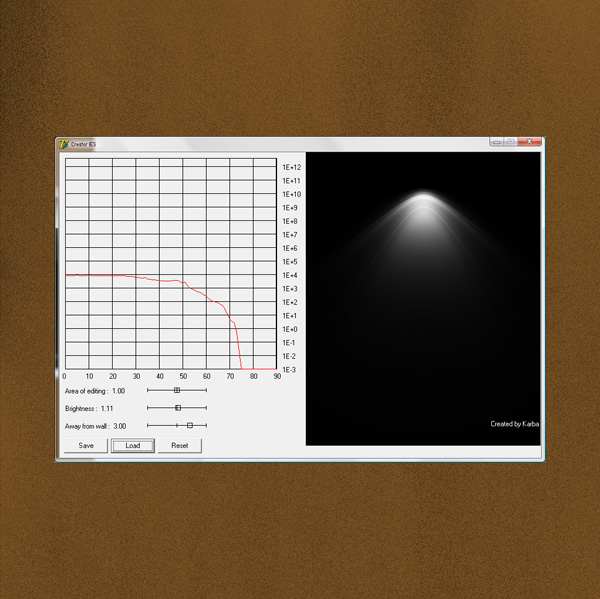
IES Generator doesn’t have an export or save function, so a screen capture is needed to paste it into the Photoshop layout. You can use a screen capture utility if you have one. Otherwise, press Alt + Print Screen (this is a Windows key-combination which captures the active window to the clipboard). After making the capture, return to Photoshop.Open the “textures.psd” document created in Step 1, if it isn’t already open. Press Command +V to paste the screen capture into the document. It will appear in a new layer above the “corkboard” layer. If for some reason it ends up below the “corkboard” layer, just move it up in the Layers palette.
Step 15: Extracting the White Pixels from the Light Layer and Positioning It
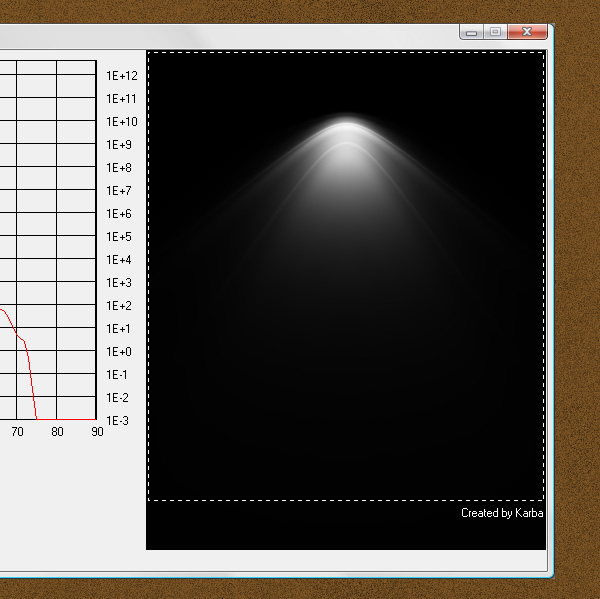
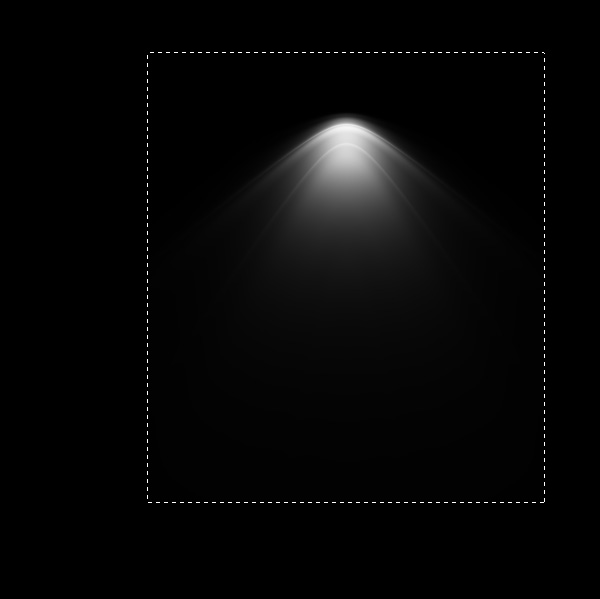
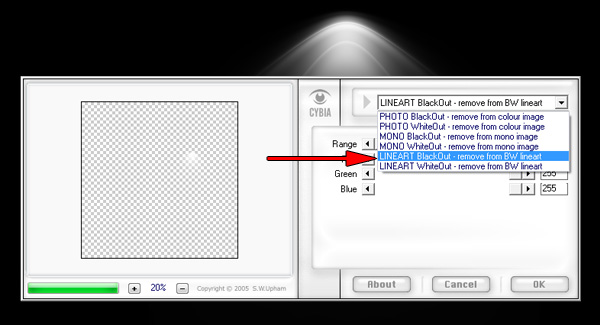
Now we’ll use the free AlphaWorks plug-in by Cybia to remove all the black from this layer, so that we end up with just the white pixels that make up the light pattern.Go to Filter > Cybia > AlphaWorks. From the drop down menu at the upper right of the filter’s dialog box, select “LINEAR BlackOut – remove from BW lineart.” Click OK.
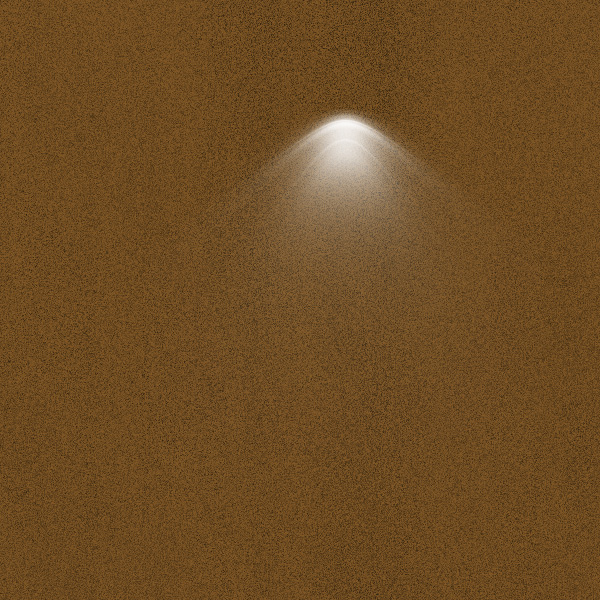
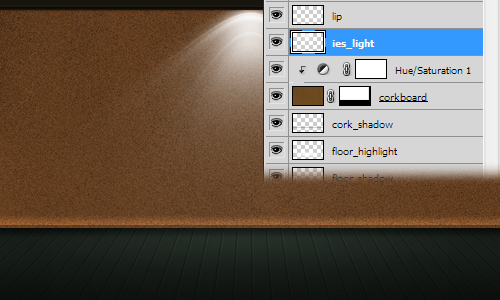
Select the “Hue/Saturation 1″ layer in the Layers palette and press Command +V to paste. The new layer will appear between the “lip” layer and the “Hue/Saturation 1″ layer. Rename it to “ies_light.”
Step 16: Intensifying the Light
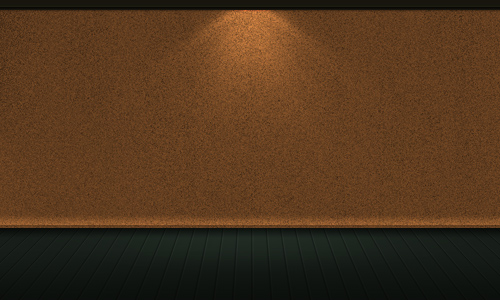
Duplicate the “ies_light” layer twice by selecting it in the Layers palette and pressing Command +J twice. Change the opacity of the topmost copy (“ies_light copy 2″) to 50%.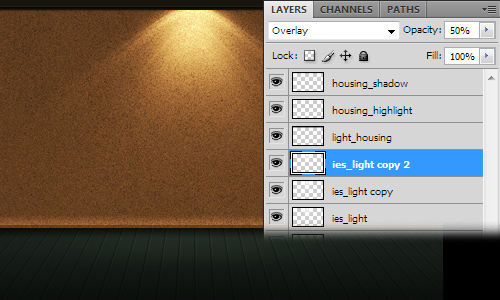
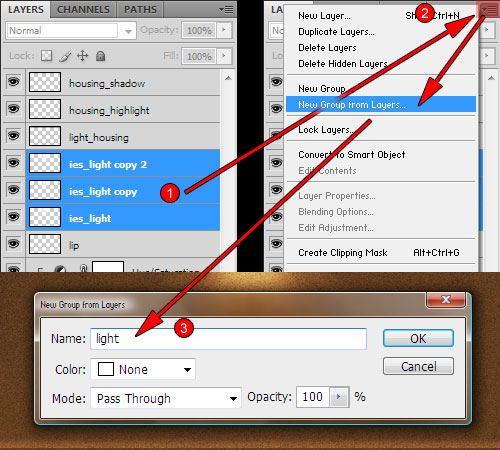
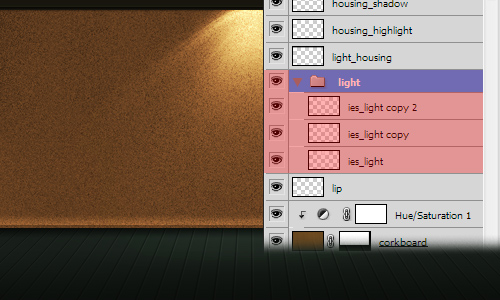
Step 17: Controlling the Extent of the Light
Select all the layers within the “light” group, and group them again by the same method described in Step 16. It’s not necessary to rename this new layer group.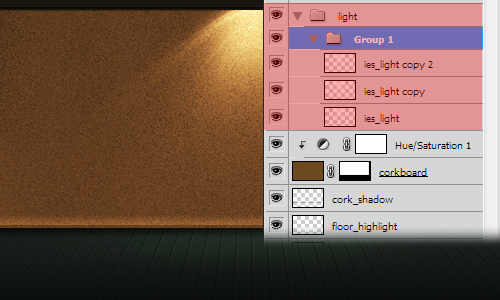
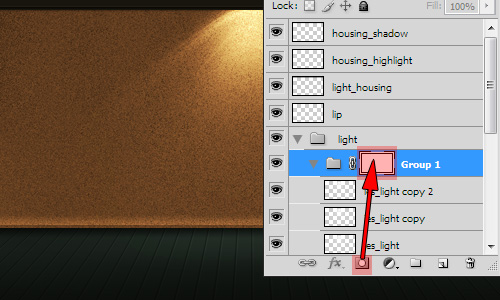
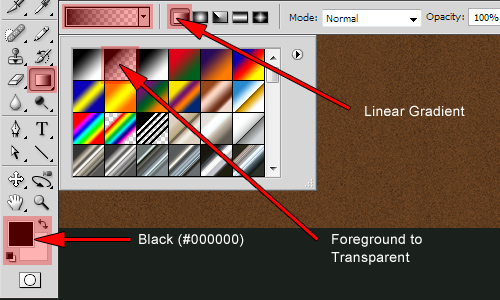
As described in Step 6, make sure the gradient preset is Foreground to Transparent and the type is Linear Gradient. Starting at the middle of the floor, click and Shift-drag to a spot approximately as shown in the image below. A preview of the mask just created will appear in the layer mask thumbnail.
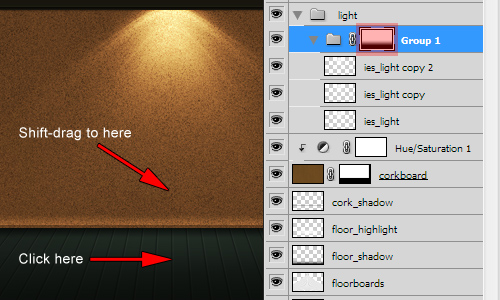
Step 18: Adding a Highlight Spot on the Floor
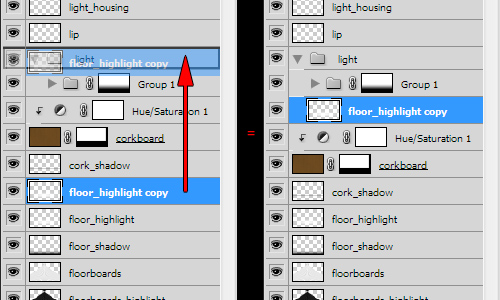
Collapse “Group 1″ within the “light” layer group by clicking the gray arrow to the left of its name.Select the “floor_highlight” layer in the Layers palette and duplicate it by pressing Command +J. The new layer will be named “floor_highlight copy.”
Move this new layer into the “light” group by dragging and dropping it directly on the “light” group’s name.
Step 19: Duplicating the Light
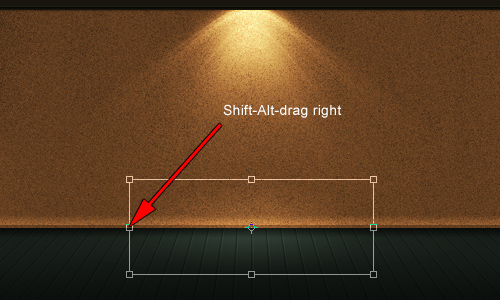
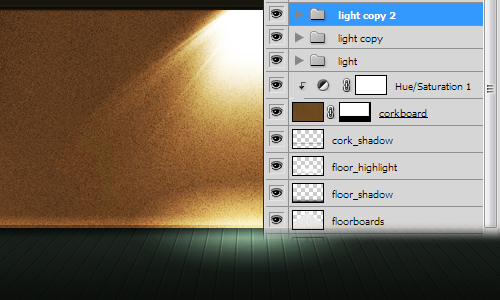
Two more copies of the “light” group are needed. Select and collapse the “light” layer group in the Layers palette. Drag and drop it on the “Create a new layer” icon at the bottom of the palette. A copy of the group, named “light copy” will appear above the original in the Layers palette.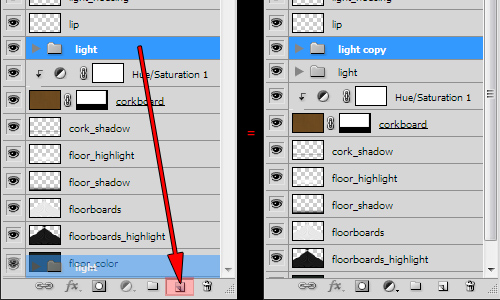
Step 20: Moving the Lights into Position
With the “light copy 2″ layer group selected in the Layers palette, nudge it left 140px by pressing Shift+Left Arrow 14 times (holding the Shift key down while using the arrow keys nudges 10px at a time). Next, select the “light copy” group and nudge it right 140px by the same method.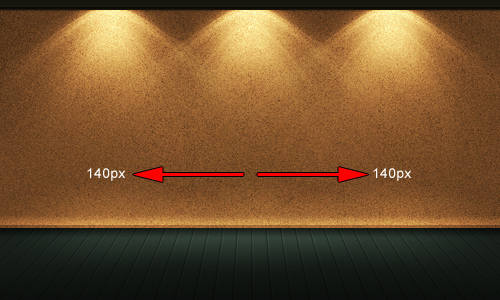
Step 21: Spilling the Lights onto the Housing
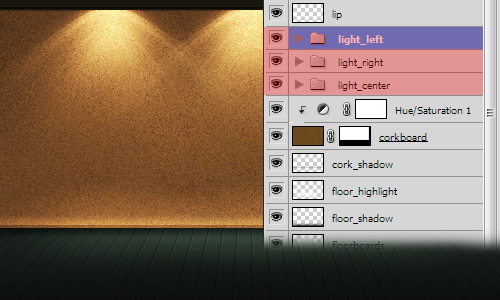
Select the layer groups “light_center,” “light_right” and “light_left.” Drag and drop them onto the “Create a new layer” icon at the bottom of the Layers palette. Three new copies of these groups will appear above the originals in the Layers palette.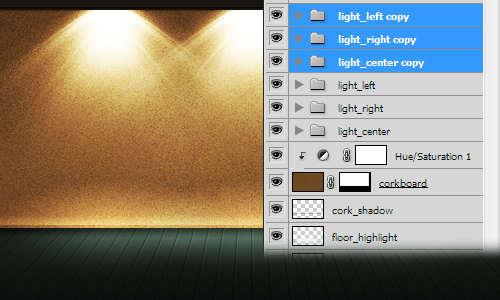
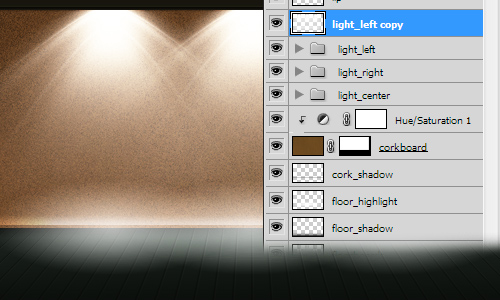
Move it to the top of the Layers palette above the “housing_shadow” layer and change the layer’s blending mode to Overlay.
Flip it vertically by going to Edit > Transform > Flip Vertical.
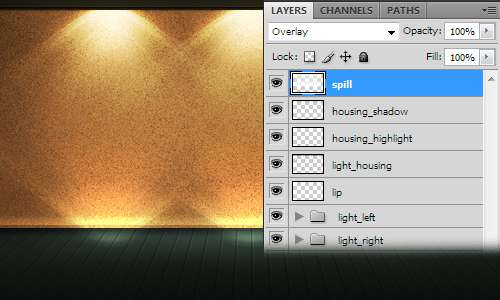
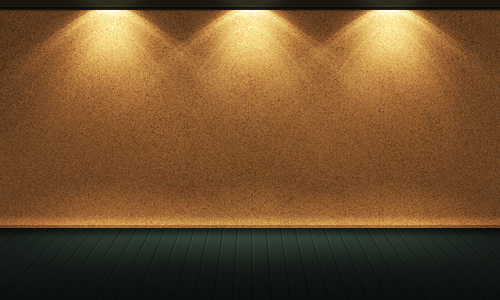
Click the “Add layer mask” icon at the bottom of the Layers palette to add a mask to the “spill” layer. This will restrict its effect to the light housing area.
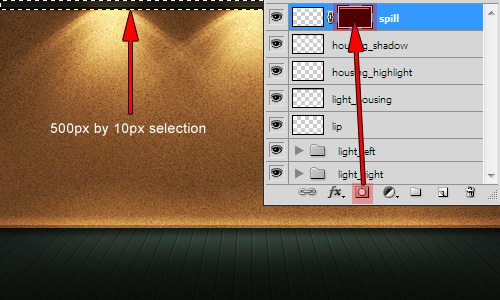
Step 22: Adding a Shadow Behind the Lights (optional)
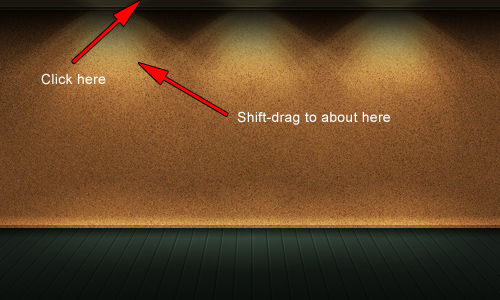
Next, we’ll darken the area around the top of the lights against the corkboard to give them a little more emphasis. This step is optional.In the Layers palette, select the “lip” layer and click the “Create a new layer” icon at the bottom of the Layers palette. The new layer will appear above the “lip” layer. Rename it to “top_shadow.”
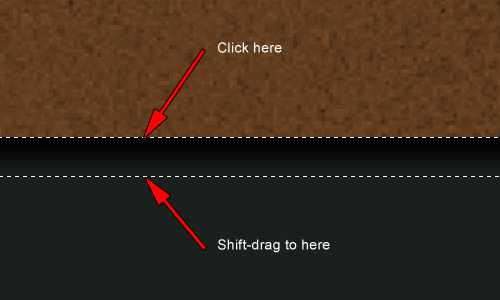
Using the Gradient tool (G), with the preset Foreground to Transparent, type Linear Gradient and a foreground color of black, Shift-drag in the “top_shadow” layer as shown:
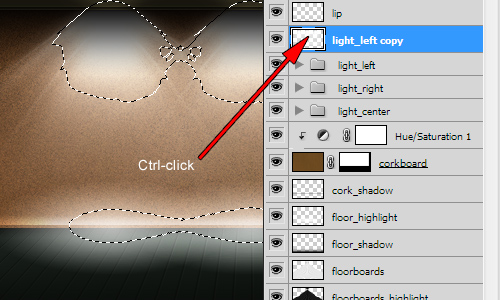
Select the layer groups “light_center,” “light_right” and “light_left.” Duplicate and merge them into a single layer.
Command-click the layer thumbnail in the Layers palette to load the layer’s transparency as a selection.
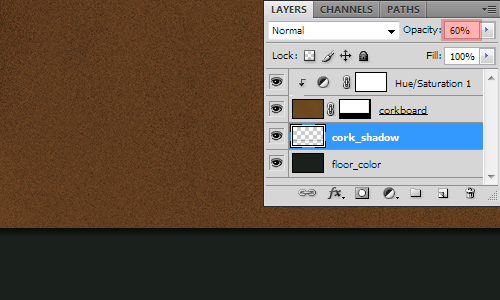
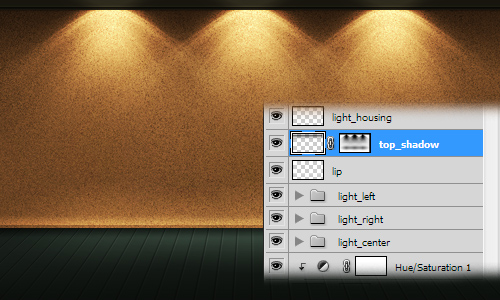
Change the “top_shadow” layer’s opacity to 60%, and its blending mode to Overlay.
Finally, delete the “light_left copy” layer.
Step 23: Adding Text, The Final Step
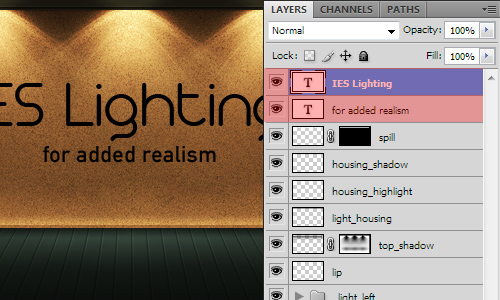
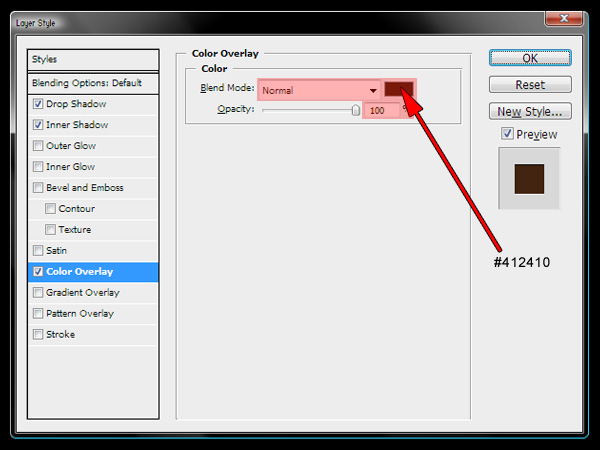
As the final step, inlaid text will be added to the corkboard. Any font(s) can be used, but this example uses Arista 2.0 Light and DIN Mittelschrift. (How to use Photoshop’s Text Tool will not be covered in this part of the tutorial.)The text layers should be placed above all other layers in the Layers palette.
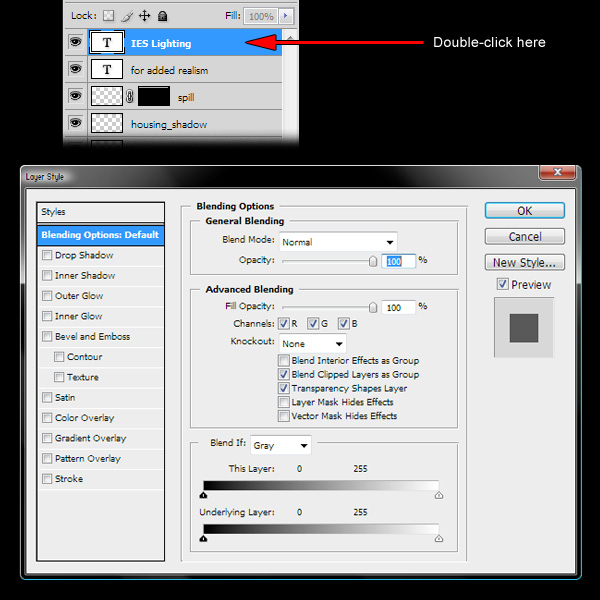
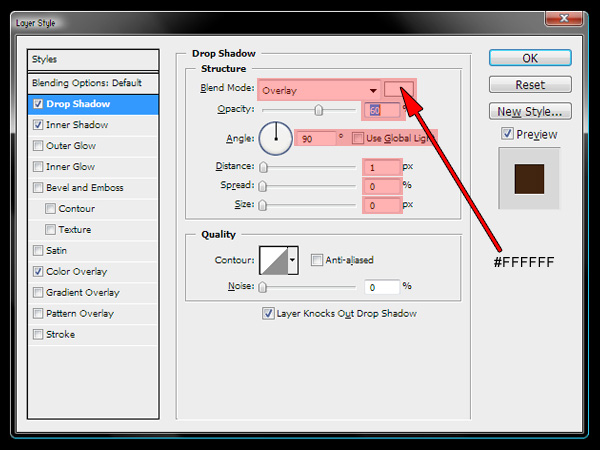
Drop Shadow:
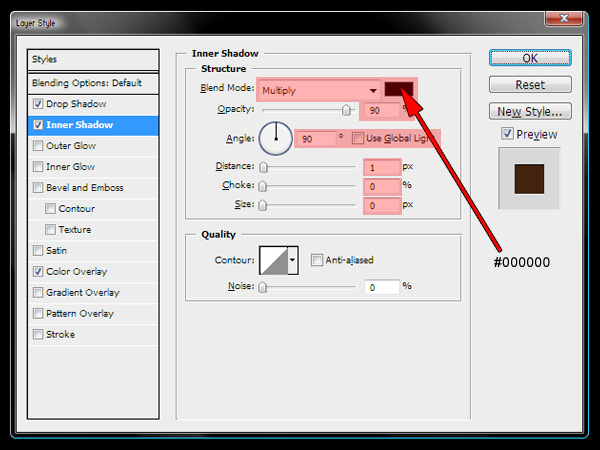
Final Result
This is the final result: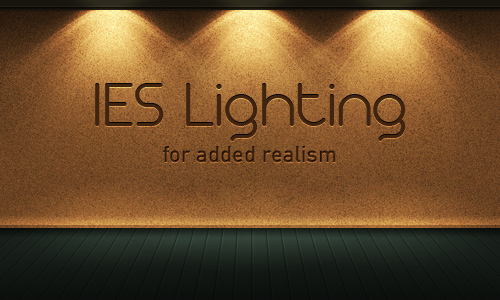
Comments
Post a Comment