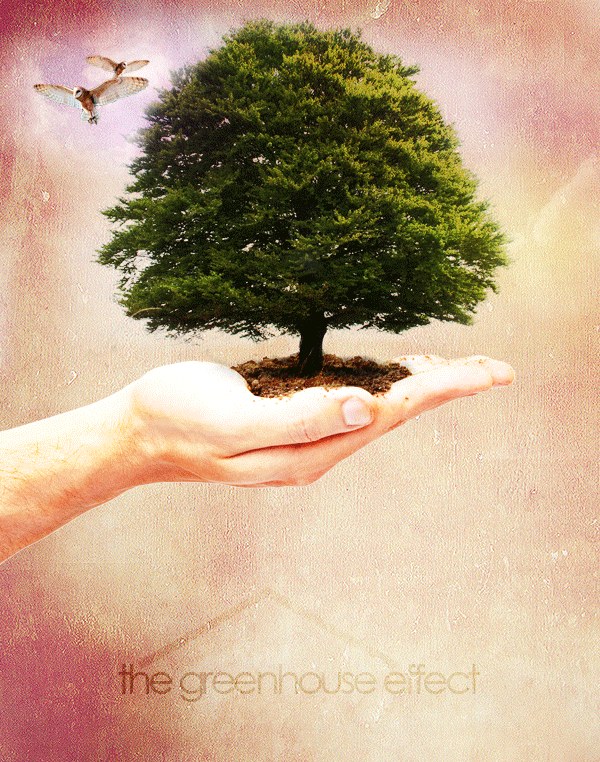
Today, we will demonstrate how to combine several images to create a nature inspired photo manipulation. Let’s get started!
Owl
Tree
Hand
Grunge Texture
Clouds
 Group
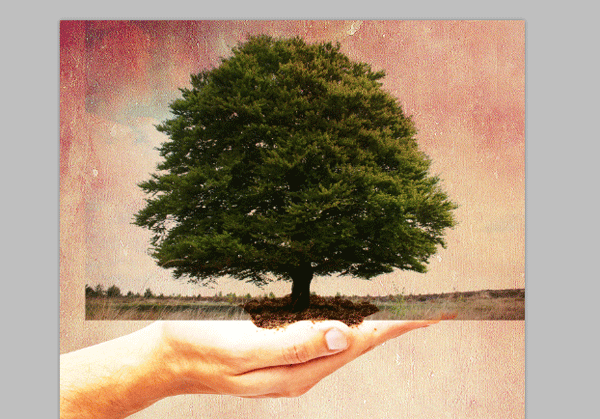
this layer, and name it “Tree”. Make sure the groups blending mode is
Pass Through and then set the Trees blending mode to Multiply. You
should now have this. >
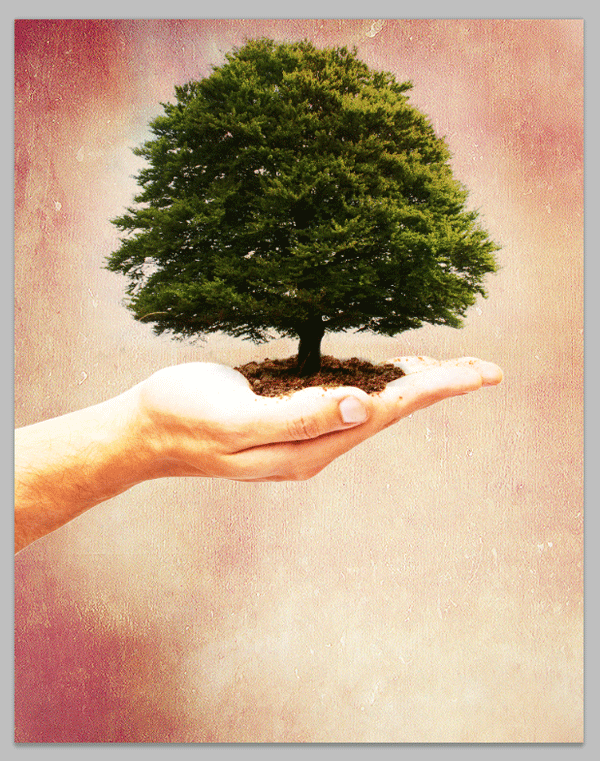
 Duplicate
the Tree layer and set the duplicates blending mode to Color Dodge.
Notice the white glow around and behind the tree, this is why we didn’t
erase close to the tree the step before.
 Set this layer’s blending mode to overlay.
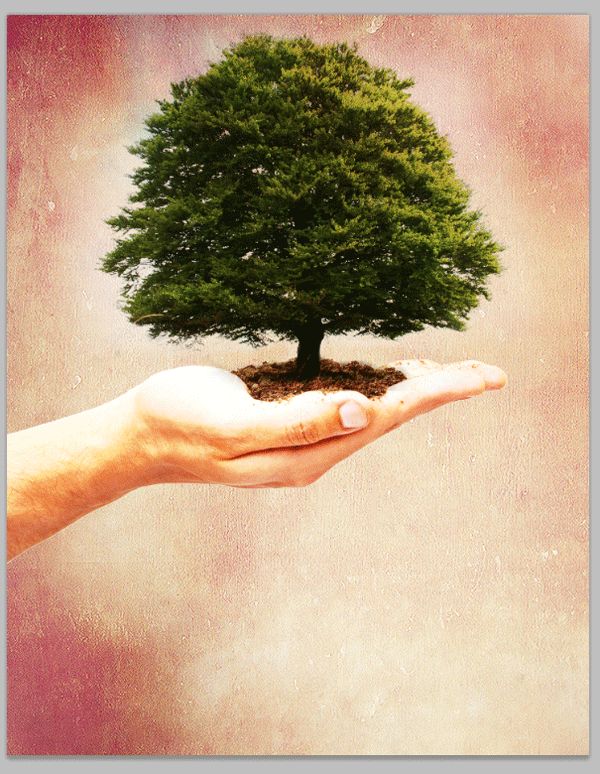
 Set
the layer’s blending mode to Screen. Be sure to group this cloud layer
into a group called "Sky". It helps keep your layers organized and less
cluttered.
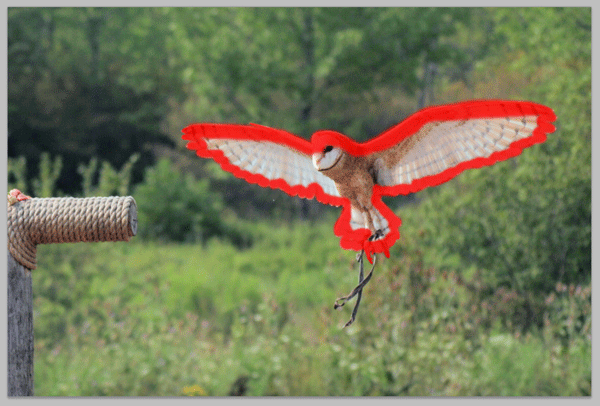 Once outlined, use either the Fill tool to fill in the inside. Or just use a bigger brush and paint it in.
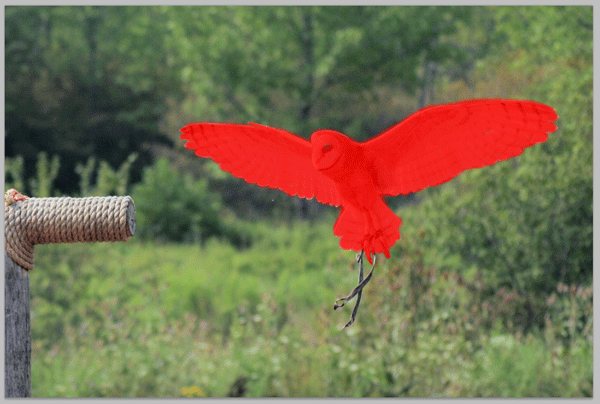 Use the magic wand tool and select the inside red. This will outline the owl.
Note: To hide the mask, on the Layers panel, click “Channels”. The last channel will be your mask. Just click the eye and it will hide the mask.
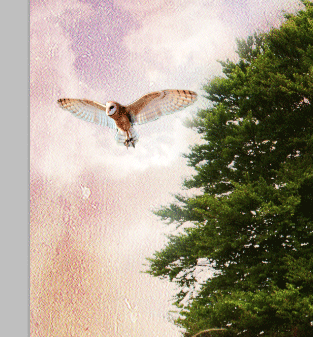 After
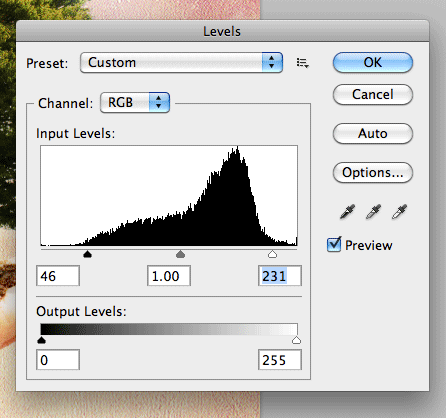
placed, lets add some more to this owl by editing the levels. Go to
Image > Adjustments > Levels. Apply these settings.
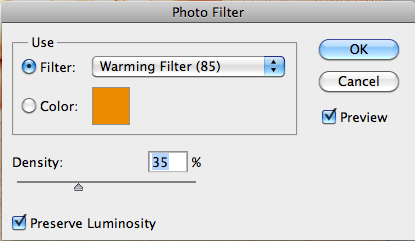
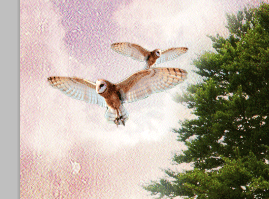 Next, lets add a filter to the second owl. Go to Image > Adjustments > Photo Filter.
 Now, set this layer’s blending mode to Linear Light.
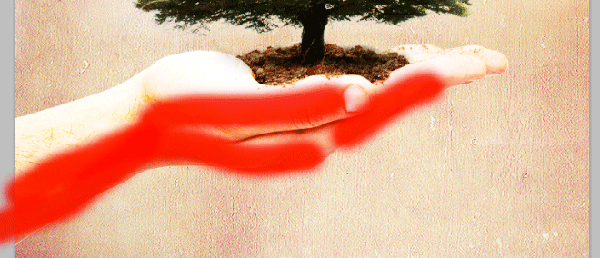 Once you’ve gone over the hand a few times, your hand should have a more white, lighter color.
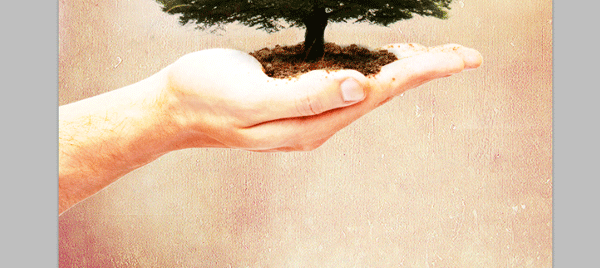
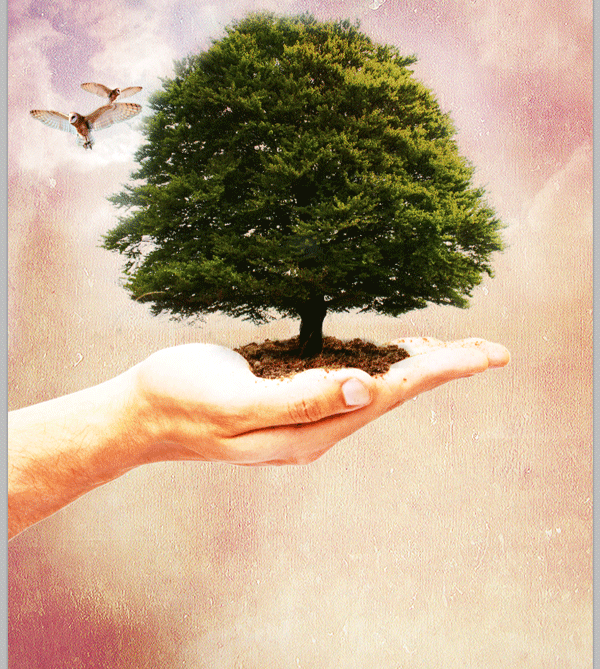
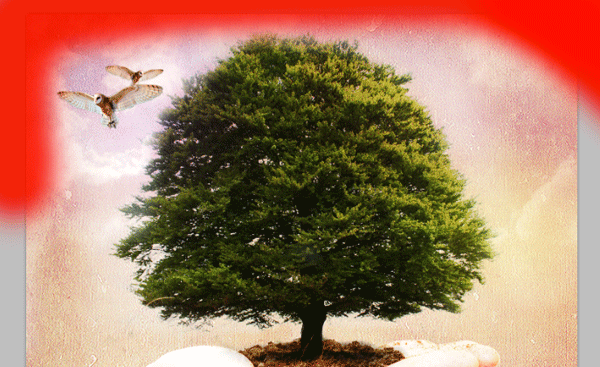 You should now have something like this.
Note: I also moved the two owl layers up a bit higher on the tree, by using the Transform tool.
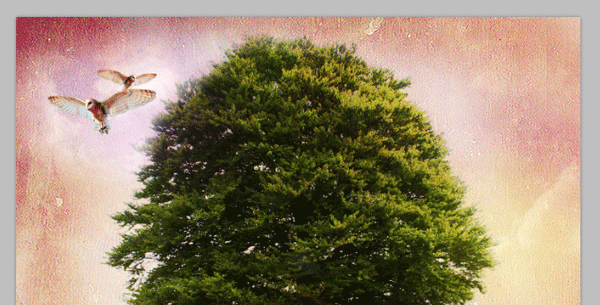

 Lastly,
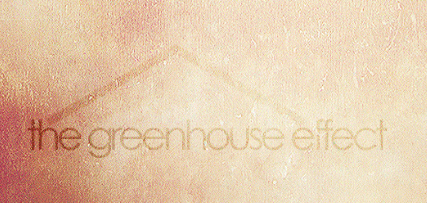
move them and using the Transform tool again, size them to fit on top
of text like below, and set the blending mode to Overlay and its opacity
to 25%. >

Tutorial Assets
Step 1
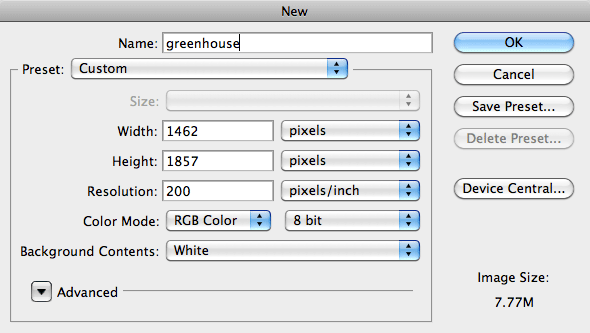
To start, let’s set up the document. Use the following settings. Name it whatever you like.
Step 2
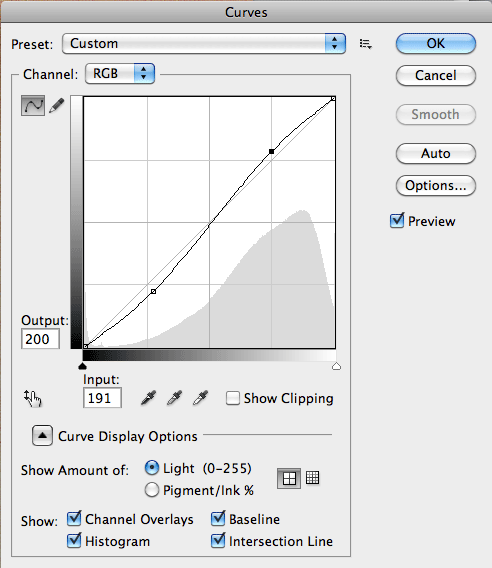
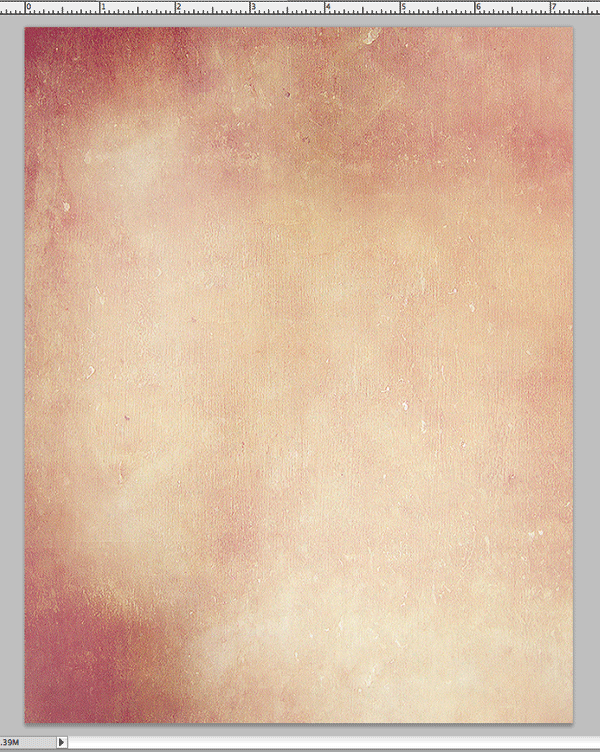
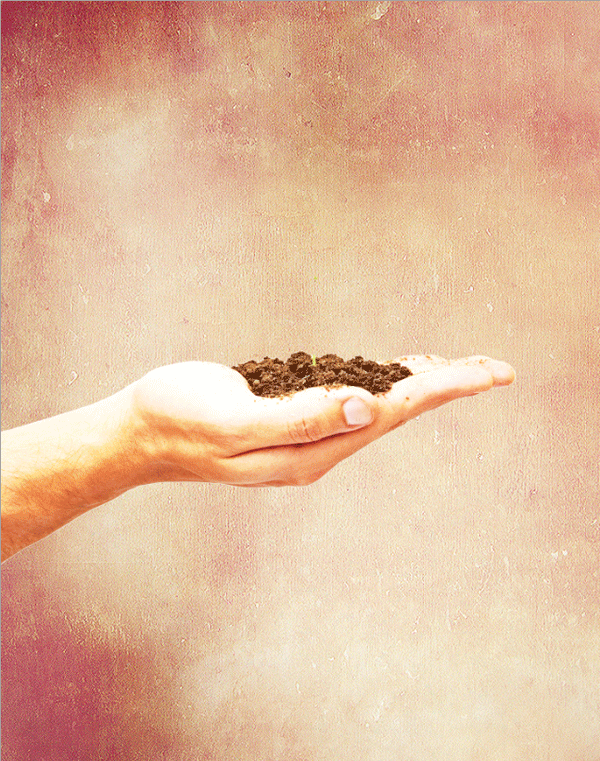
Now that we have our document, let’s begin setting up the background. We’re going to use the grunge texture "Grunge 06" from the texture pack. Open this texture in Photoshop, and place it in the document. Use the Transform tool (Command/Ctrl + T) to scale it to size, and rotate it. Go to Image > Adjustments > Curves and apply a small curve. Name this layer "grunge", create a new group named "Background", and place this layer in the group.

Step 3
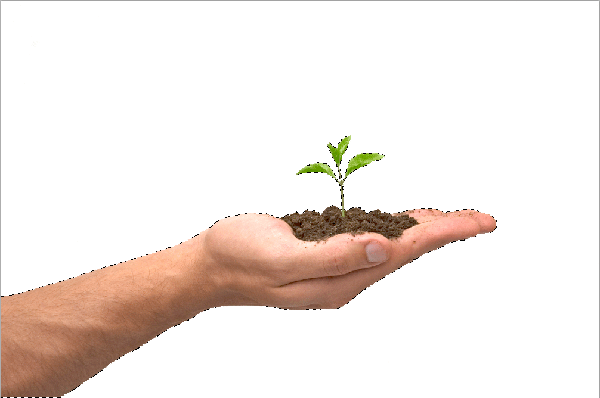
Now, open up the image of our hand holding dirt. Since it has a white background, we can use the Magic Wand Selection tool (Command/Ctrl + W). Click anywhere in the white, then go to Select > Inverse to inverse our selection to select the hand.
Step 4
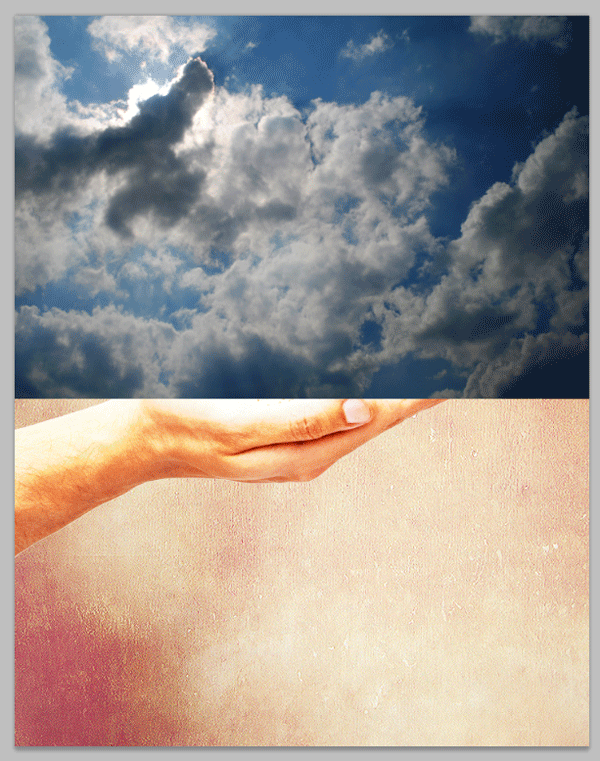
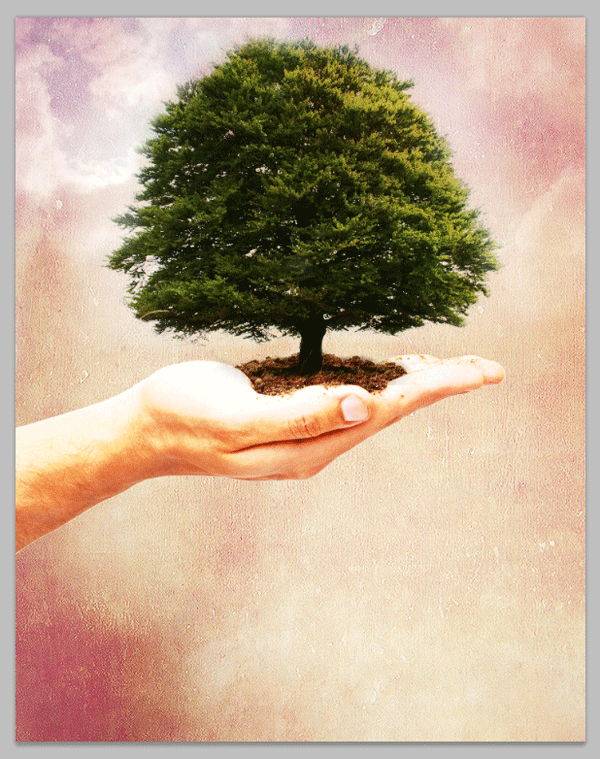
Now use the Move tool (V) and move the hand into our composition. Group this layer into a group named "Hand". Once we’ve moved it, resize using the Transform tool (T) and position it so the hand is about the center of the composition. Duplicate this layer, and change the blending mode to "Overlay" Then go to Image > Adjustments > Brightness/Contrast. Apply a brightness of 95, and a contrast of 25. Merge the two layers together, and use the Eraser tool (E) and erase the plant. You should now have this.
Step 5
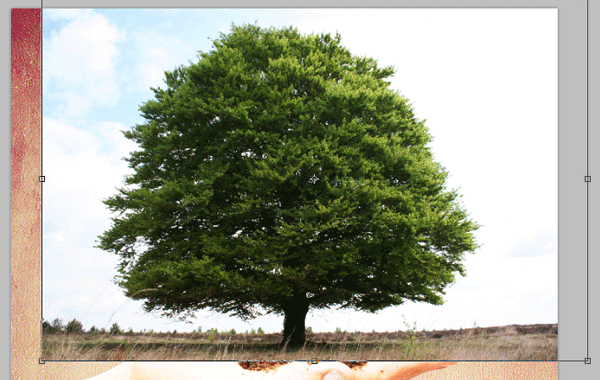
Next we must place the tree to look as if it has sprouted out of the dirt in the hand. Let’s open the tree image and place it in our composition. Use the Transform tool (T) to resize this accordingly. >

Step 6
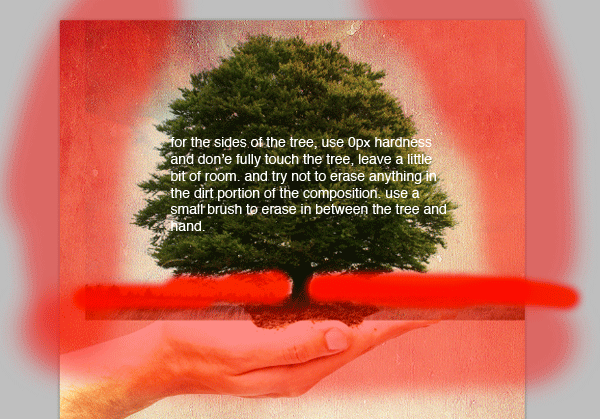
Now we need to do a little erasing using the Eraser tool (E).

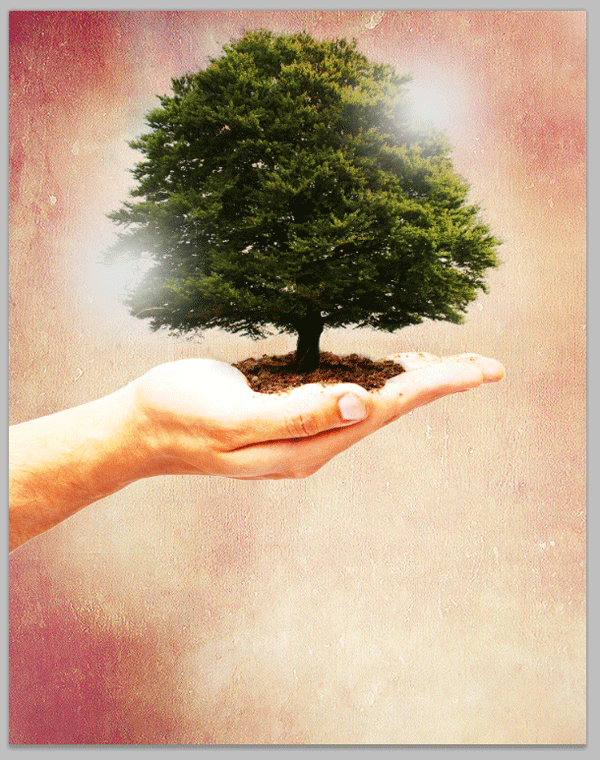
Step 7
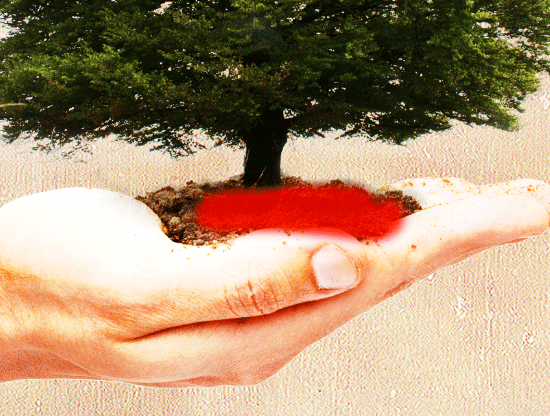
Next, we’ll add a little bit of lighting to our tree. Create a new group and name it "Lighting". Then create a new layer and call it "Tree Lighting". Using the brush, choose a fairly large brush size with 0px hardness. Make sure your color is white and paint two spots like so, or however many you desire. >

Step 8
Now, let’s add some clouds to make a more interesting effect. Open the clouds image, and size it down. Make sure the bright spot where the sun is behind the clouds is above the top left of the tree. >

Step 9
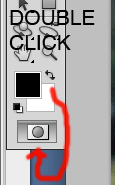
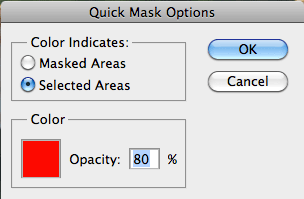
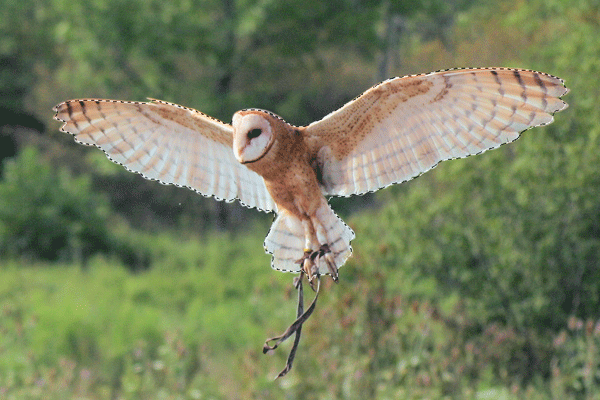
Open up the owl image, but before we place it we are going to cut it out using quick mask.

Step 10
Select the brush tool (B). Set the hardness to about 50% and outline the owl.

Note: To hide the mask, on the Layers panel, click “Channels”. The last channel will be your mask. Just click the eye and it will hide the mask.

Step 11
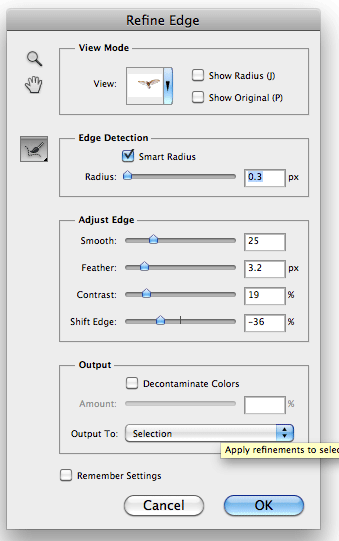
Next, right click on the owl and go to Refine Edge, or go to Select > Refine Edge. Note that all settings are the same, depending on your mask. Play around a bit until you come up with the best possible outline.
Step 12
Move the owl into our composition, and use the Transform tool (Cmd/Ctrl + T) to resize it. Place him it the top left, in the bright spot. Create a group called "Owls", and name the layer we moved "Owl 1" and place it inside the group.

Step 13
Duplicate the Owl 1 layer and name it Owl 2. Flip this owl by going to Edit > Transform > Flip Horizontal to make him opposite to the first owl. Use the Transform tool (Cmd/Ctrl + T) To scale him down. Be sure to place the "Owl 2" layer under "Owl 1" in our layers pallette, and place the owl slightly behind the first owl.


Step 14
Go into your Tree group and select the first layer. Use the Burn tool, and add a little more shadow in the dirt.
Step 15
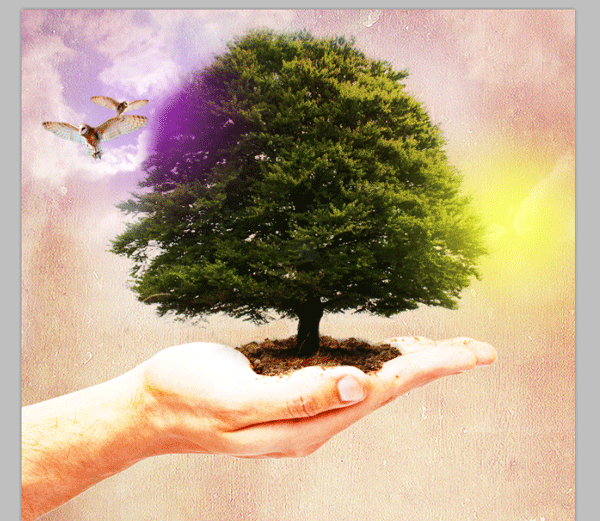
Let’s create some more lighting, except using colors. Create a new layer, and place it under your "Lighting" group. Select a fairly large brush with a hardness of 0px. For the colors, I used #9921b3 and #f8fb25. Paint like so, feel free to use variation of location and color!

Step 16
Let’s go back and do a little retouching on the hand, select your Color Dodge tool, and set the opacity at about 85%. And set the range to Shadows.

Step 17
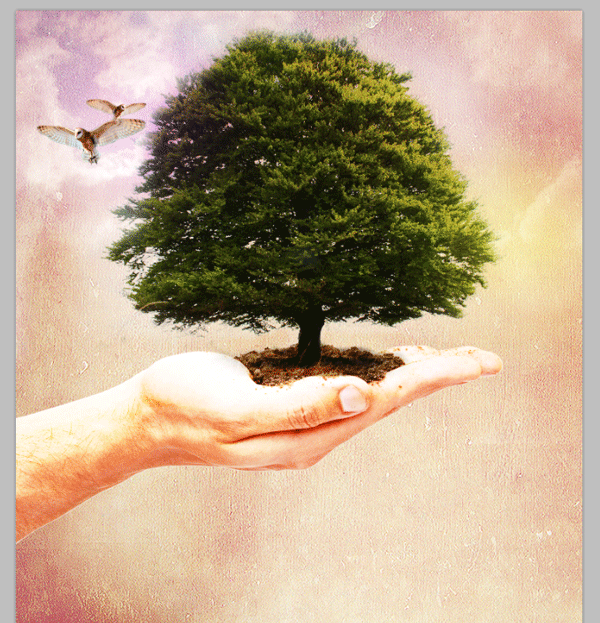
Now let’s do a little final touching to the clouds. Select the Cloud layer, and then select the Eraser tool (E) and using a relatively large brush with a 0px hardness, erase around the clouds.
Note: I also moved the two owl layers up a bit higher on the tree, by using the Transform tool.

Step 18
Let’s add some text now. The font used it Century Gothic, but feel free to experiment with your own font. Make sure you choose black for your color, and use your Text tool, with a size of 100px and write “the greenhouse effect”. Set this layers blending mode to Soft Light.
Step 19
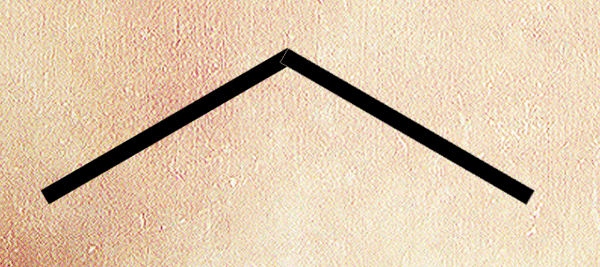
Lastly, lets make a roof on top of the text. Using the rectangle tool, and create a rectangle, then duplicate this layer. Use the Transform tool and rotate each to just under a 45 degree angle. Then place them together. Merge these two rectangles. They should look like this

Final Image

Comments
Post a Comment