Tutorial Assets
The following assets were used during the production of this tutorial:Step 1
Let’s start with a sketch, I always draw a sketch and scan it into my computer.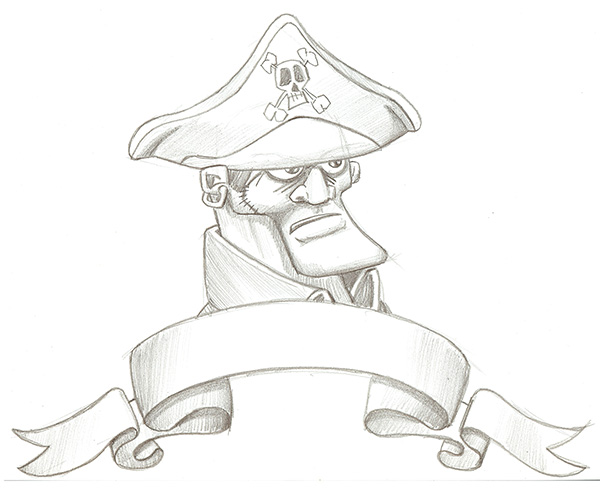
Step 2
Create a new 2000 by 1800 pixel document with a white background. Fill the background layer with a blue color #3686c3. Put the layer in a group, name it "Background", duplicate the background layer, rename it "Background Color" and put it in the "Background" group. Delete the old background layer.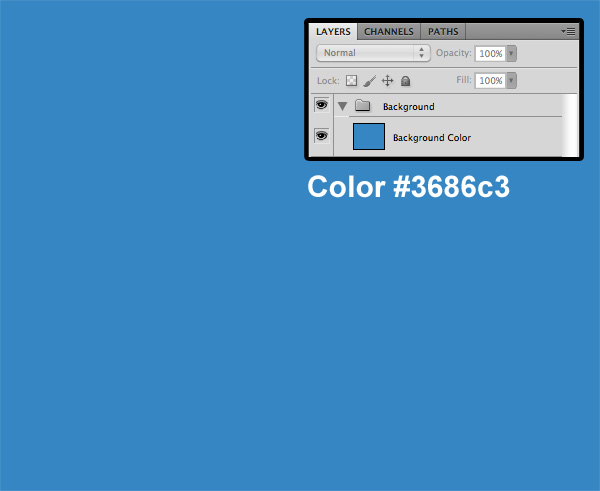
Step 3
Put the sketch in a new layer and name it “Sketch”.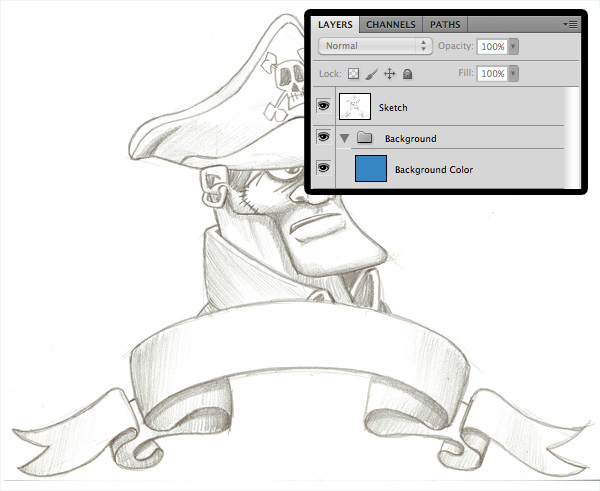
Step 4
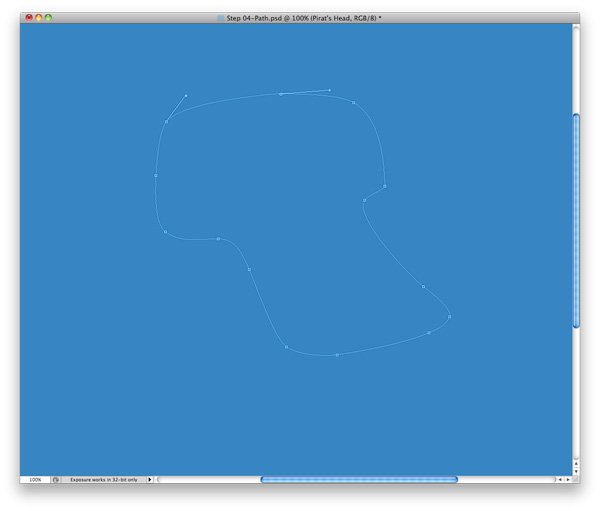
Set the “Sketch” Opacity to 20%. Use the Pen Tool (P) to draw the head shape.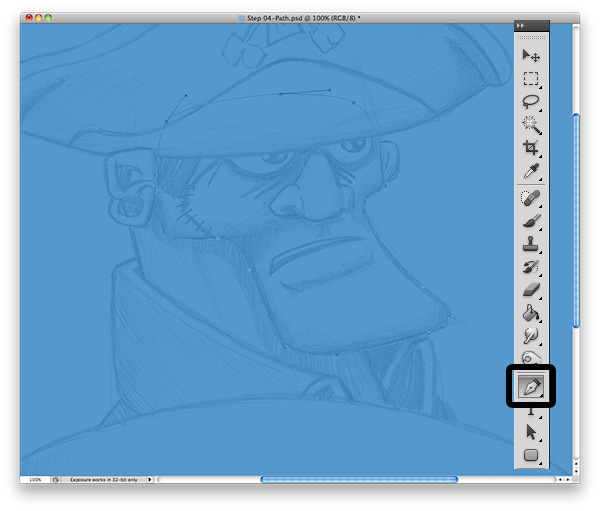
Step 5
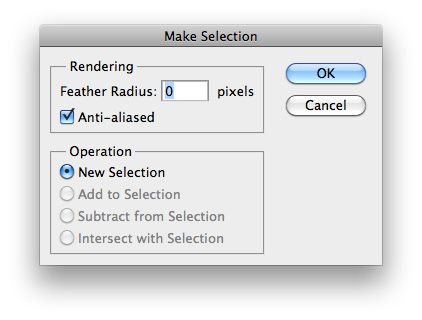
Once the head path is complete, right click on the path, select Make Selection, then press OK.Create a new layer and name it with a name easy to remember (in this example, name the layer “Head”).
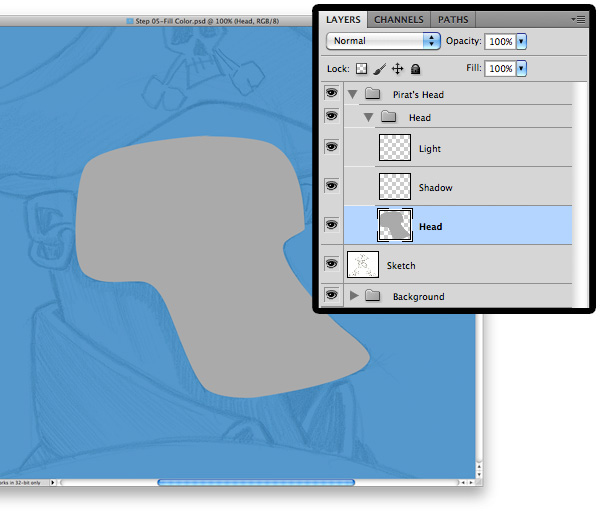
Fill the selection with a grey color, then deselect with Command/Ctrl + D.
Step 6
Select the “Head” layer, create a group with Command/Ctrl + G and name this group “Head”.Create a new layer above the layer “Head” (Shift + Command/Ctrl + N), name it “Shadow”, and choose “Multiply” mode.
Create a second layer (Shift + Command/Ctrl + N), name it “Light”, and choose “Screen” mode.
Step 7
Repeat steps 5 to 6 for all the character’s parts.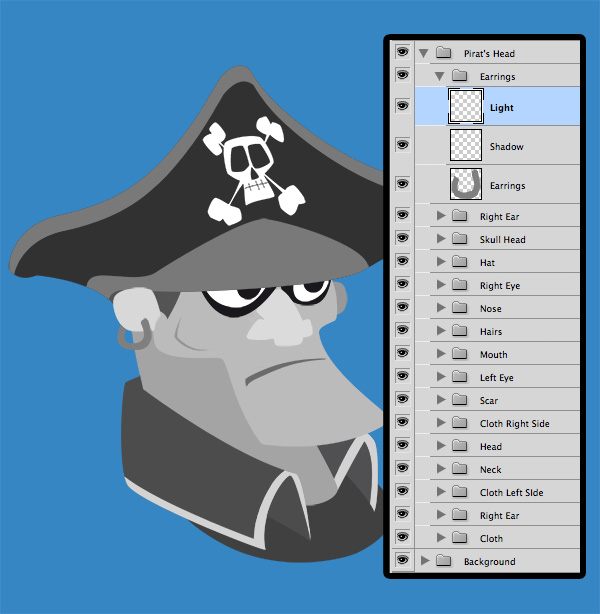
Step 8
Ok, It’s time to bring some colors to our character. We are going to start with the head. Select the layer "Head", lock the transparency (by clicking the small icon "Lock" in the top left of the layers). Choose a color (#f4bc83), a hard brush (Opacity 100%) for coloring the head shape. Repeat this step for all the character’s shapes.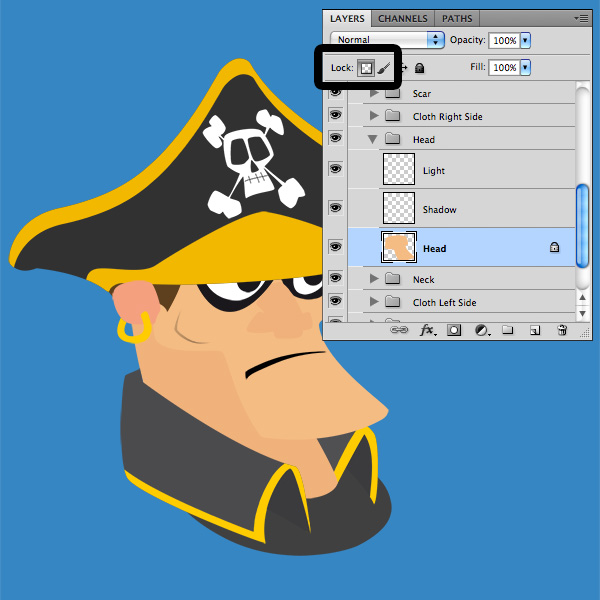
Step 9
Select the “Shadow” layer then get the head selection by clicking on the “Head” layer with Command/Ctrl + Left Click. Hide the selection (Command/Ctrl + H). We’re now ready to work on the shadow’s head.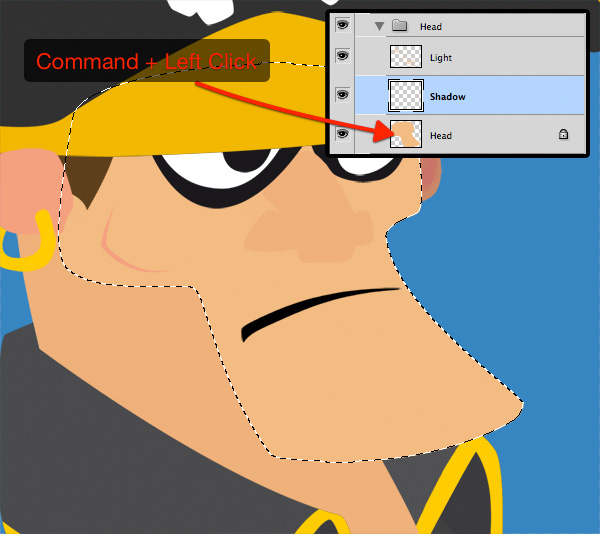
Step 10
I’m starting with a soft 66 pixel brush with the opacity set to 10%. Start to draw the shadows with the same base color (#f4bc83) as the head, then gradually, choose a darker color. Adjust the brush size to suit your needs.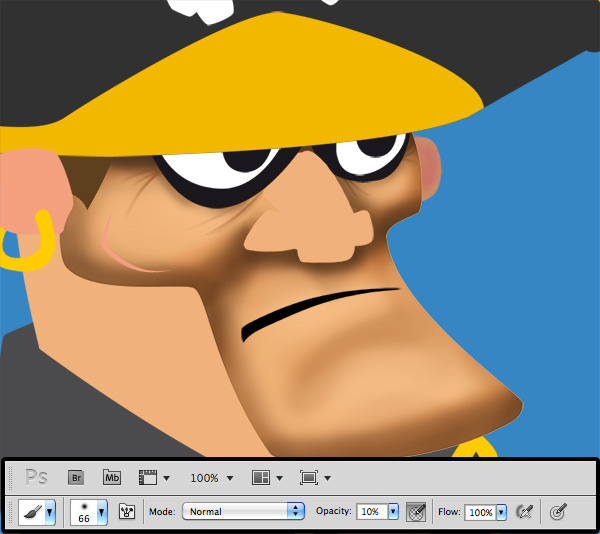
Step 11
Do the same things on the “Light” layer, but this time, gradually choose a lighter color when drawing.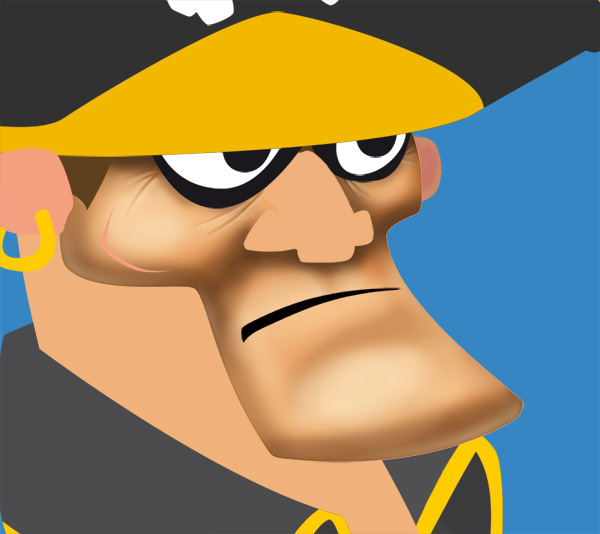
Step 12
Repeat steps 10 to 11 for all others parts of the character.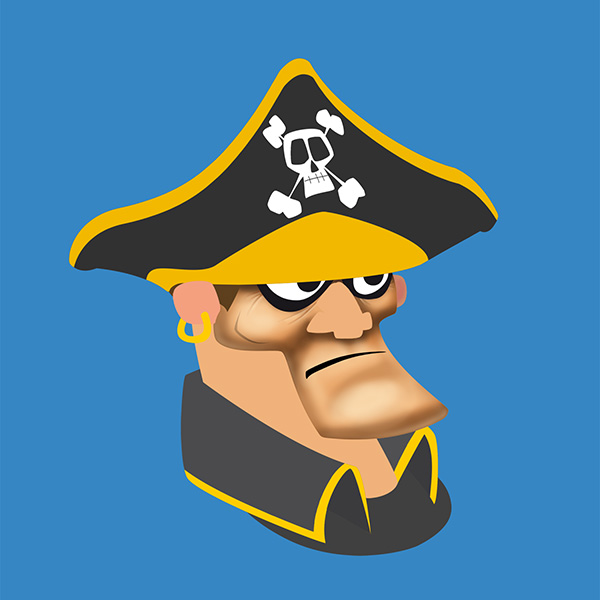
Step 13
And voilà, the shadows and the lights has been added on most of the character’s parts. But there’re still some parts that deserve more details.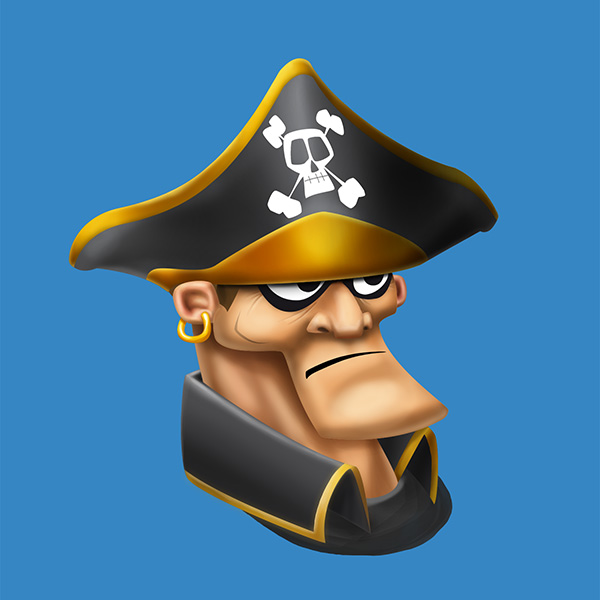
Step 14
The hat looks good, but let’s add a little texture to it.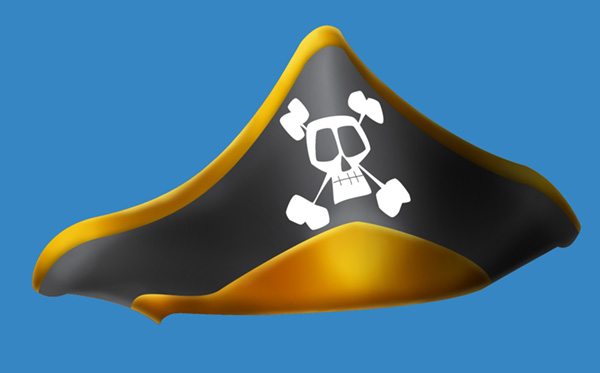
Step 15
Place the "Black and White Grunge" texture in the document (between the "Base" layer and the "Shadow" layer), name it "Texture" and resize it to fit the hat. Select the hat’s shape with Command/Ctrl + Left Click by clicking on the "Hat" layer, invert the selection with Shift + Command/Ctrl + I. Hit Delete and deselect with Command/Ctrl + D.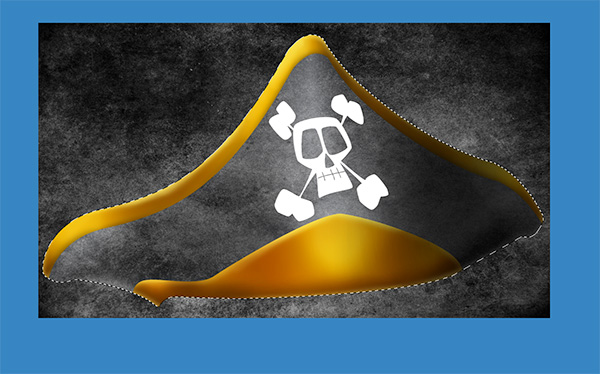
Step 16
Set the “Texture” layer to Multiply mode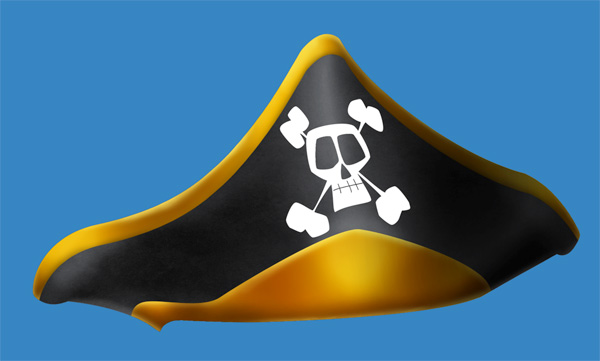
Step 17
Repeat steps 15 to 16 for the others clothes.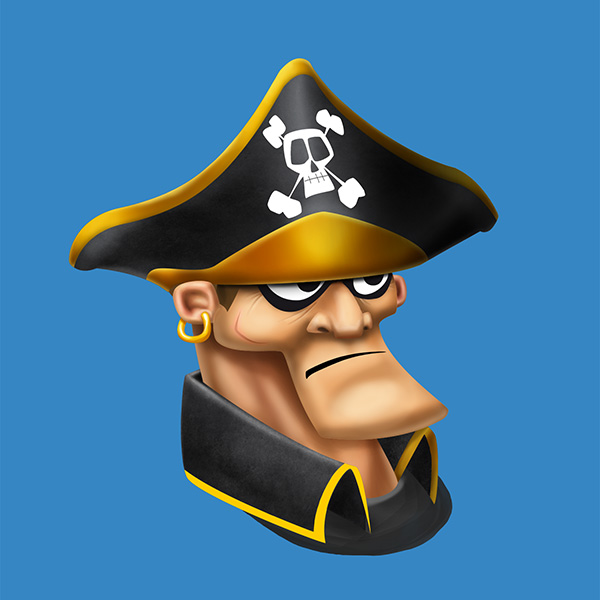
Step 18
For the eyes, select the black border layer and apply a Gaussian filter on it.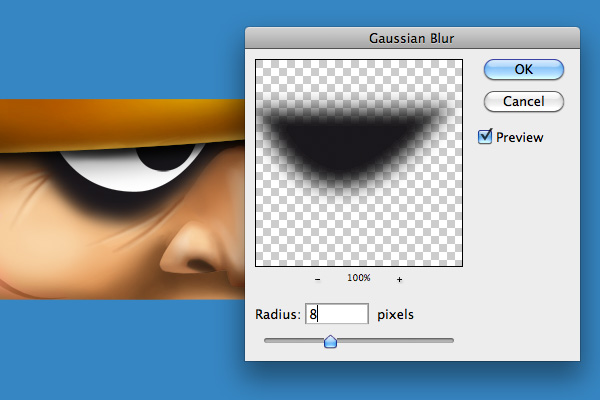
Step 19
Like the previous steps, add the shadows on the “Shadow” layer.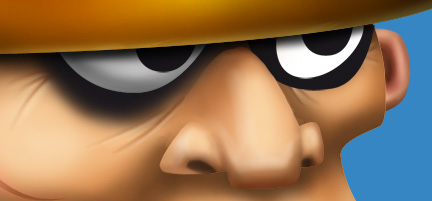
Step 20
Add the light in the eyes on the “Light” layer.
Step 21
With the Eraser Tool (E), give the eye a better look by erasing the black border a little bit.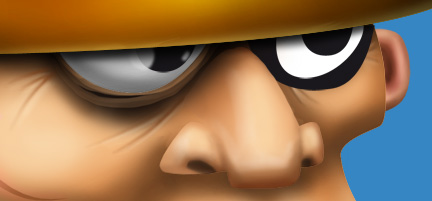
Step 22
Repeat steps 18 to 21 for the left eye.
Step 23
For the mouth, create a new layer and set mode to “Color” and the opacity to 50-55%, add a little bit of red around the mouth with a soft brush.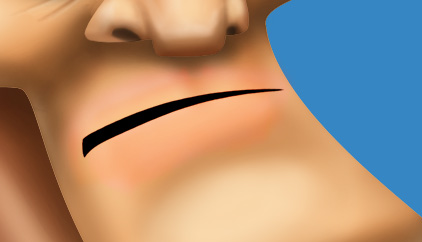
Step 24
Add some shadows on the “Shadow” layer.
Step 25
And light on the “Light” layer.
Step 26
Duplicate the “Mouth” layer and put it above the “Light” layer.
Step 27
Select the mouth shape with Command/Ctrl + Left Click.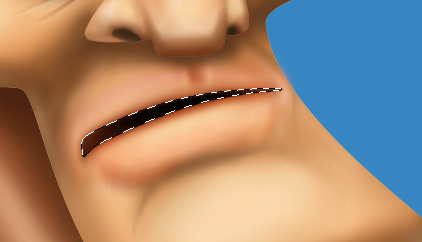
Step 28
Move the selection a little bit down with the Down Key, erase by hitting the Del key.
Step 29
Draw the teeth with a soft brush and a black color.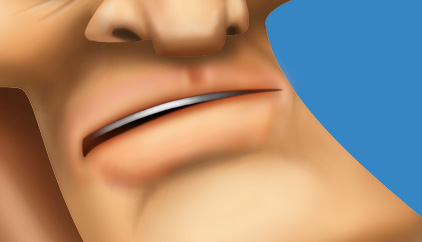
Step 30
For the skull head, add shadow and light as usual.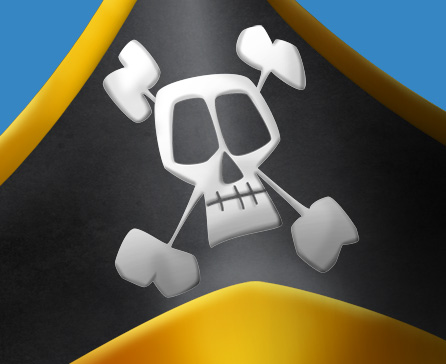
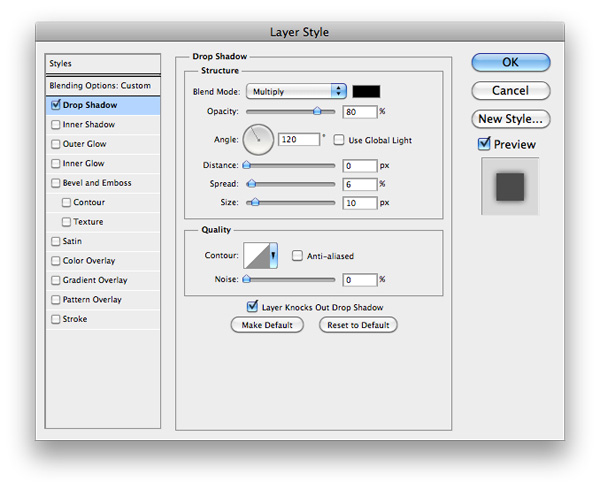
Step 31
Then add a Drop Shadow Style on the skull head layer.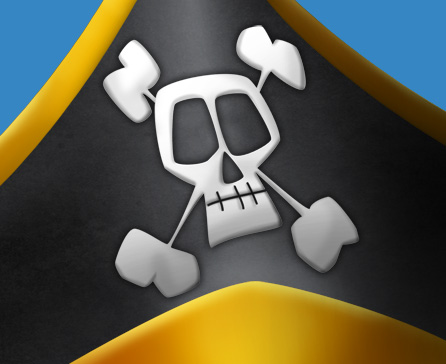
Step 32
Here is a detail of the scar, nothing special, just an extra “Color” mode layer with a little bit of red around the scar.
Step 33
For the beard, add a new layer and set mode to "Multiply", select a soft brush and a brown color, then start to paint. I’ve shown you the "beard" zone in red on the thumbnail.
Step 34
Then, add a new layer (Shift + Command/Ctrl + N), fill it with the Paint Bucket Tool (G) and a black color.
Step 35
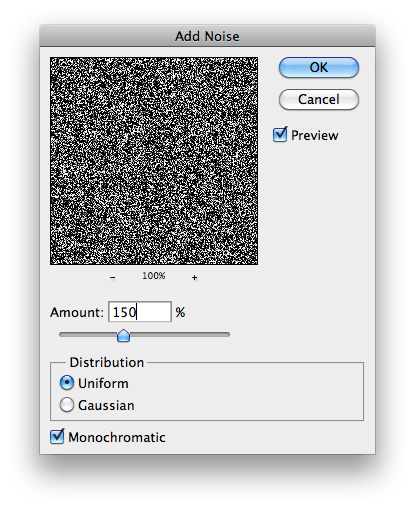
Add a “Noise” filter on the layer (Filter > Noise > Add Noise).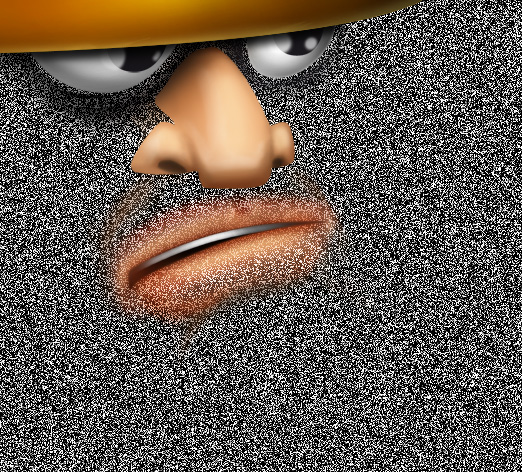
Step 36
Command/Ctrl + Left Click on the “Beard” layer, reverse the selection with Shift + Command/Ctrl + I, erase with the “Del” key and deselect with Command/Ctrl + D.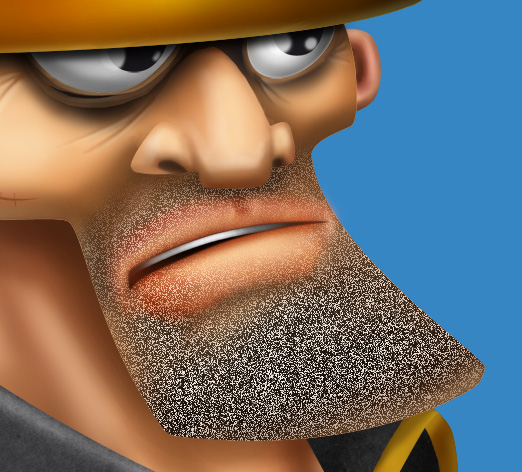
Step 37
Set to “Soft Light” mode and opacity to 40%.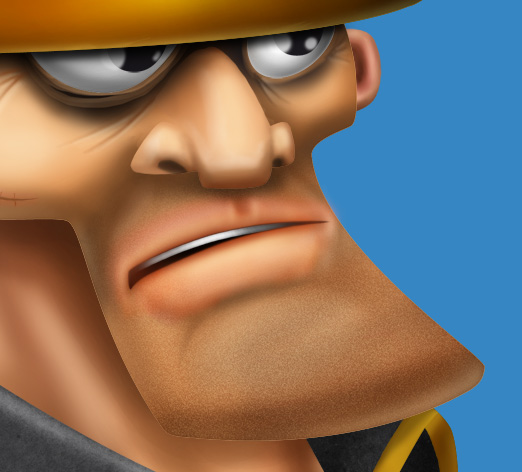
Step 38
For the hairs, use a 1 pixel soft brush with a dark brown color for the shadows, and a light brown for the lights.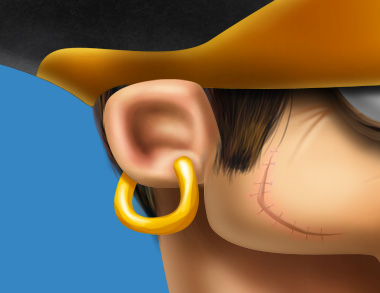
Step 39
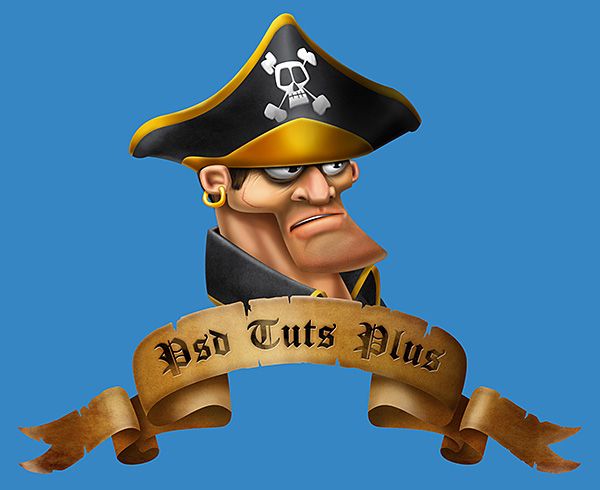
Our pirate is finally finished!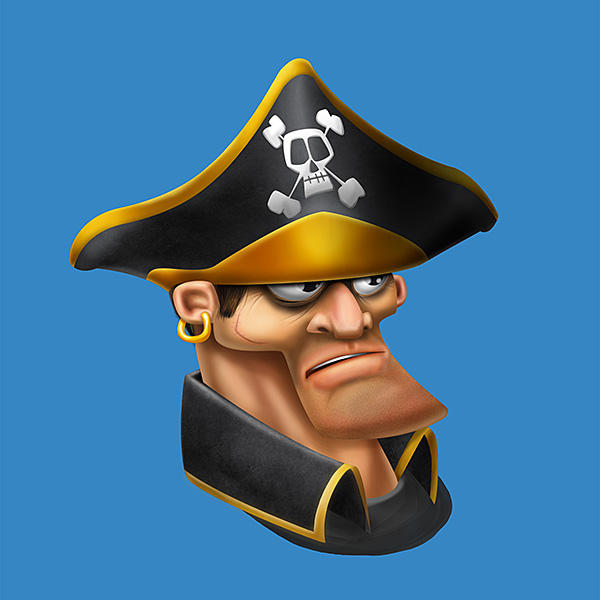
Step 40
For the ribbon, use the step 5 to 8 from the pirate’s head. Use the colors: #f7eac5, #f0dcb3, #e5cc9d, #d2ac76. Erase the edges with the Eraser Tool (E) for the torn edges.
Step 41
You can see all the parts in this picture.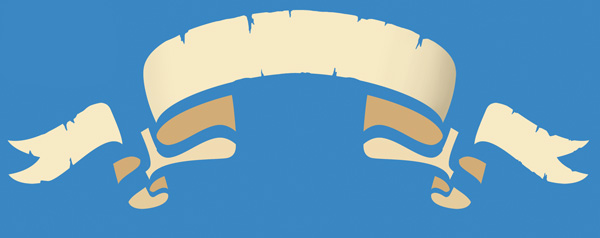
Step 42
Add the shadows on the ribbon.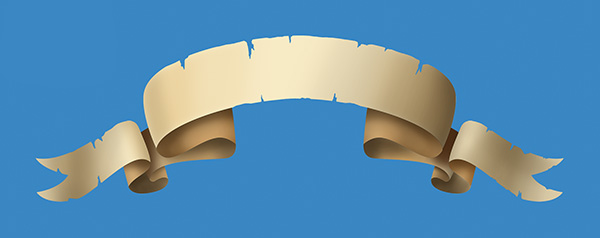
Step 43
Then add the lights.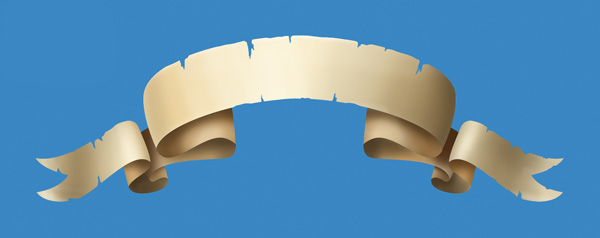
Step 44
Place the Grunge Paper texture in the document; resize it to fit the ribbon.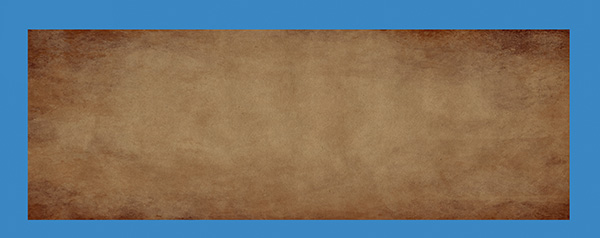
Step 45
Select ALL the ribbon’s shapes with Command/Ctrl + Left Click by clicking on the each layer, invert the selection with Shift + Command/Ctrl + I. Hit Del and deselect with Command/Ctrl + D.
Step 46
Set the “Texture” layer to “Multiply” mode.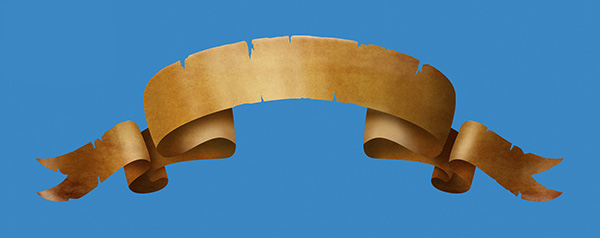
Step 47
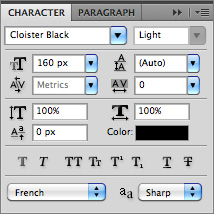
Add some text with the Type Tool (T), I’ve choose the free “Cloister Black” font”.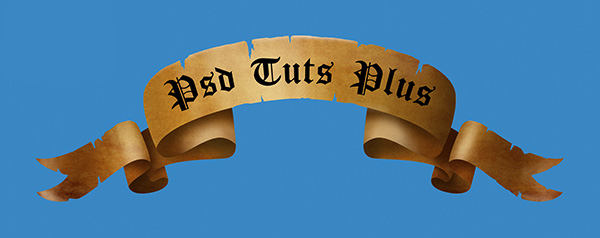
Step 48
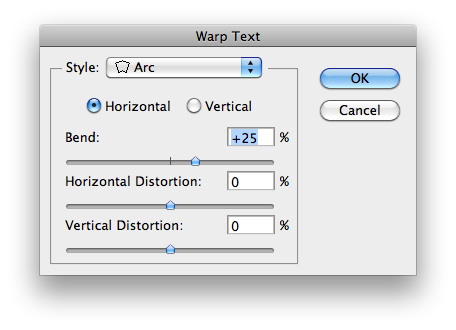
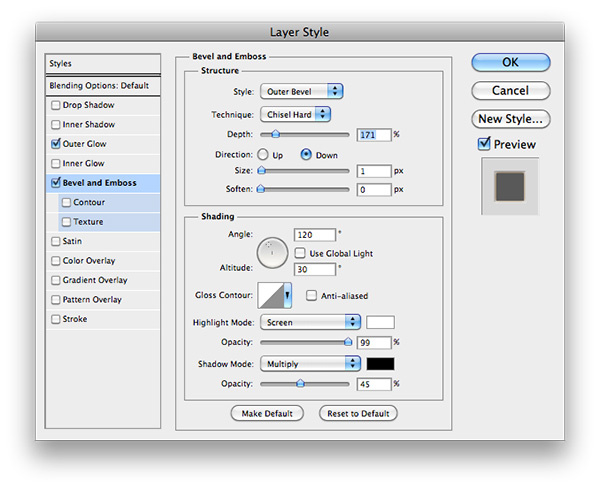
Right Click on the Type layer, then choose Rasterize Type. Add some style on it. Erase some parts with the Eraser Tool (E) using à soft brush.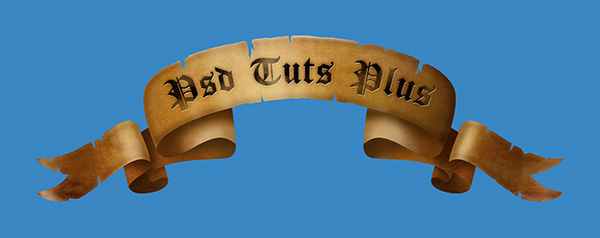

Final Image
Comments
Post a Comment