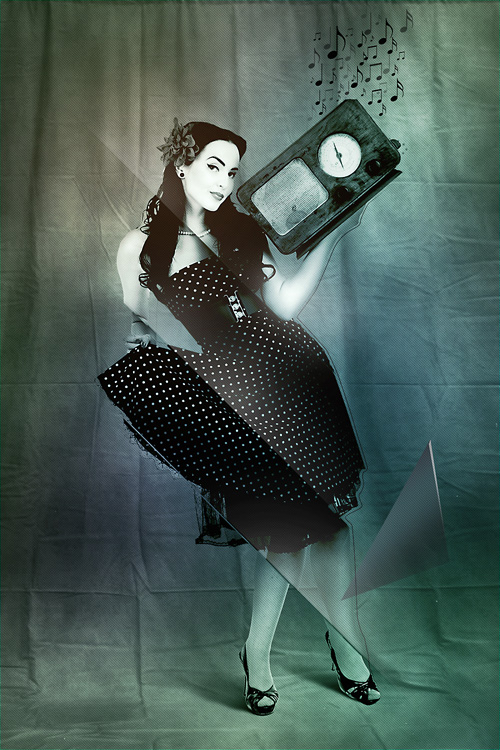
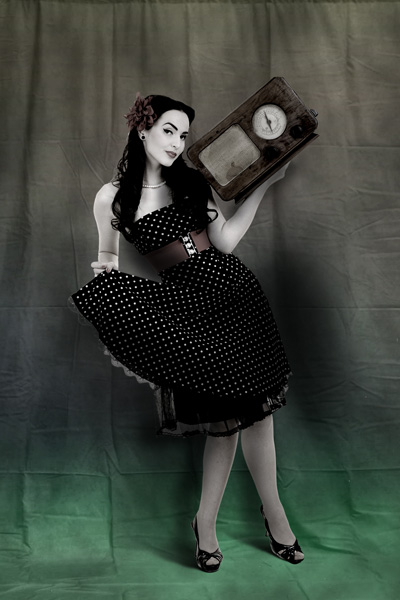
Final Image Preview
Start working by creating a new document (Ctrl+N) in Adobe Photoshop CS5 with the size 1000px by 1500px (RGB color mode) at a resolution of 72 pixels/inch.
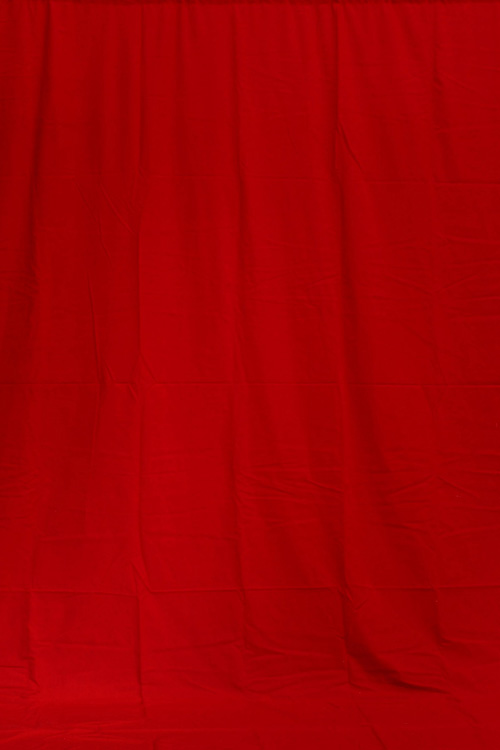
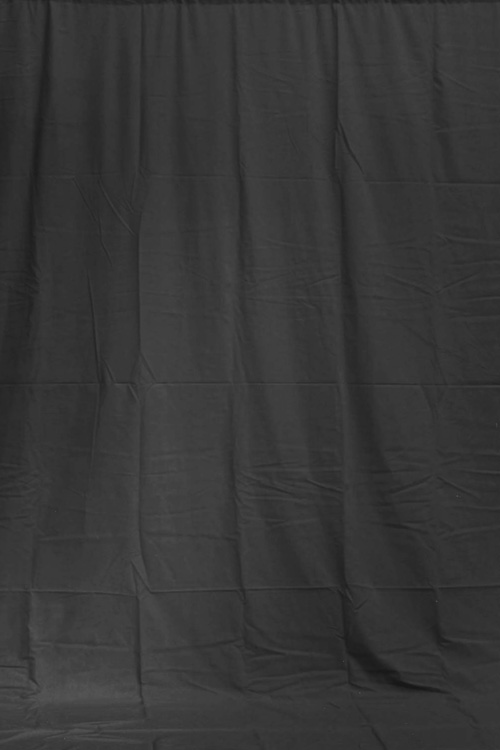
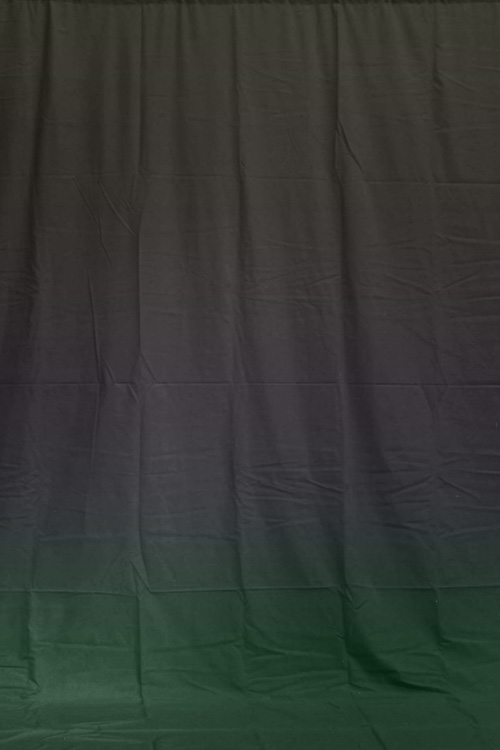
Find a stock photo with a red fabric texture and insert it on our main document, or if you prefer, you can substitute similar image of your own.
Click Create new fill or adjustment layer from bottom part of the Layers panel and select Hue/Saturation. Drag the slider to the left to decrease the Saturation of the color range.
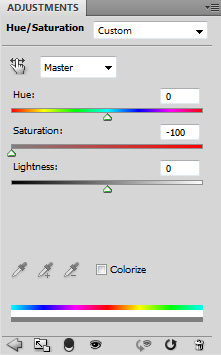
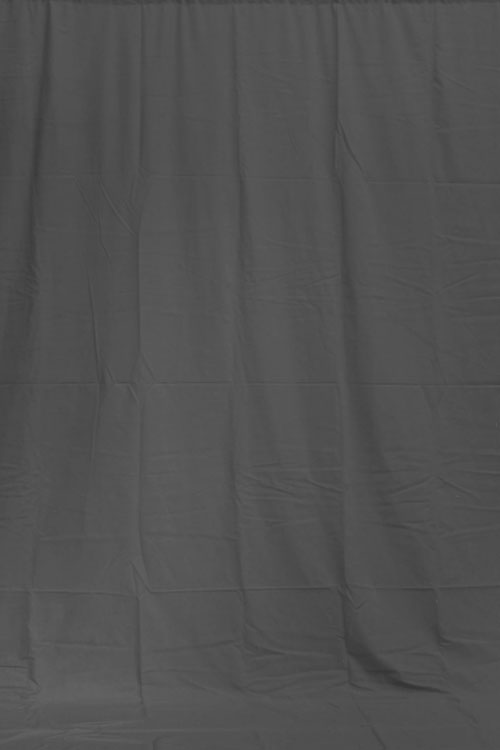
We’ve got the next result:
Click Create new fill or adjustment layer from bottom part of the Layers panel and click to Curves to adjust the curve shape as shown to make a little color corrections.
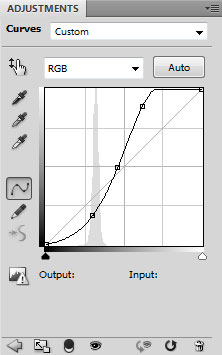
We’ve got the next result:
Create a new layer and set Fill to 0% for this layer, click on Add a layer style icon from bottom part of the Layers panel to select Gradient Overlay.
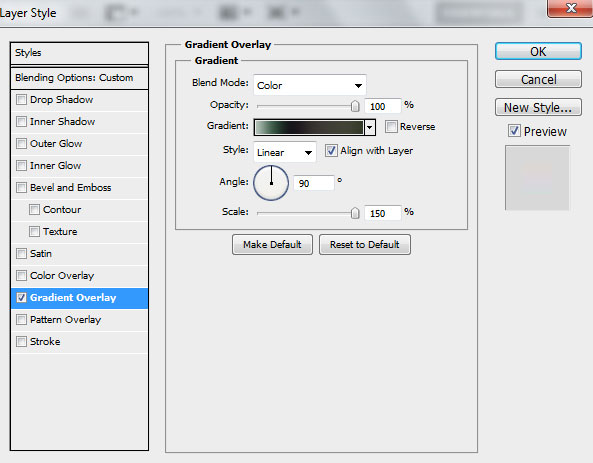
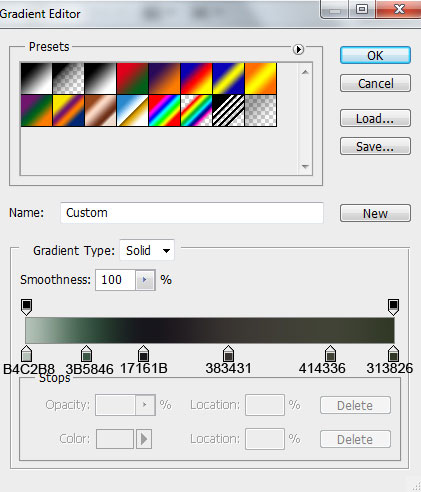
Click in the color bar to open the Gradient Editor and set the color stops as shown. Click OK to close the Gradient Editor dialog box.
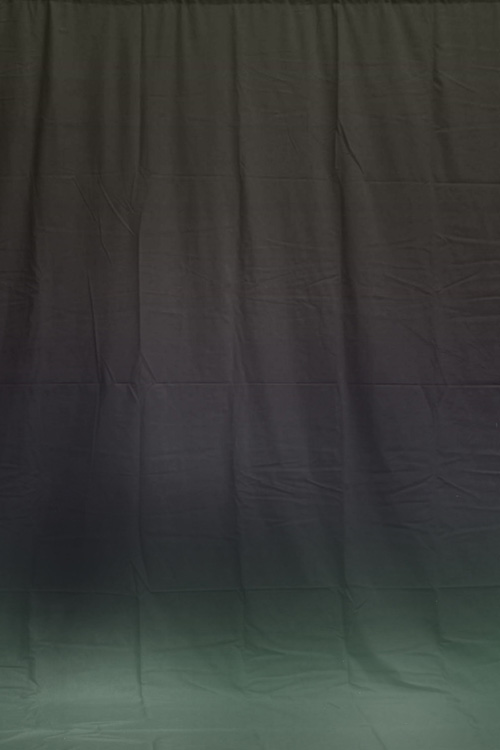
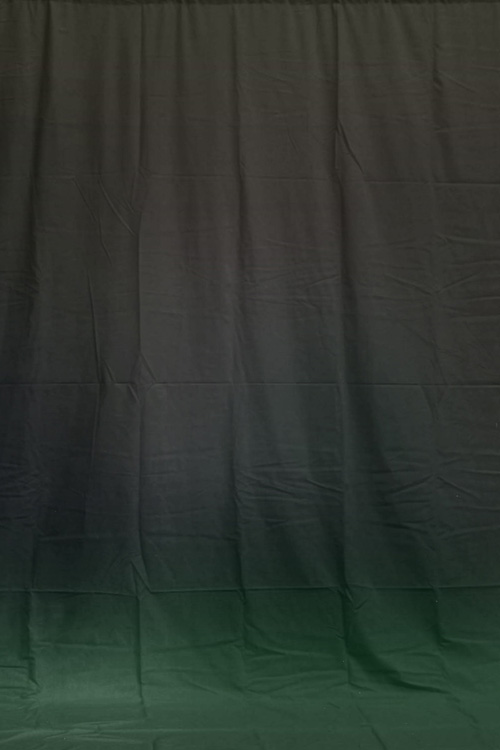
We’ve got the next result:
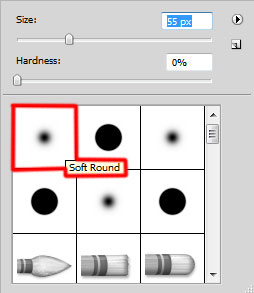
Create a new layer and select the Soft Round brush from Brush tool (B).
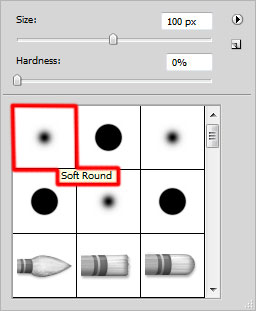
Use this brush to paint the canvas. The bottom part of the canvas will be painted with white color (brush’s Opacity – 10%), but at the boundary of color transition between the green and violet colors, apply black color (brush’s Opacity – 10%).
Set Fill to 16% for this layer and set the Blending mode to Linear Light.

On the next new layer we’ll use the Soft Round brush mentioned above to paint the canvas on the left and right sides. The brush’s color is #50675A (brush’s Opacity – 15%)
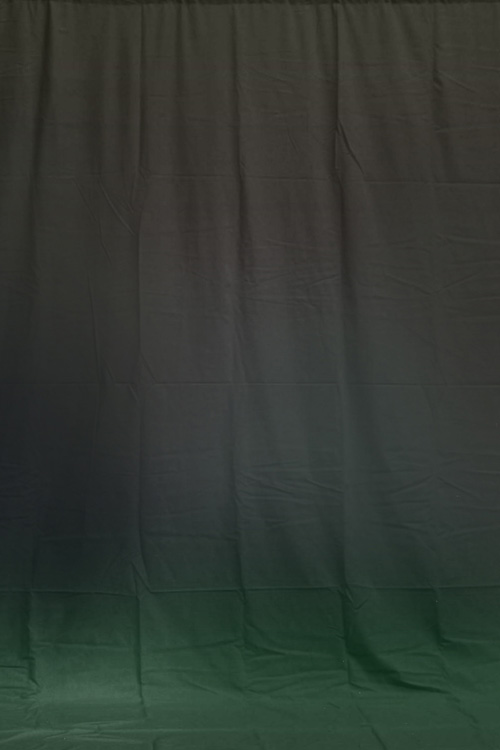
Set the Blending mode for this layer to Color.
Create a new layer and fill it with white color, applying the Paint Bucket Tool (G). Then insert the mask on the layer by clicking on the bottom part of the Layers panel on Add layer mask. Apply on the mask the next filter: Filter > Render > Clouds.
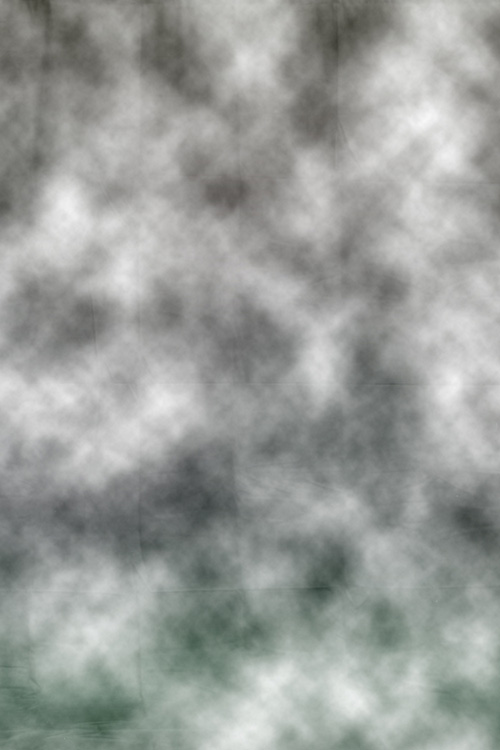
Set the Blending mode for this layer to Overlay.
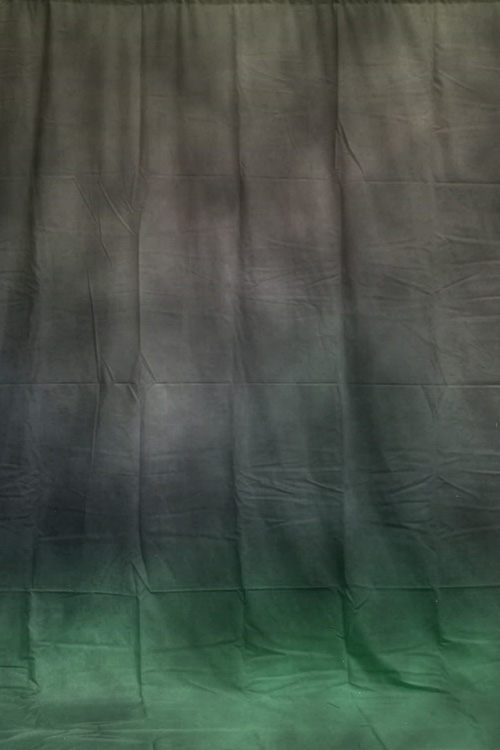
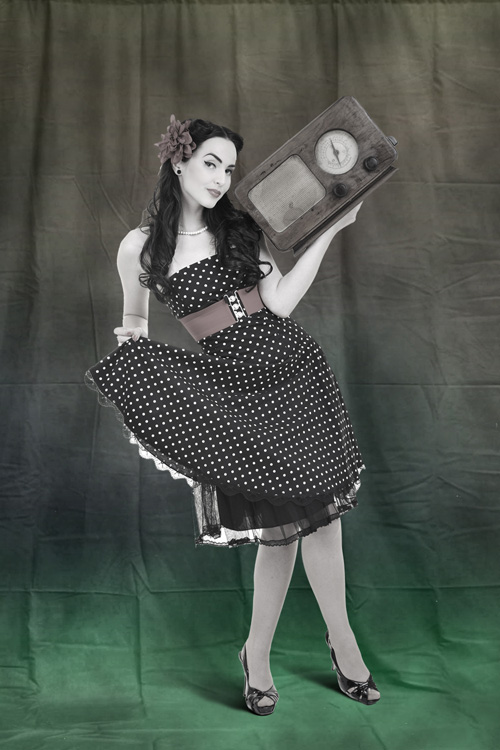
Find a stock photo with a model represented on it, I used this vintage pin-up woman listening to the music from Shutterstock. I would like to thank the author of this photo, or if you prefer, you can substitute similar image of your own.
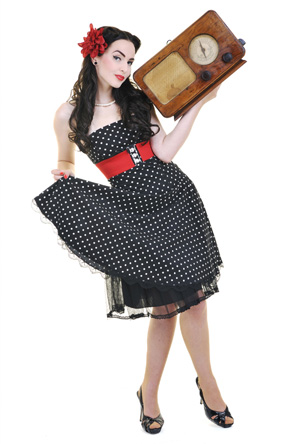
Remove the background using your favorite tools like Pen Tool (P), Magic Wand Tool (W), Magnetic Lasso (L) or even a simple Filter>Extract and insert it on a new layer in our main document.

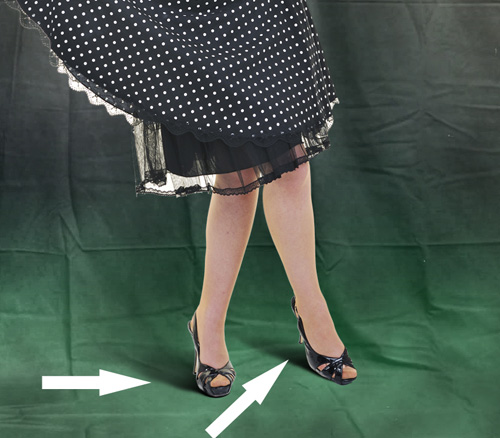
Create a new layer and select the Soft Round brush of black color to draw the legs’ shadow (brush’s Opacity – 30%). The layer will be situated under the woman’s one. Then select the Smudge Tool to smudge the shadow on the left side.
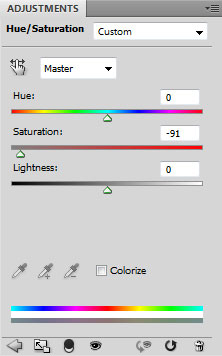
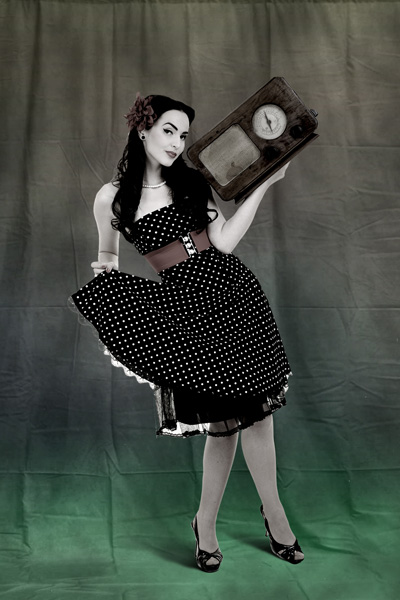
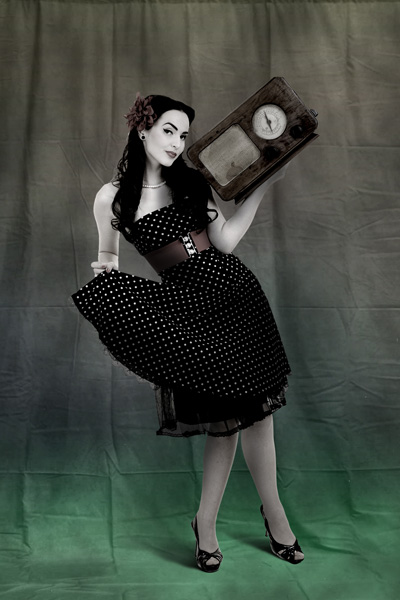
Click Create new fill or adjustment layer from bottom part of the Layers panel and select Hue/Saturation. Drag the slider to the left to decrease the Saturation of the color range.
We’ve got the next result:
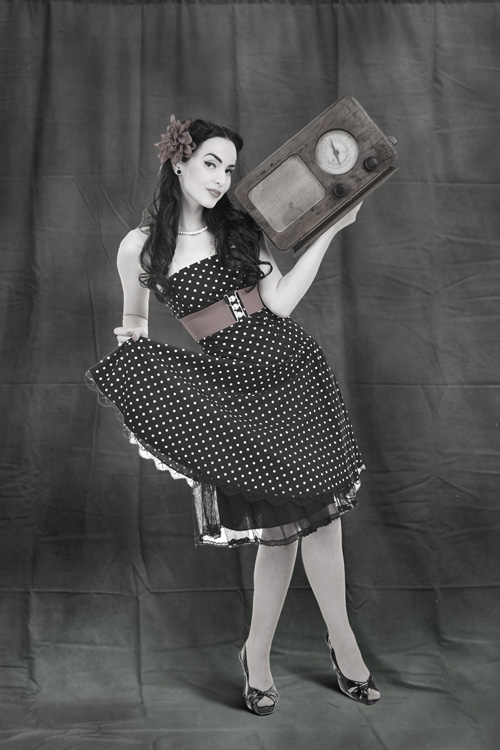
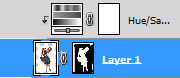
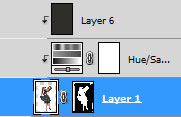
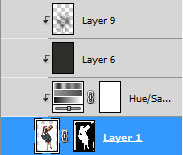
Hold down Alt (Windows) or Option (Mac OS) and click between Hue/Saturation adjustment layer and the woman’s layer in the Layers panel to create a clipping mask.
We’ve got the next result:
Create a new layer and select the Paint Bucket Tool (G) to fill it with #2E2D2A color.

Hold down Alt (Windows) or Option (Mac OS) and click between layers in the Layers panel to create a clipping mask.
Set Fill to 40% for this layer and set the Blending mode to Vivid Light.
Create a new layer and select the Soft Round brush of black color (brush’s Opacity – 20%).
Use this brush to represent the shadows on the woman’s body:
Hold down Alt (Windows) or Option (Mac OS) and click between layers in the Layers panel to create a clipping mask.
We’ve got the next result:
Comments
Post a Comment