Step 1
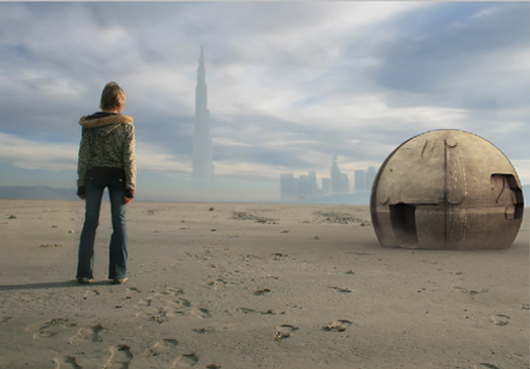
Make a rough sketch of the scene that we are going to create. Drawing the rough sketch makes the work easier in finding the appropriate images for the scene. The image used for this tutorial can be found here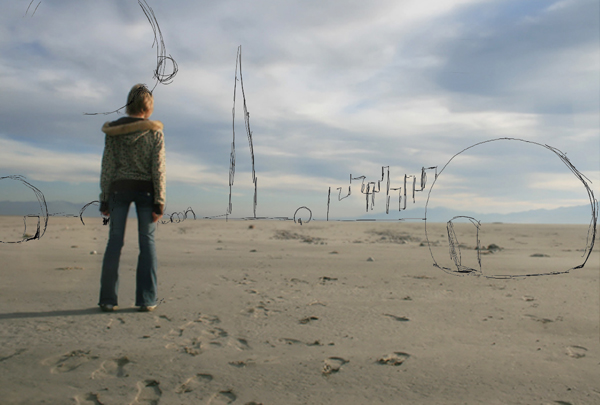
Step 2
Open a new canvas in Photoshop with 16:9 resolution(1280x720px) .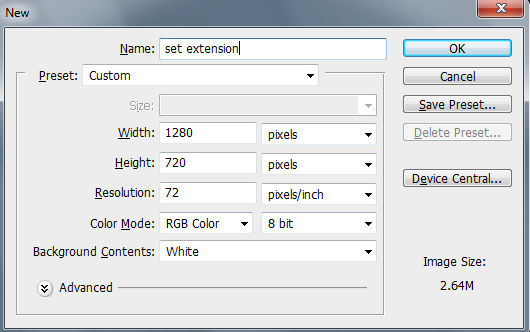
Step 3
Import the image onto the canvas for which we are going to create the set-extension. Name the image as "base plate".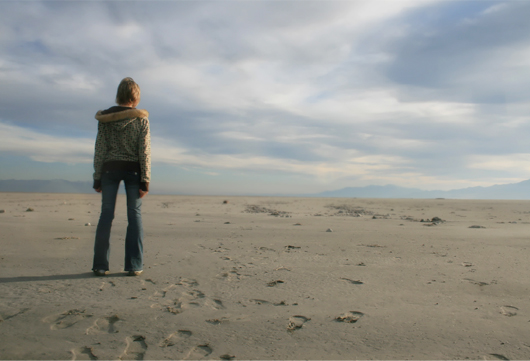
Step 4
Now mask half the body of the model using the Pen Tool(P) , and separate the selection into a new layer. This layer will be helpful in the coming steps.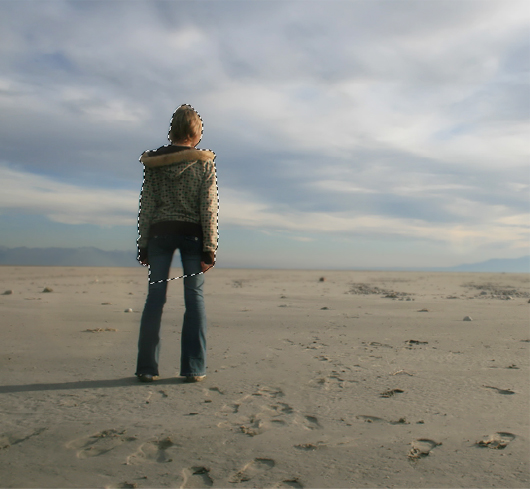
Step 5
Select a center point in the image which represents the vanishing point to draw the perspective lines. Now by using the Line Tool(U) draw the perspective lines from the vanishing point. Drawing the perspective makes the work easier while arranging the images and the 3d models.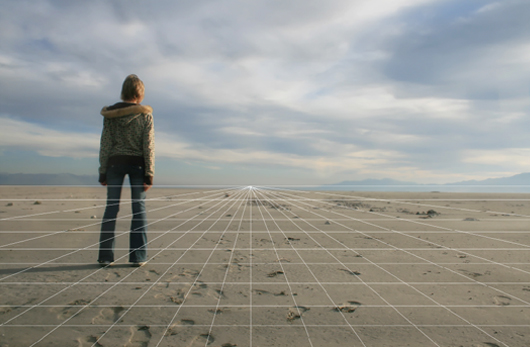
Step 6
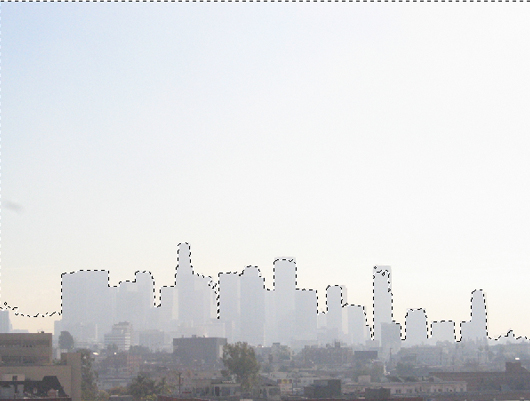
In this step we are going to create a city which is far beyond the hills. Naturally the city appears to be blurred and dim in color when it is seen very far away. The image here fits perfectly to the scene, you can download it at- 1) Mask out the sky from the City image using the Magic Wand Tool(W) .
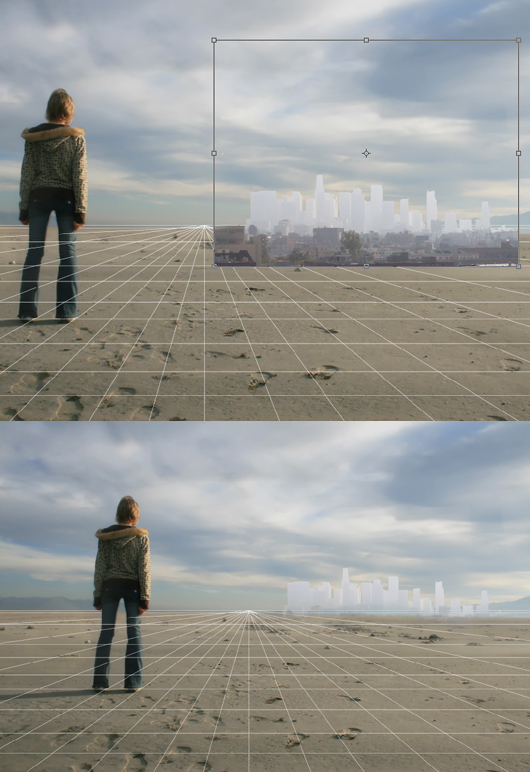
- 2) Now place the city layer on the right side of the image as shown in the image below and erase the unwanted part of the city using the Eraser Tool(E) .
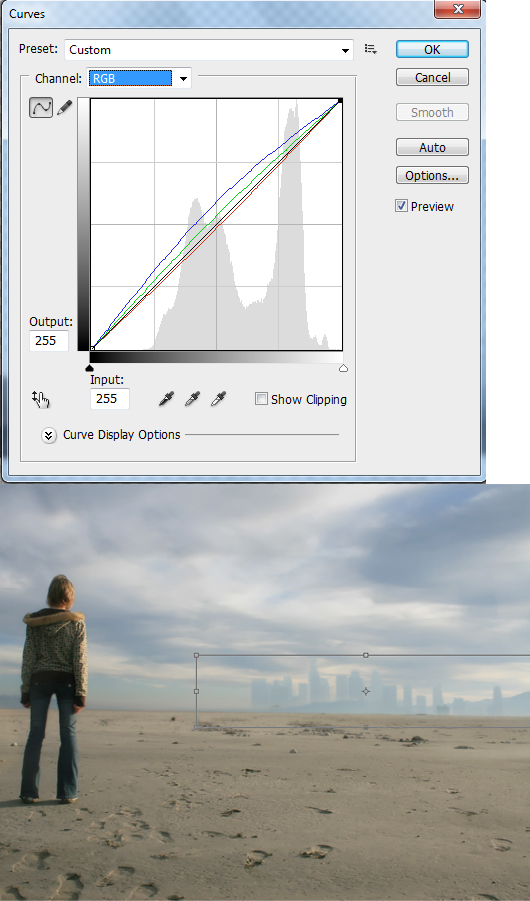
- 3) color correct the 'City' layer using the Curves(Image>Adjustments>Curves) to blend with the main image.
Step 7
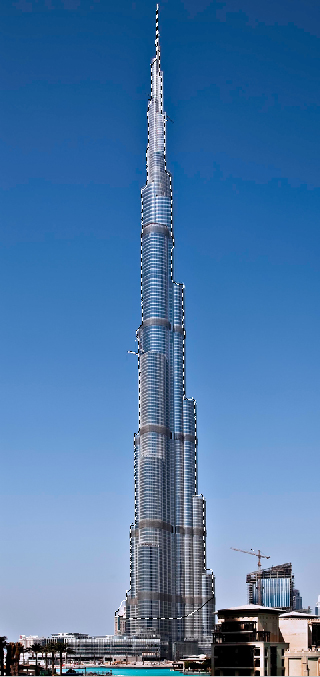
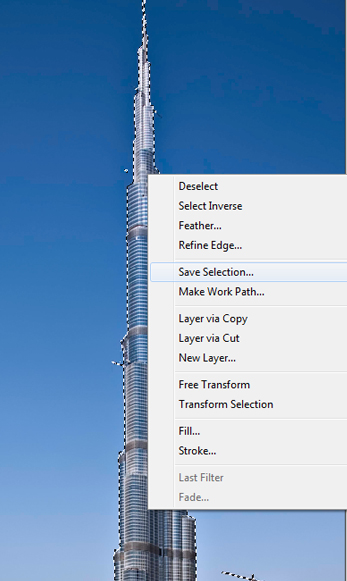
- 1) To create the tall tower as drawn in the sketch, open the image of 'brudge khalifa' and mask the shape of the building using the Pen Tool.
- 2) Now save the mask by right clicking on the mask and select 'Save Selection'.Then give a name to the mask and save it.

Step 8
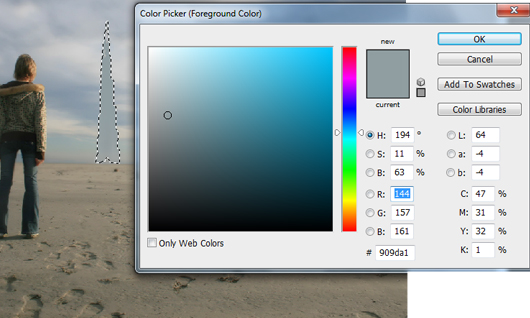
- 1) Create a new layer and open the saved mask from Select>Load Selection, and paint the selection with #909da1 color.
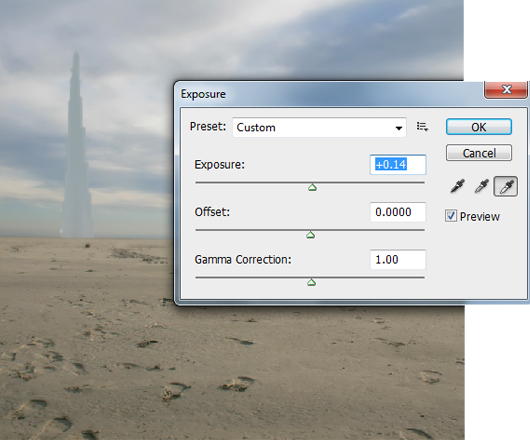
- 2) Now increase the Exposure value of the tower to +0.14.
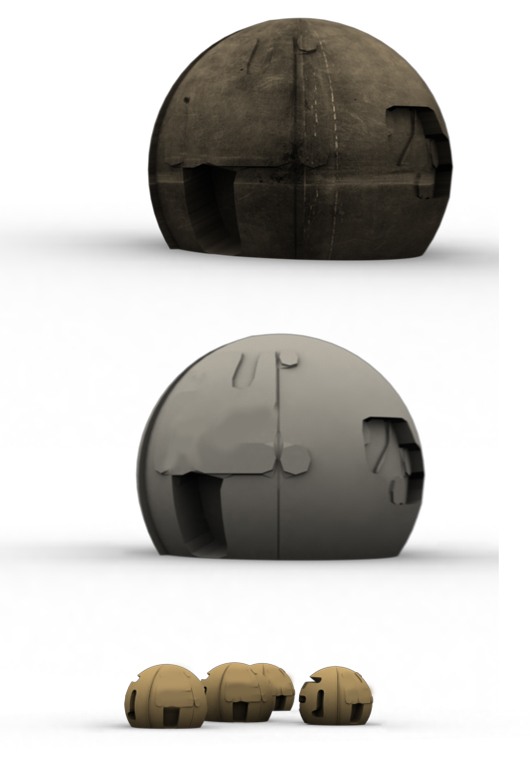
Step 9
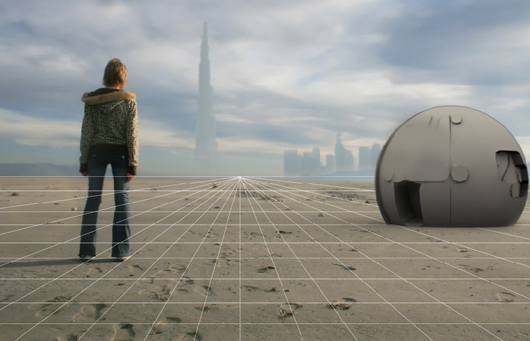
Here we have the 3d 'dome' models same as designed in sketch, rendered out in occlusion and with texture using 3DS-max. You can download the 3D dome at- 1) With the perspective layer on, arrange the occlusion rendered dome to the right as shown and name the layer as 'acl dome'..
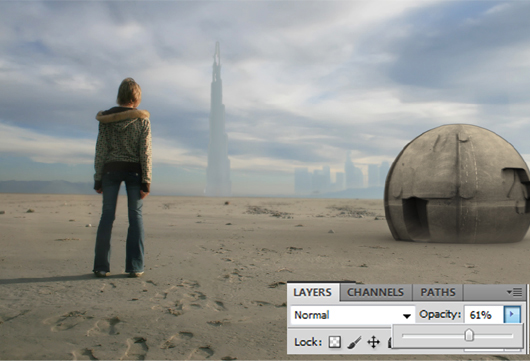
- 2) Now place the textured dome on the 'acl dome' and reduce it's Opacity to 61%.
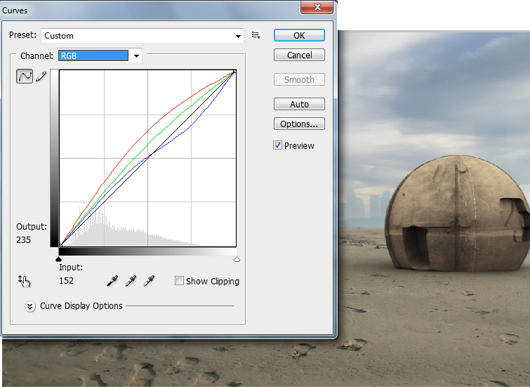
- 3) According to the main image the sun light is coming from the right side, so duplicate the textured dome layer and color correct the layer using the Curves to get the sun light effect on dome.Name the layer as 'light'.
- 4) Now by using the Soft Eraser Tool(E) erase the left side of the light layer to give the dark shadow to the dome. Then select all the layers of dome and Merge them together and name it as 'dome 1'.
Step 10
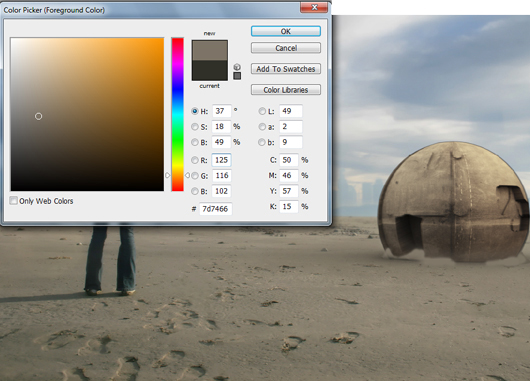
Since the dome is resting on soft sand, there must be some sand covering the bottom of the dome.In this step we will be digitally painting the sand at the bottom of the dome.- 1) Make a new layer and paint the sand as shown using the Soft Round Brush(B) with #7d7466 color selected.
- 2) Now reduce the Opacity of the brush to 75% and paint on the previous paint using #64584b color.
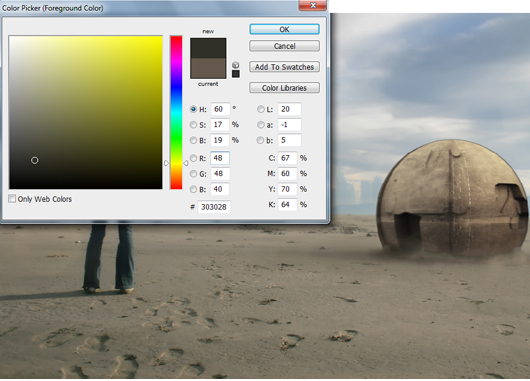
- 3) Again repeat the previous step using #303028 color with the brush opacity set to 26%.

Step 11
Now duplicate the 'dome 1' layer and name it as 'dome2' then flip it horizontally and place it on the left as shown.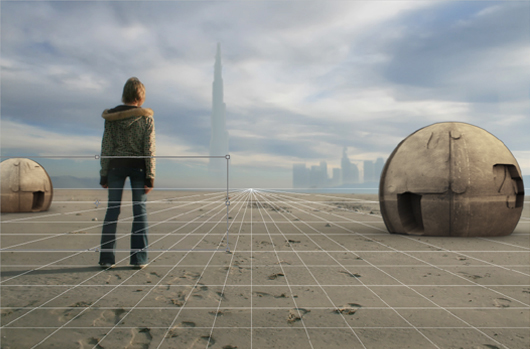
Step 12
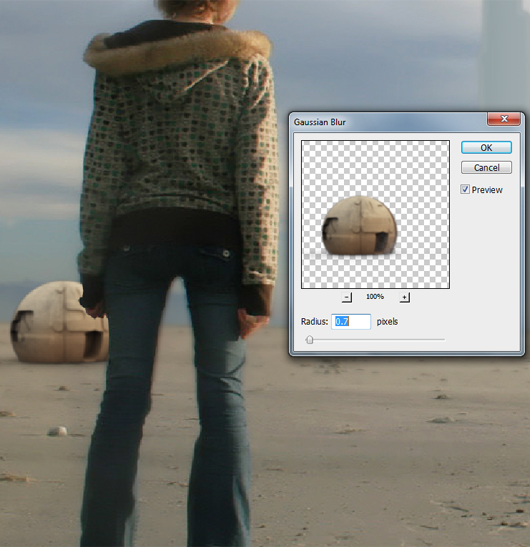
- 1) Similarly as the previous step duplicate the dome2 layer and name it as dome3 then resize it using the Move Tool(V) as per the sketch. Place this layer under the model layer that we cut in the Step 4.
- 2) As the object goes further from the camera it gets blurred, so add Gaussian Blur(Filter>Blur>Gaussian Blur) of Radius 0.7px.

Step 13
Repeat Step 12 to arrange dome 4 and dome group. After arranging the domes apply Gaussian Blur of Radius 1.4px to dome 4 and to 'dome group' add Gaussian Blur of radius 2.0px.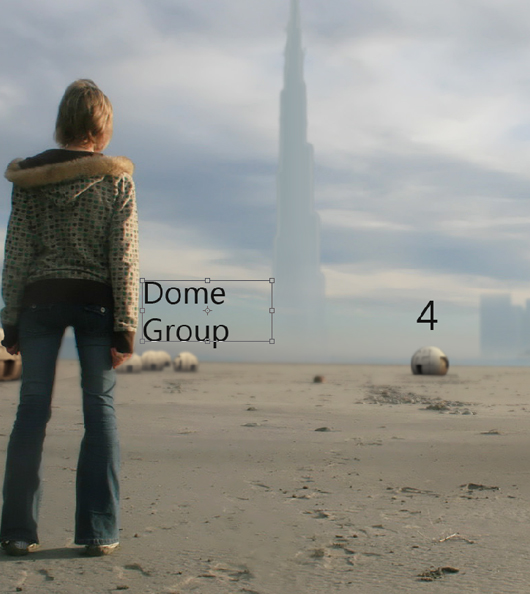
Step 14
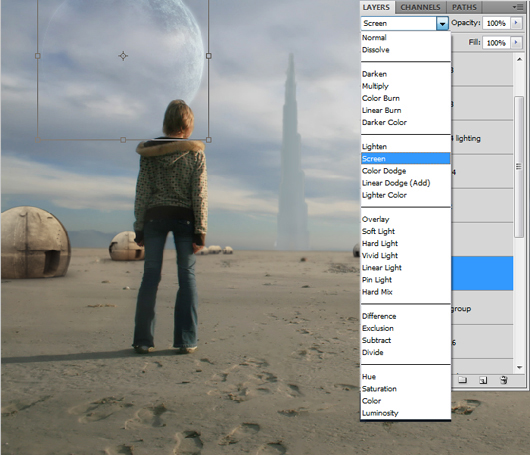
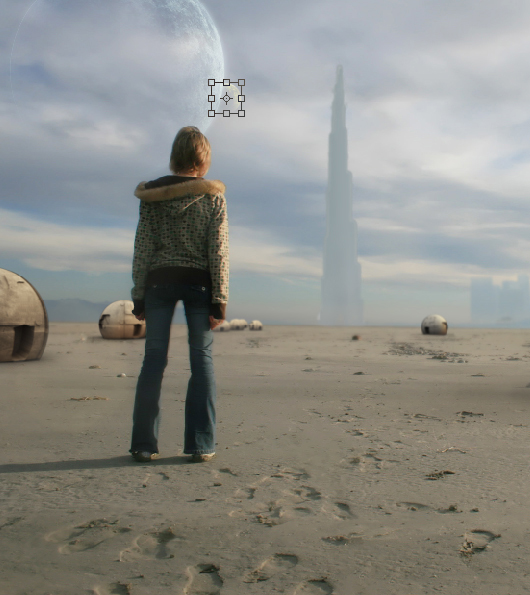
- 1) Now import the planet image onto the canvas and change it's Blending Mode to Screen.
- 2) Repeat the previous step and resize the planet using the Move Tool to create a moon to the planet.
Step 15
Since this is a desert scene there must be some sand flying with the wind. Using the 'Softly Whisper' bru paint the sand flying with the color #e5d7c5.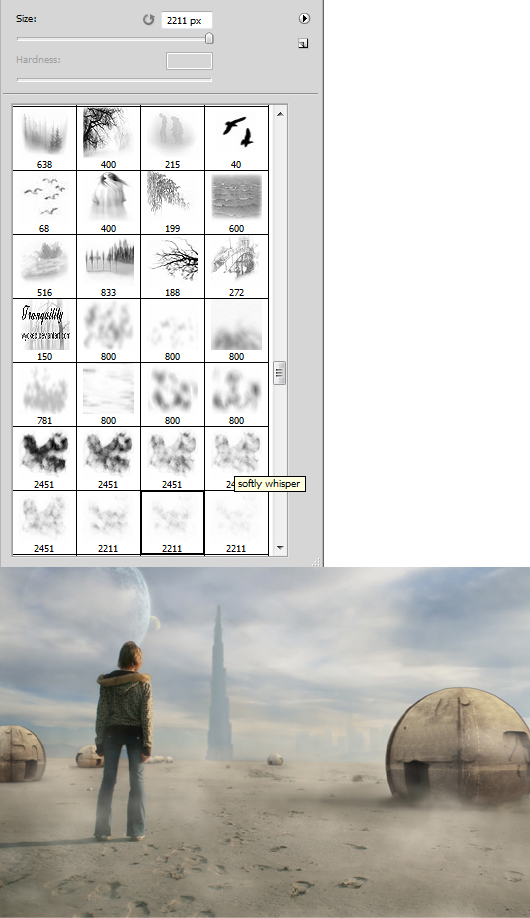
Step 16
Adding a Lens Flair to the scene makes it more natural. Go to Filter>Render>Lens Flair and choose 35mm Prime and increase it's brightness to 135%.
Step 17
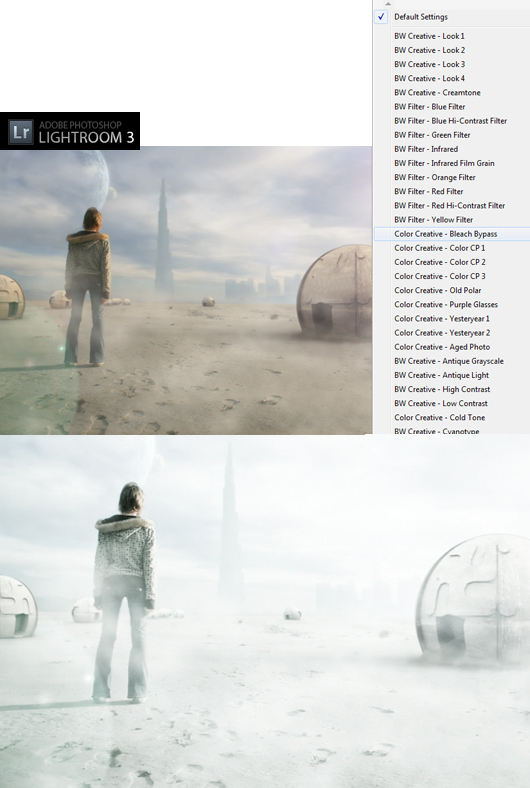
From this step we will be using Lightroom 3 for color correcting the image. Lightroom 3 is very easy to use and we can get an amazing result in a very short time.- 1) Import the saved photoshop file into Lightroom and choose 'color Creative-Bleach Bypass' preset from Saved Presets list.
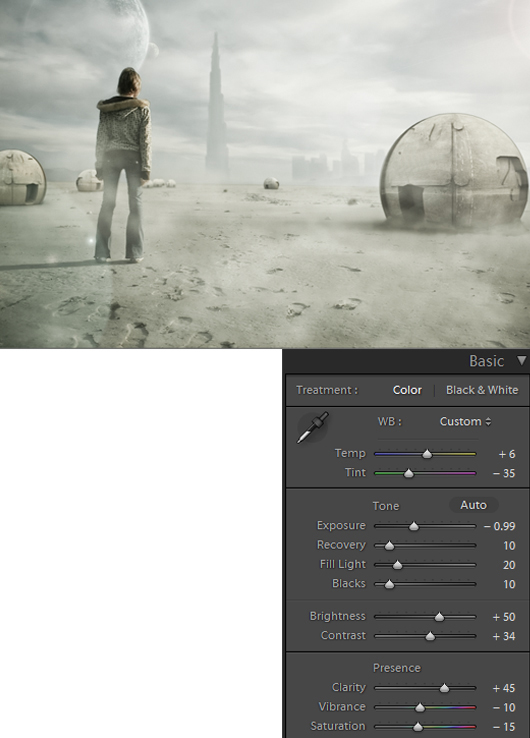
- 2) Now move to Develop and change the exposure to -0.99, Temp=+6, Fill Light=20.
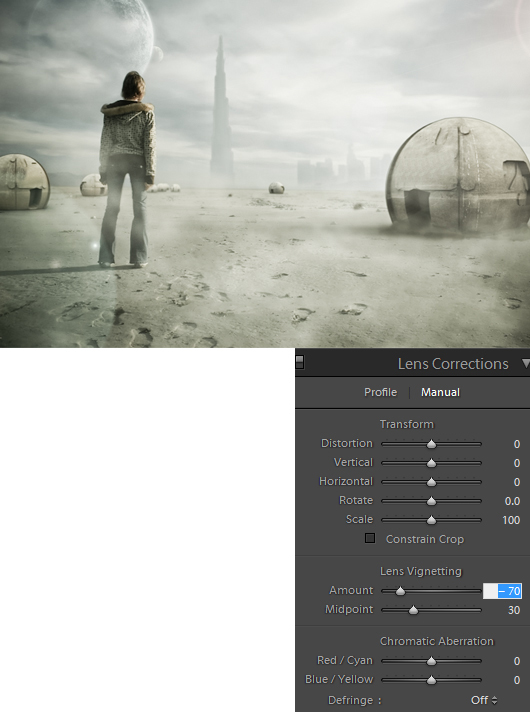
- 3) Set the value of Lens Vignetting Amount to -70 to get the dark corners.
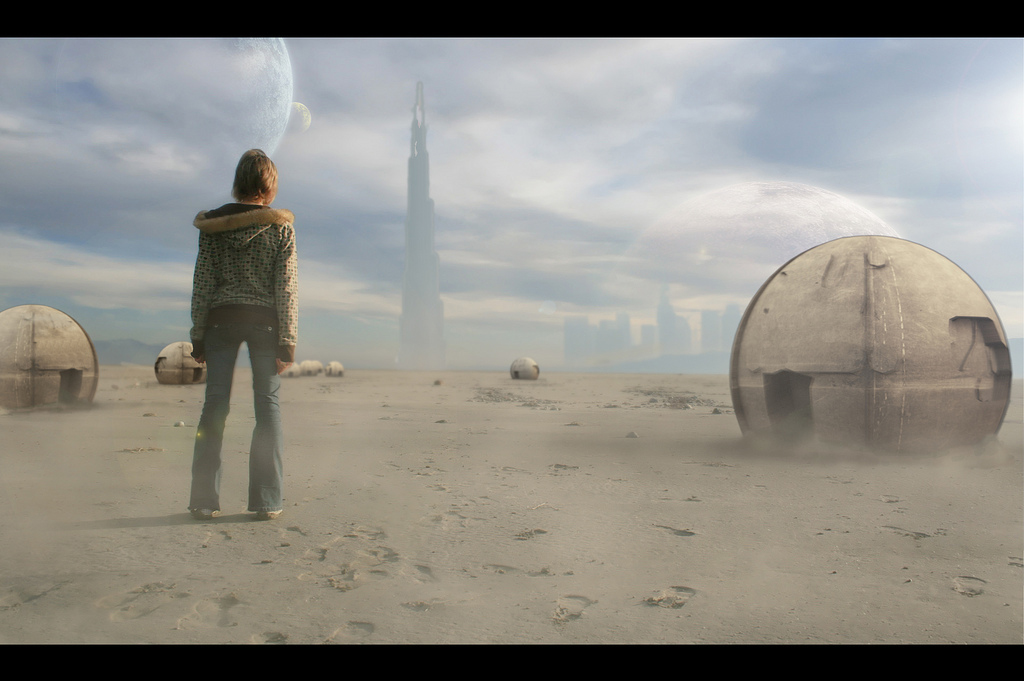
Conclusion
tutorials plz
ReplyDelete