background via Custom shapes in Adobe Photoshop CS3

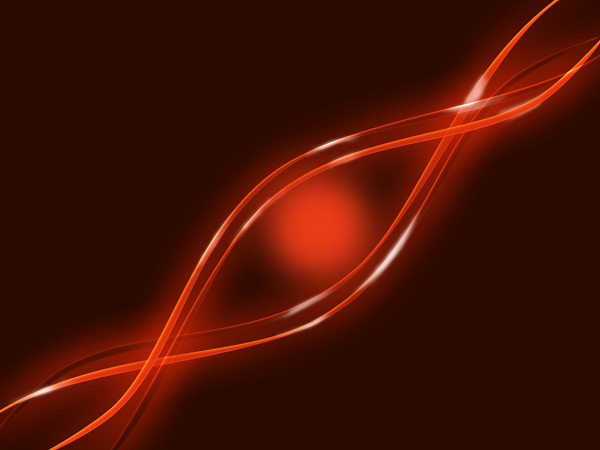
Final Image Preview

Create Colorful Abstract DNA background via Custom shapes in Adobe Photoshop CS3
Start working by creating a new document (Ctrl+N) in Adobe Photoshop with the size 1280px by 1024px (RGB color mode) at a resolution of 72 pixels/inch. Use the Paint Bucket Tool (G) to fill with #2A0900 color the new background layer.
Create Colorful Abstract DNA background via Custom shapes in Adobe Photoshop CS3
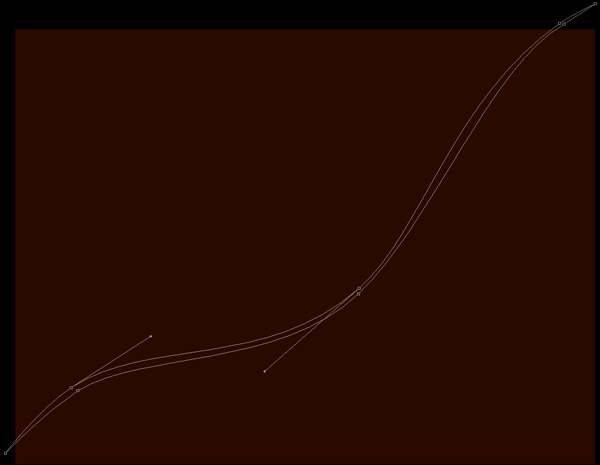
Choose the Pen Tool (P), set the drawing mode on Shape Layers in Options bar and draw the wavy line as shown.
Create Colorful Abstract DNA background via Custom shapes in Adobe Photoshop CS3
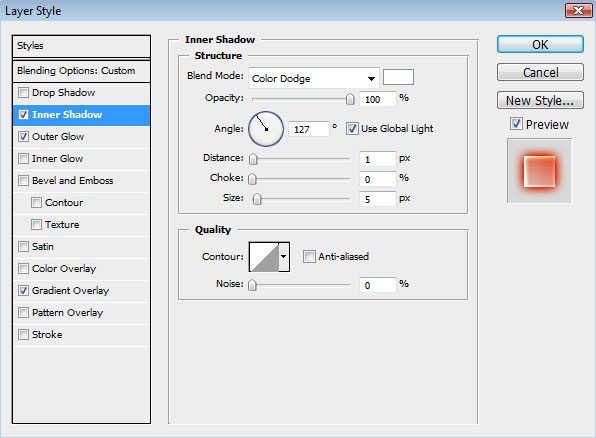
Set Fill to 24% for this layer and click on Add a layer style icon from bottom part of the Layers panel to Inner Shadow.
Create Colorful Abstract DNA background via Custom shapes in Adobe Photoshop CS3
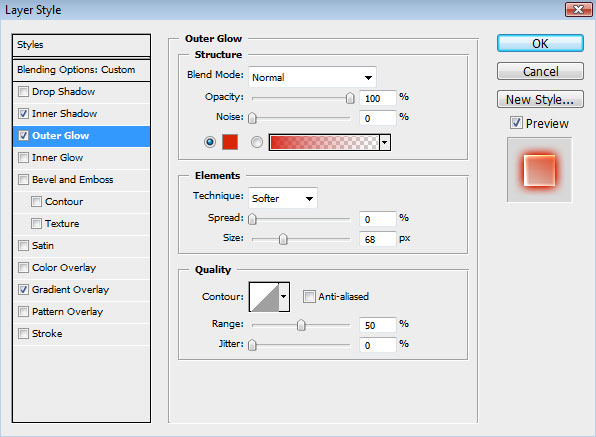
Add Outer Glow:
Create Colorful Abstract DNA background via Custom shapes in Adobe Photoshop CS3
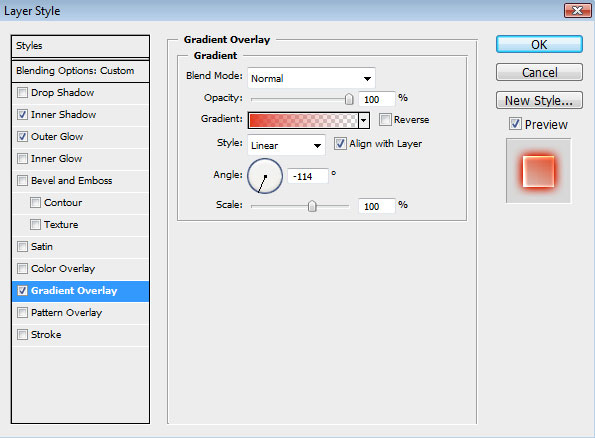
Apply Gradient Overlay:
Create Colorful Abstract DNA background via Custom shapes in Adobe Photoshop CS3
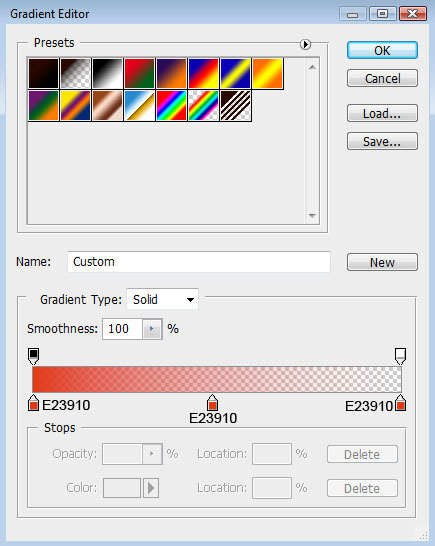
Click in the color bar to open the Gradient Editor and set the color stops as shown. Click OK to close the Gradient Editor dialog box.
Create Colorful Abstract DNA background via Custom shapes in Adobe Photoshop CS3
We’ve got the next result:
Create Colorful Abstract DNA background via Custom shapes in Adobe Photoshop CS3
Make a copy of the line’s layer and choose Free Transform (Ctrl+T) command to turn the line’s copy horizontally, placing it the same way demonstrated below.

Create Colorful Abstract DNA background via Custom shapes in Adobe Photoshop CS3
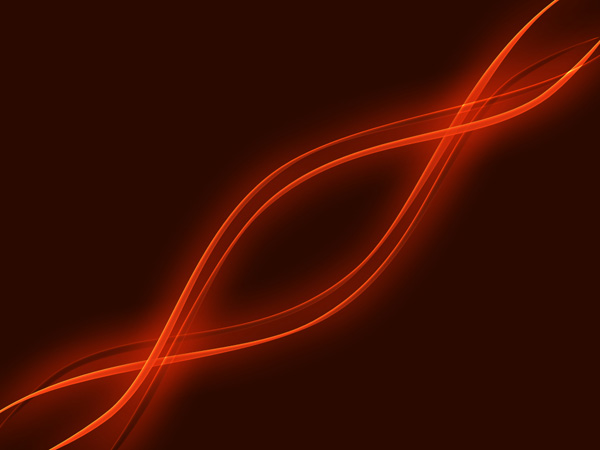
Combine in a group all the wavy line layers (press CTRL button to select the necessary layers and hold on the left mouse’s button while dragging the selected layers on Create a new group icon from bottom part of the Layers panel). Make a copy of this group. Turn this copy over, applying the Free Transform (Ctrl+T) command and placing it the same way shown below.
Create Colorful Abstract DNA background via Custom shapes in Adobe Photoshop CS3
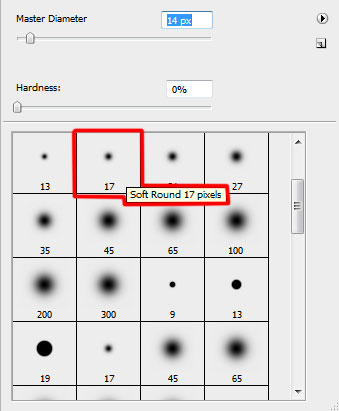
Create a new layer and select the Soft Round brush from Brush Tool (B), set Opacity to 50% in Options bar.
Create Colorful Abstract DNA background via Custom shapes in Adobe Photoshop CS3
Use this brush to draw several highlights of white color on these lines.
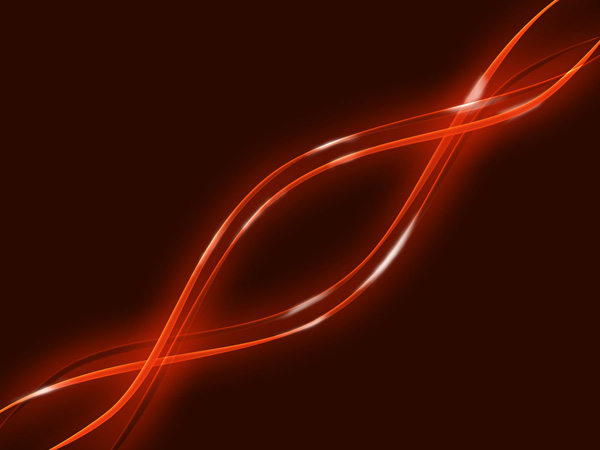
Create Colorful Abstract DNA background via Custom shapes in Adobe Photoshop CS3
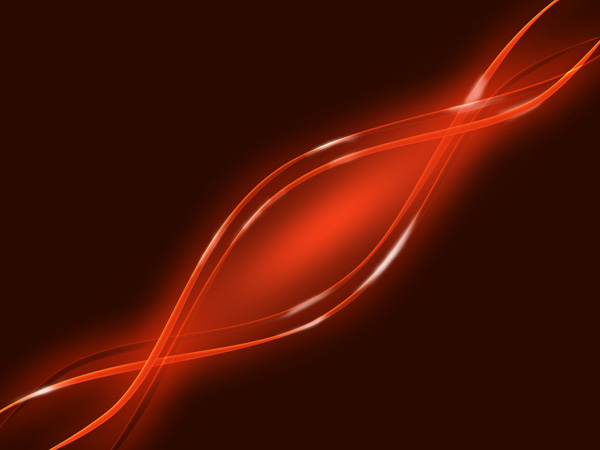
Create another new layer (Create new layer) where we shall apply the same brush to represent several spots on the central part of the picture.
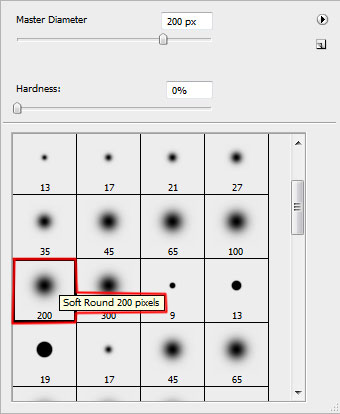
Create Colorful Abstract DNA background via Custom shapes in Adobe Photoshop CS3
We’ve got the next result:
Create Colorful Abstract DNA background via Custom shapes in Adobe Photoshop CS3
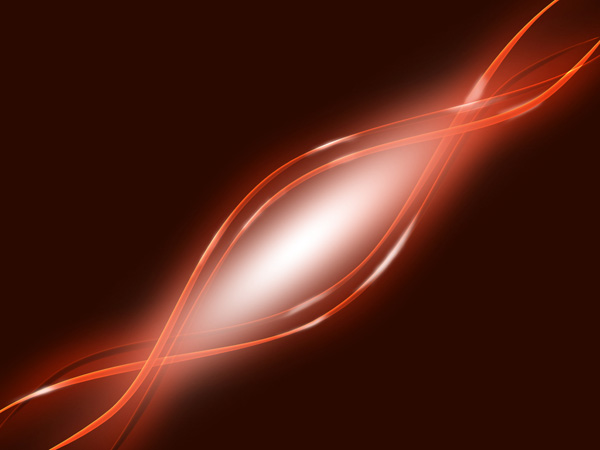
Using the Free Transform (Ctrl+T) command, try to stretch out the spot horizontally and turn it over the same way shown next picture.
Create Colorful Abstract DNA background via Custom shapes in Adobe Photoshop CS3
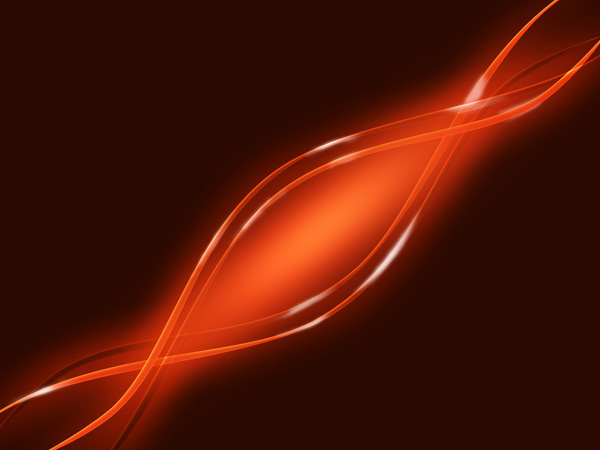
Use the same method described above to represent a white spot.
Create Colorful Abstract DNA background via Custom shapes in Adobe Photoshop CS3
Set the Blending mode for this layer to Overlay.
Create Colorful Abstract DNA background via Custom shapes in Adobe Photoshop CS3
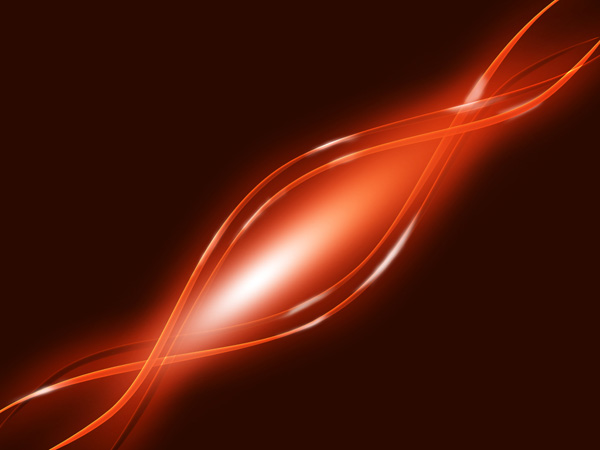
Make a copy of the layer containing the white spot and select Free Transform (Ctrl+T) command to make the copy smaller and change the Blending mode to Normal.
Create Colorful Abstract DNA background via Custom shapes in Adobe Photoshop CS3
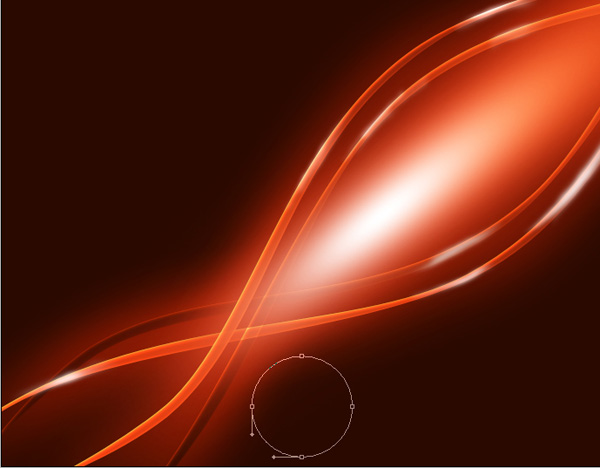
Next we have to choose the Ellipse Tool (U) and represent the primary layer of a DNA molecule to be later.
Create Colorful Abstract DNA background via Custom shapes in Adobe Photoshop CS3

Comments

Popular posts from this blog

Use x-ray techniques in Photoshop to show naked skin through clothing

    Do those new naked body scanners have you freaked out at the airports? As far as the TSA is concerned, those x-ray machines are here to stay, but you might as well take comfort in knowing that airport security guards aren't the only ones looking at your private parts. Practically anyone with a computer can manage to see through your clothes, and it's all thanks to a little program called Photoshop. Thanks, Adobe. With a few tweaks using the tools in Photoshop, you can see those boobs in no time, male or female. The video is in German, but it's not hard to figure our what's going on, especially if you're familiar with Photoshop. First, create a few duplicate layers, then get a handle on some of these tools to make the naked body through the clothes: * Auswahl erstellen (Create Selection) * Tonwertspreizung (Input Levels) * Belichtung (Exposure) You can also do this see-through clothing effect in free design programs, such as  GIMP .

40 latest creative photoshop text effects

Create a Glowing Liquid Text with Water Splash Effect in Photoshop In this tutorial, we will show you the steps we took to create a Glowing Liquid Text Effect in Photoshop. We will be practising the use of liquify filter, layer blending options, as well as some image adjustments. Create a Realistic Wooden 3D Text Image In this tutorial we are going to take a few 2D textures as well as a few Photoshop techniques to create a realistic 3D text image. Easy X-Ray Typography In Photoshop In this tutorial we will show you how to create a simple x-ray effect of a letter, in this case the Abduzeedo logo A. The whole process is quite simple but it will require a couple of hours to pull it off. Easy Furry Text In Photoshop In this tutorial we will show you how to create a really cool and super simple furry text in Photoshop CS6. We will use basic filters and tools but it’s nice to say that we took advantage of the a new feature in Photoshop CS6 that is to apply layer...

Royal 3D Text Effect in Photoshop CS6

  Just make sure to check the 3D settings under Edit -> Preferences -> Performance, and Edit -> Preferences -> 3D. Default values should work fine, but if anything seems to be not working properly you can always check those settings. Step 1 - Create a new 1600 x 1200 px document and Fill the Background with black. Create the text in white using the font Dunkin Sans. The font size is 400 pt and the text is better written in All Caps (if you’re not using only numbers). Step 2 - With the text layer selected, go to 3D -> New Extrusion from Selected Layer. This will instantly convert the text layer into a 3D layer. All the 3D scene elements can be found in the 3D panel (Window -> 3D). Click the main mesh name to edit its settings. - The 3D Mesh settings and attributes can be accessed and modified through the Properties panel (Window -> Properties). If you scroll down the Properties panel you’ll find the Character Panel button, which ...