
Create Super Glossy 3D Typography in Illustrator and Photoshop
Step 1
Open Illustrator and create a new RGB document, 1000px by 800px, 72 DPI, and write your text in a nice big font. I’ve used Marketing Script size 234pt.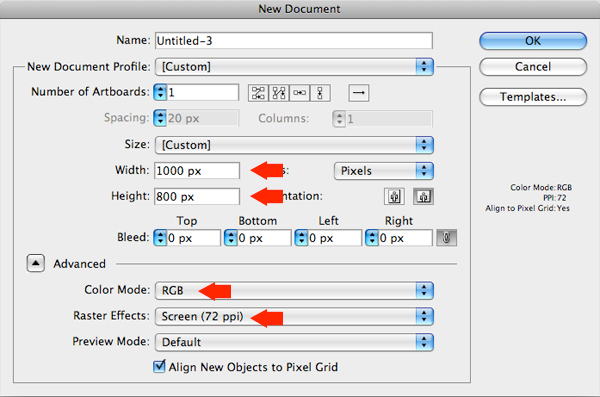

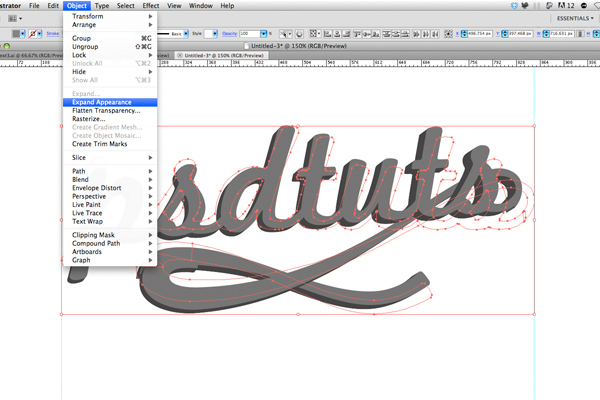
Step 2
Next, with you text selected, go to Object > Expand, and hit ok on the pop up window. Our text is no longer editable as text, instead it’s a series of paths that we can edit with the direct selection tool.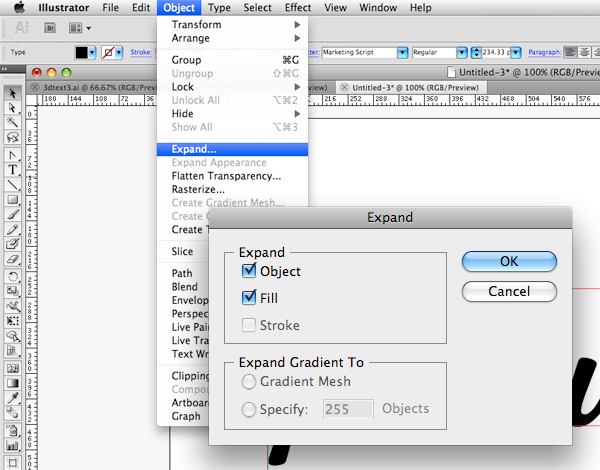
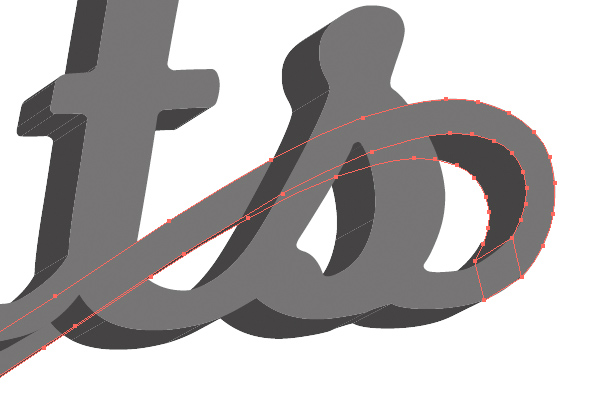
Step 3
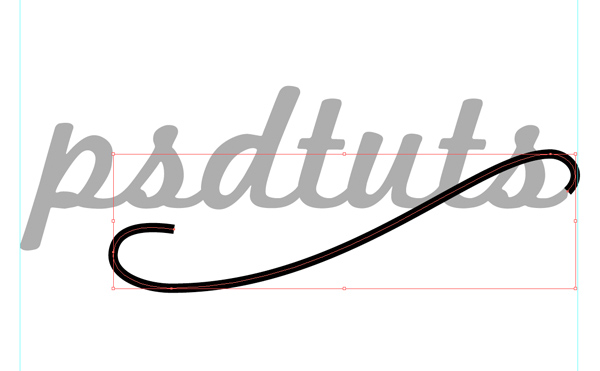
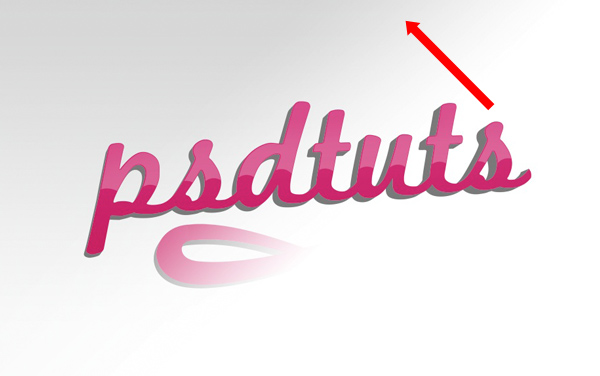
With the Pen Tool (P) selected, draw a new path starting from the last flick of the last letter s, and swirling its way down underneath our type. I’ve also changed the color of the text to a lighter grey just so I can see what I’m doing better.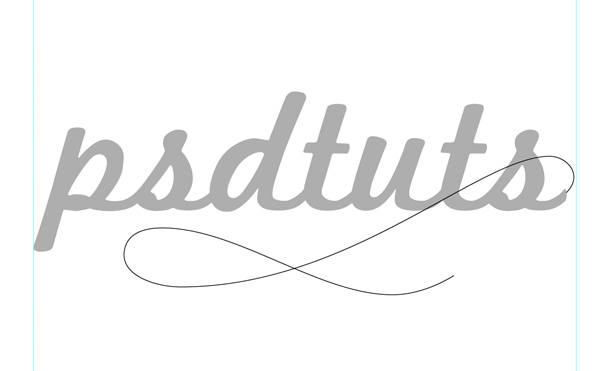

Step 4
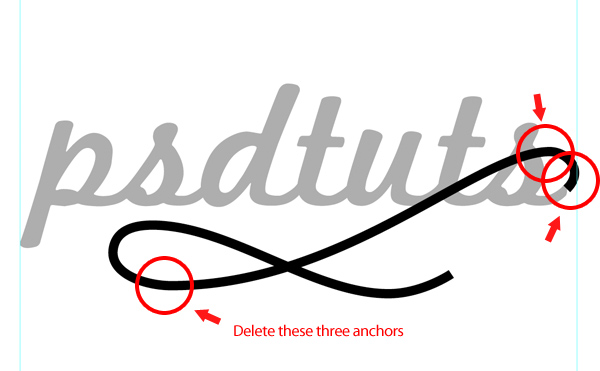
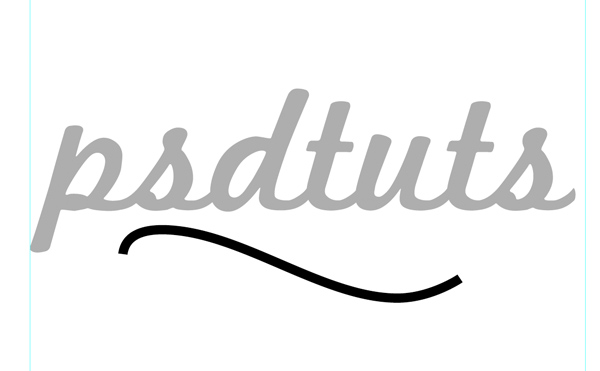
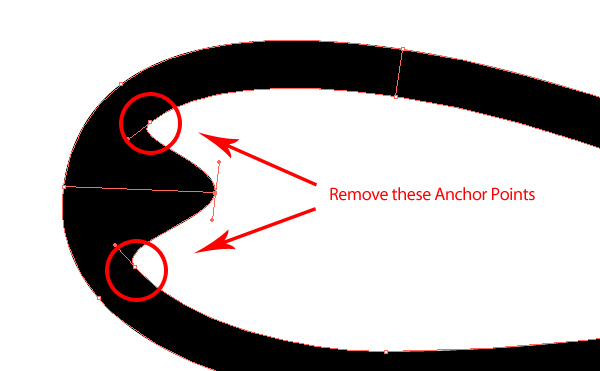
Duplicate this path by dragging the Group’s thumbnail (in the layers palette) to the New Layer button. Switch off this duplicate by clicking the ‘eye’ next the group thumbnail in the Layers Palette. We’re doing this because wherever our elements overlap we need them on separate layers in Photoshop for when we add shading.With the Direct Selection Tool (A) select the two bottom-right Anchor Points of our path, hit Delete and name this group "swirl 1".

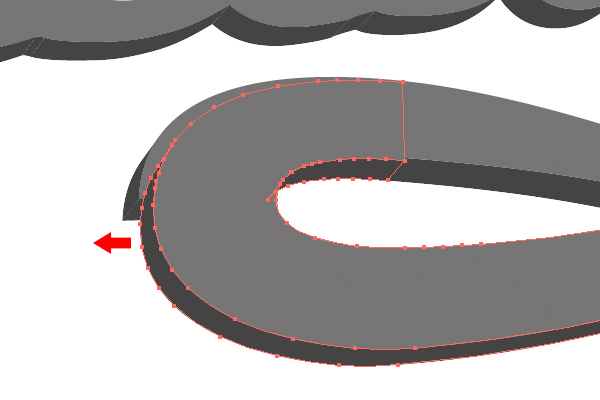
Step 5
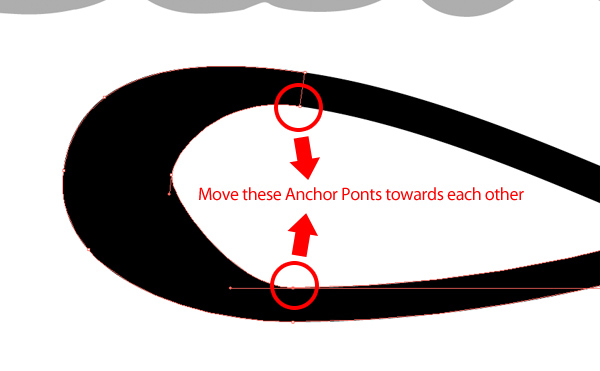
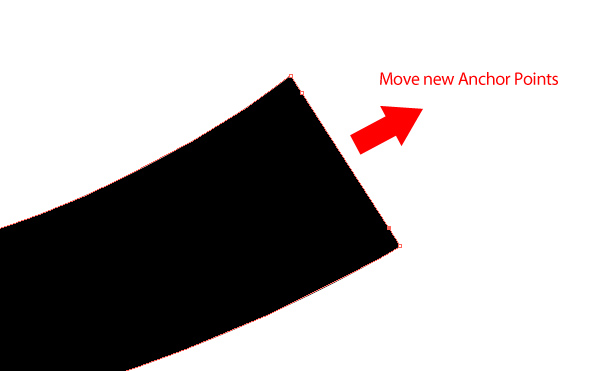
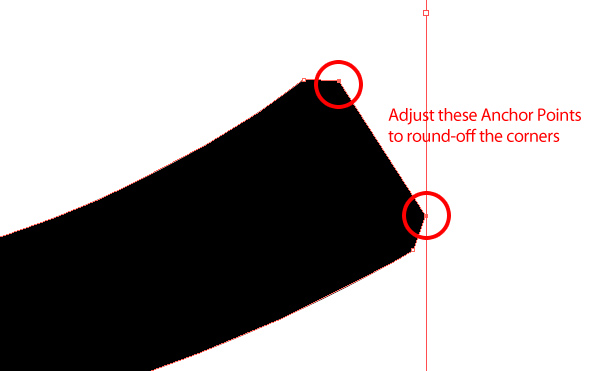
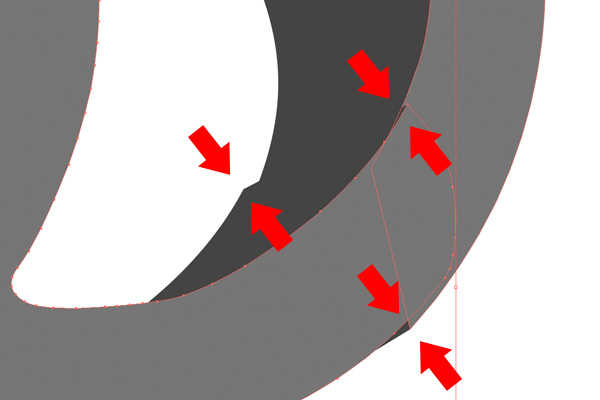
Switch all our groups back on now and you should have the complete original path, only it’s broken up onto two different groups. With both of these Groups selected go to Object > Expand, and press OK on the pop-up window. Now we want to make our swirl a bit more interesting by adjusting the width in certain places. To do this we’re going to zoom in and move some Anchor Points manually.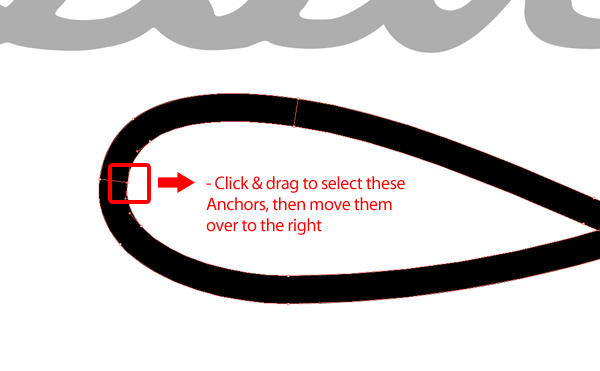
Step 6
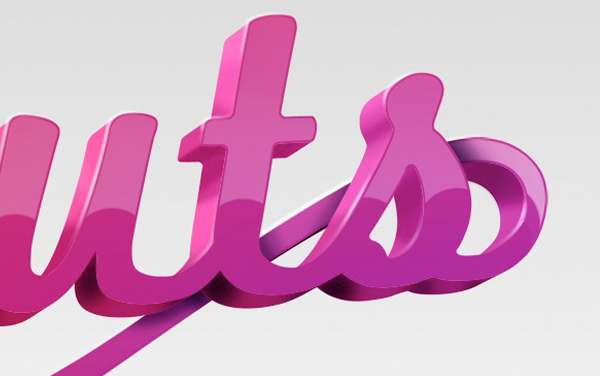
Next we need to tidy up the area where our text will join our swirl. Zoom in to that area and adjust the swirl path so it flows out nicely from out text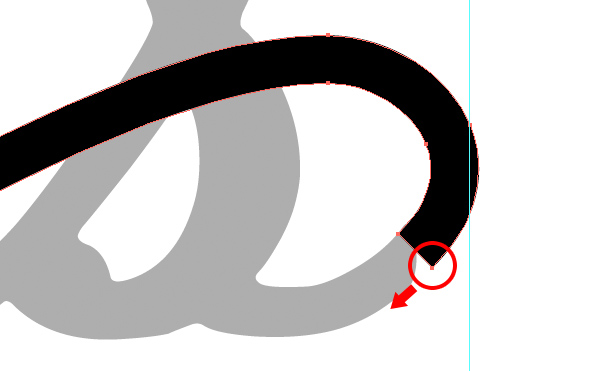
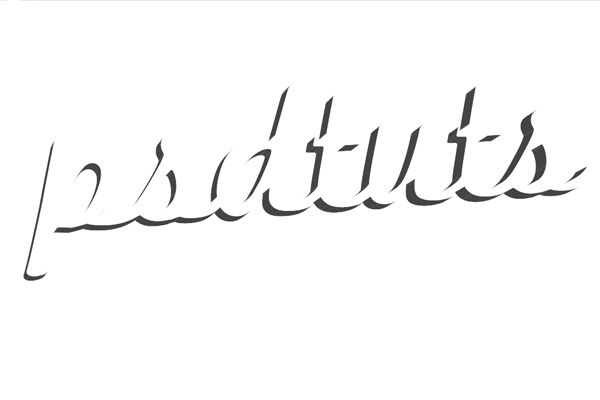
Step 7
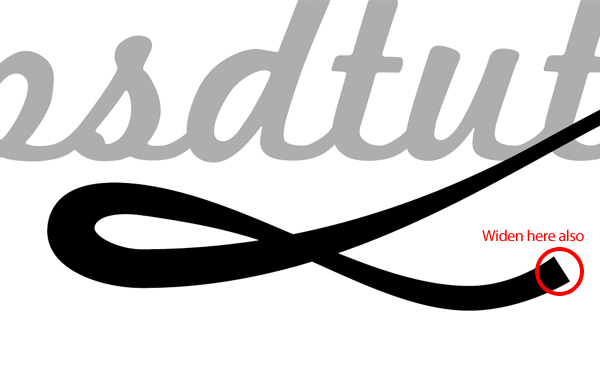
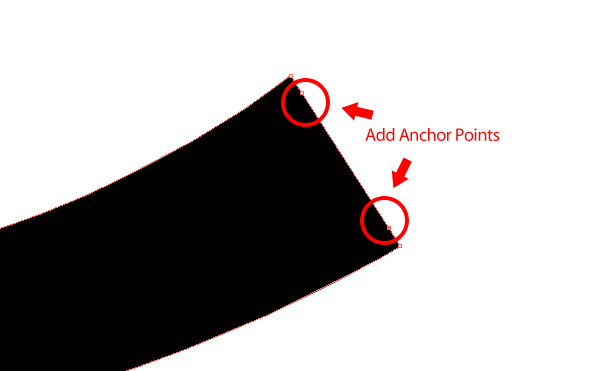
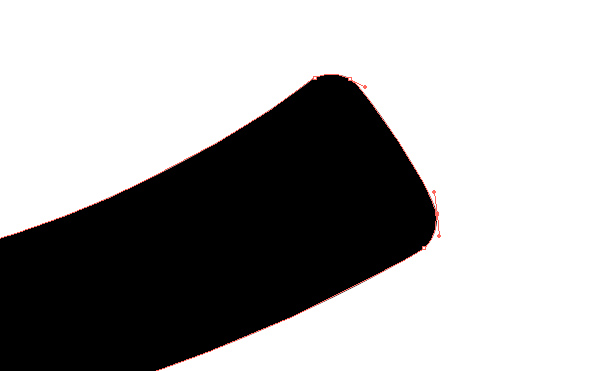
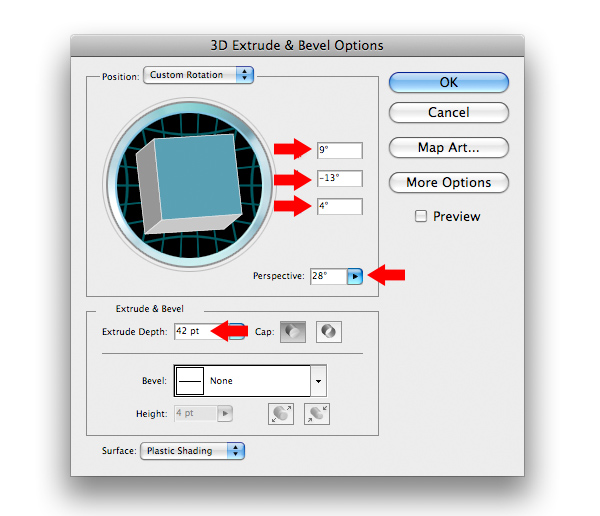
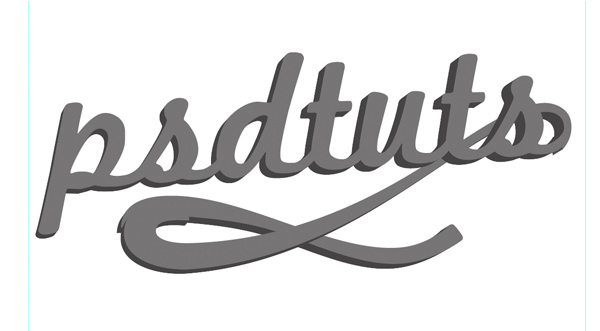
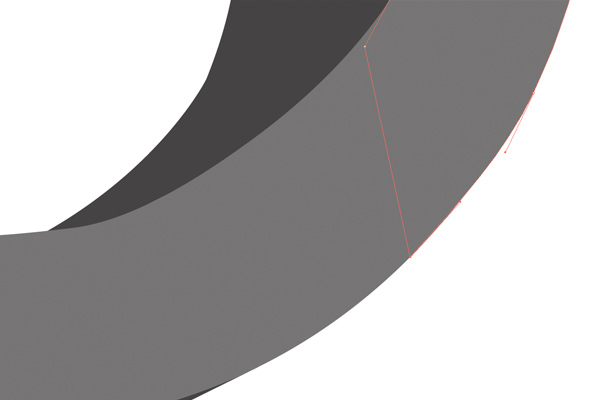
OK, before we Extrude this shape, this is your last chance to adjust your swirl so now’s the time to make any final tweaks, it’s worth spending the time here to get your line work just right. When you’re happy with your design, change your object so they’re all the same color, a medium grey, then with all of them selected go to Effect > 3D > Extrude & Bevel.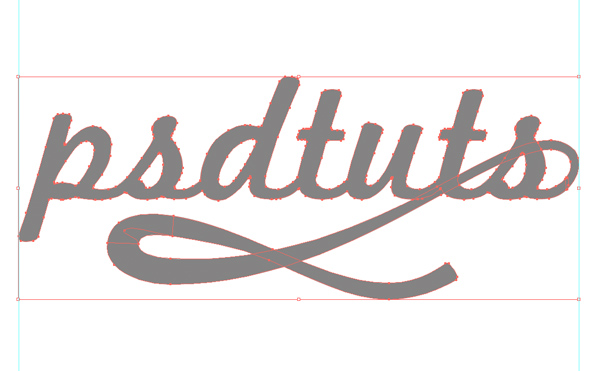

Step 8
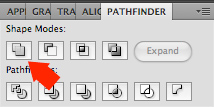
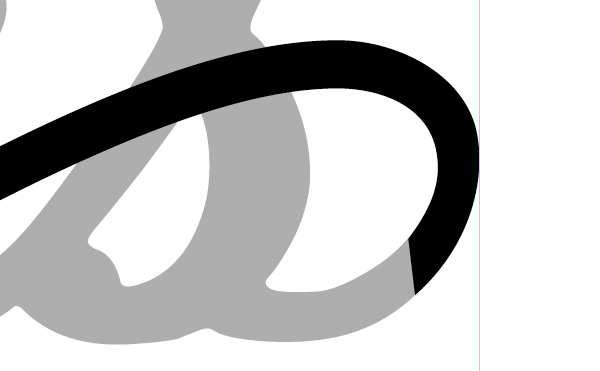
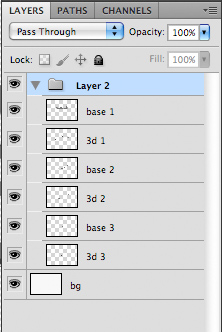
Now turn off the two swirl layers, so you’re just left with the text. Select the text and Right-Click > Ungroup, then once more, Right-click > Ungroup. Now select the front surface of our text, and turn off this layer. You should now be left with the darker 3d elements.Click and drag to select all of these remaining elements then click the Unite Button in the Pathfinder Palette and name this group "3d 1". If you don’t see the Pathfinder Palette, go to Window > Pathfinder. Uniting these objects joins them all as one Compound Path; it should also get rid of those little white lines. Repeat this process for the two elements that make up the swirl, naming then "3d 2" and "3d 3".
Step 9
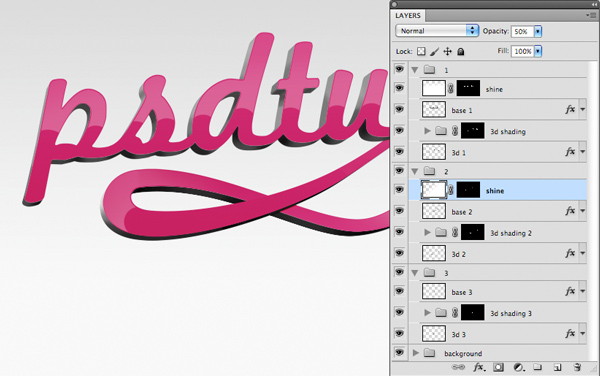
You should now have six groups –"text", "3d 1", "swirl 1", "3d 2", "swirl 2" and "3d 3"


Step 10
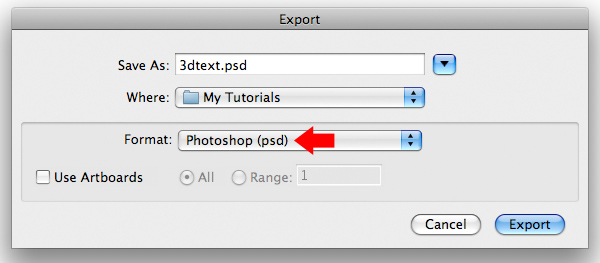
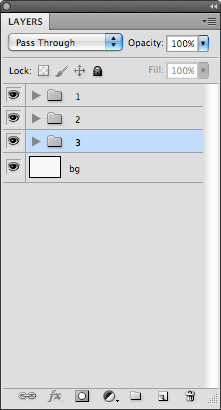
Open the exported file in Photoshop and go Image > Canvas Size and enter 3000 x 2000px and press OK. Resize our layers (Cmd/Ctrl + T) while holding Alt + Shift, make them a comfortable size within the document.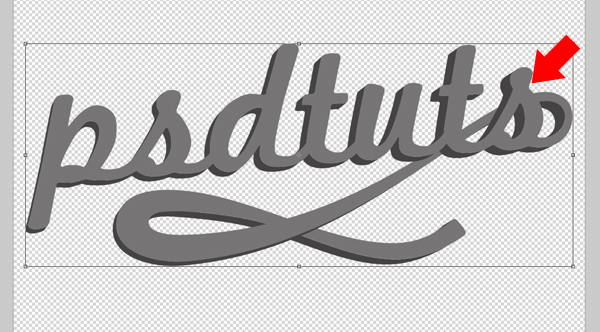
Step 11
Create a new layer and place it below group "3", name it "bg" (for background) and fill it with white. Then create a new layer on top of "bg" and name it "bg2". Set your foreground color to grey #767676 and select the Gradient Tool (G). Choose a foreground to transparent gradient and draw our gradient from the top of the document down to the middle and set the layer transparency down to 30%.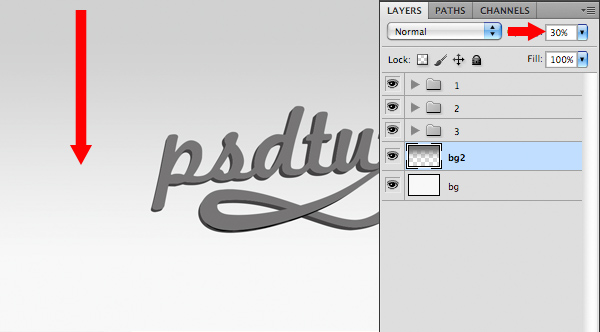

Step 12
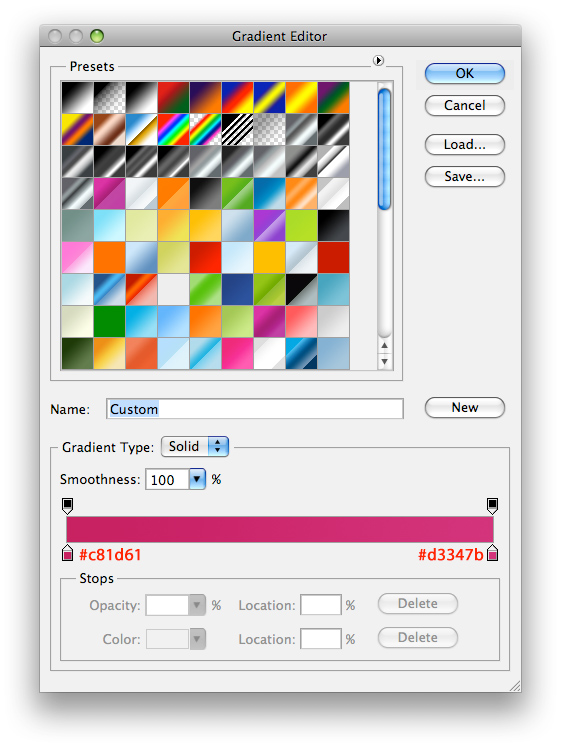
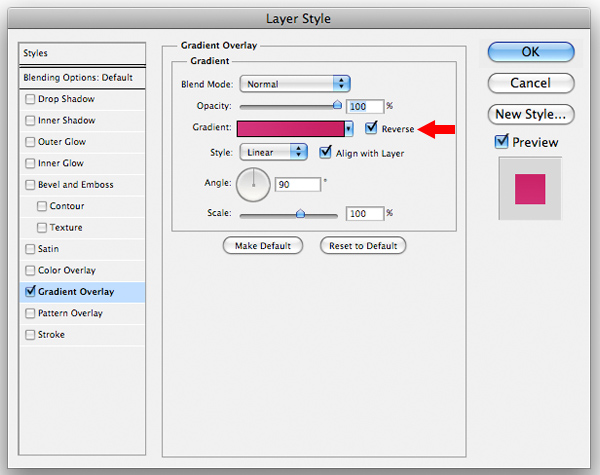
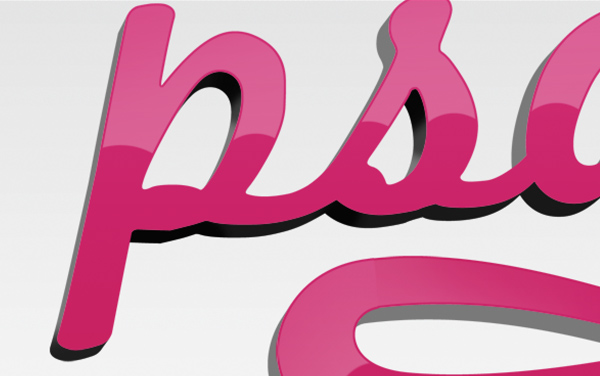
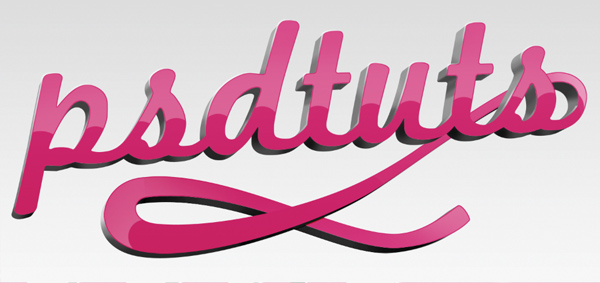
Now select “base 1″ layer and apply a Gradient Overlay Layer Style (Layer > Layer Style > Gradient Overlay) using colors #c81d61 and #d3347b.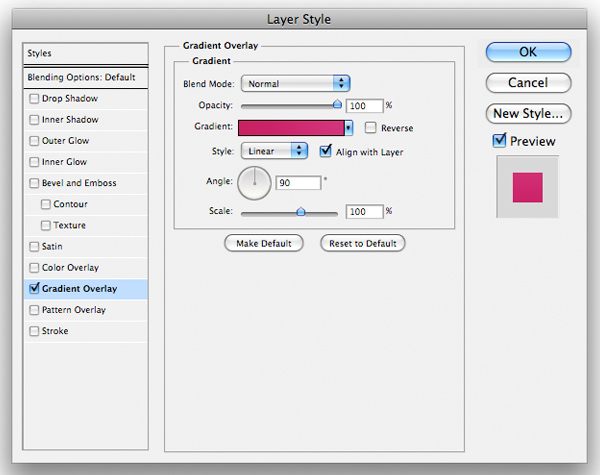

Step 13
Now we’re going to add a simple Color Overlay Layer Style to all our “3d” layers. Select “3d 1″ and apply a Color Overlay (Layer > Layer Style > Color Overlay) and use color #797979. Then copy this Layer Style (Right click > Copy Layer Style) and then paste it to “3d 2″ and “3d 3″.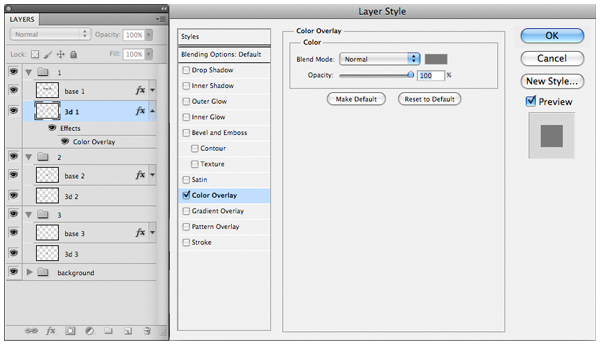


Step 14
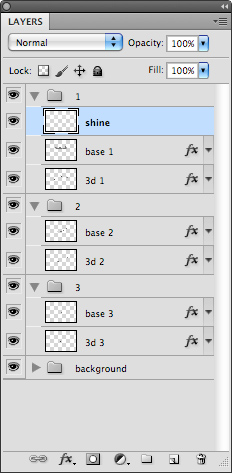
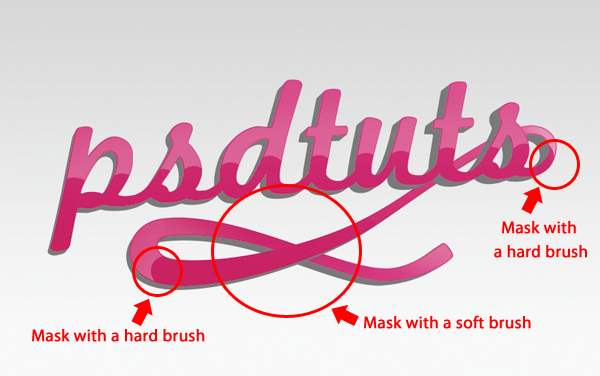
Now with the Layer Mask selected and your foreground color set to black, take a medium sized, hard edged brush and mask out more of the “shine” layer.

Step 15
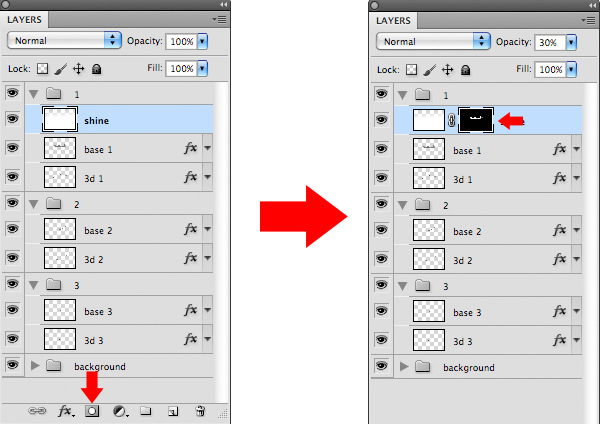
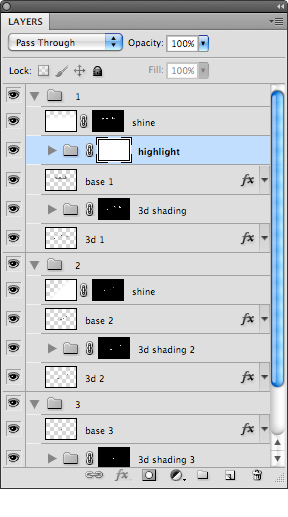
Create a new group within group “1″, name it “3d shading” and place it above layer “3d 1″ and below “base 1″. Now Cmd/Ctrl + Click on the layer thumbnail of “3d 1″ and click the Add Layer Mask button to apply the selection to the new group as a mask.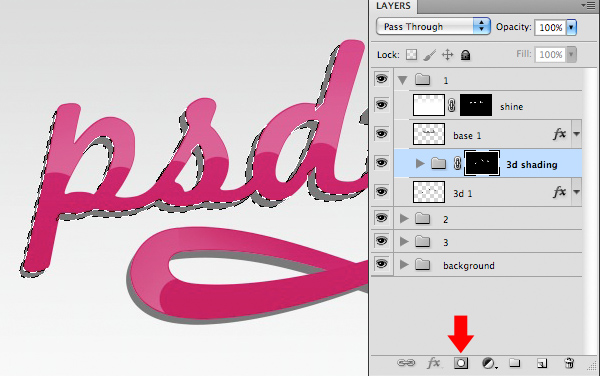


Step 16
Now we’re going to repeat this process for group “2″. Within group “2″, create a new group above “3d 2″ and below “base 2″, name it “3d shading 2″, then Cmd/Ctrl + Click on the thumbnail of “3d 2″ and apply that selection as a mask to “3d shading 2″. Then create a new layer called “shading 1″ within this group and with a medium sized, soft black brush paint in some shadow. Lastly, change the Blend Mode to Overlay.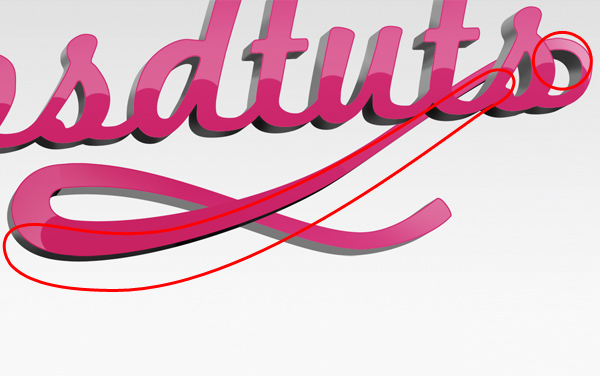
Step 17
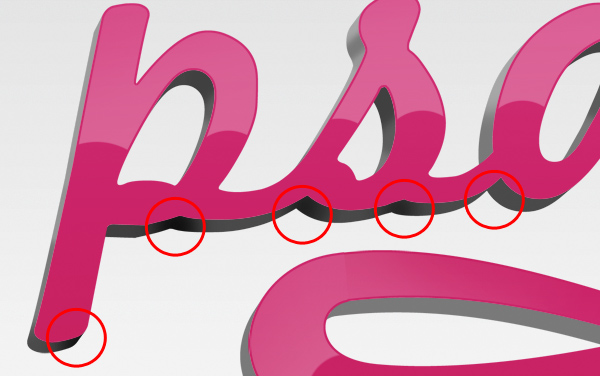
Now we’ll do the same for group “3″. Create a new group called “3d shading 3″ and place it in group “3″ between layers “base 3″ and “3d 3″. Cmd/Ctrl + Click on layer “3d 3″ and apply the selection as a mask to “3d shading 3″. Create a new layer called “shading 1″ within this new folder and set the Blend Mode to Overlay. With a large black brush paint some shadow along the bottom edge.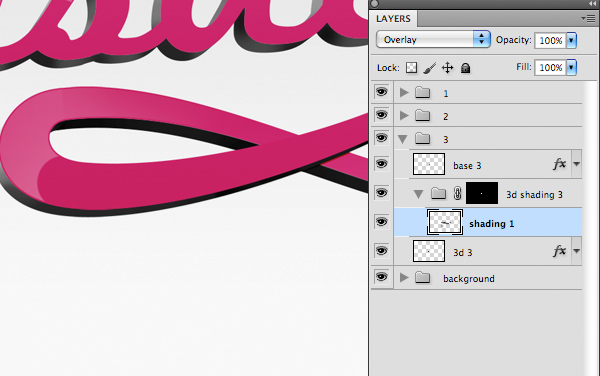

Step 18
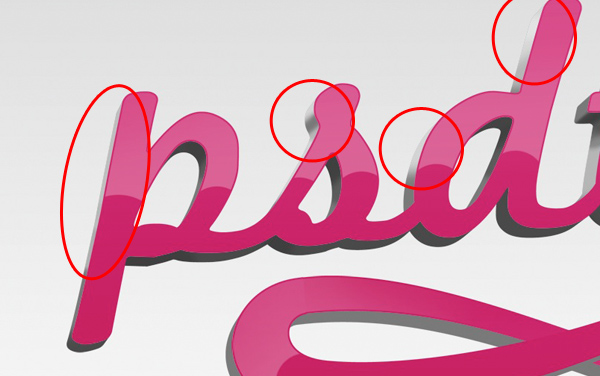
Now go back to group "1" and duplicate "base 1" by dragging it to the New Layer button at the bottom of the layers palette.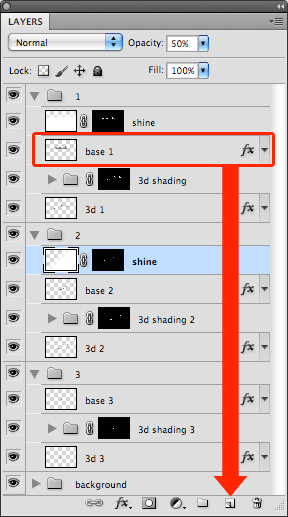
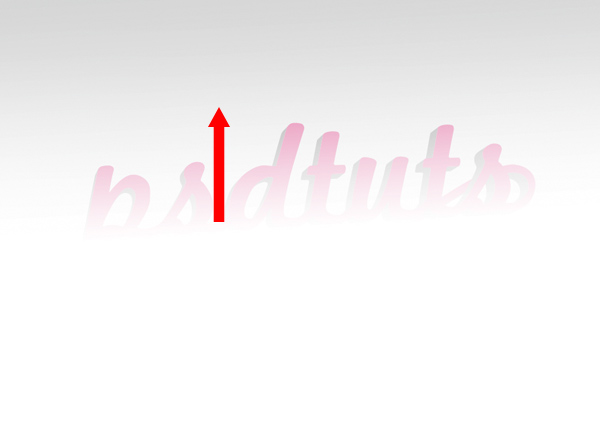
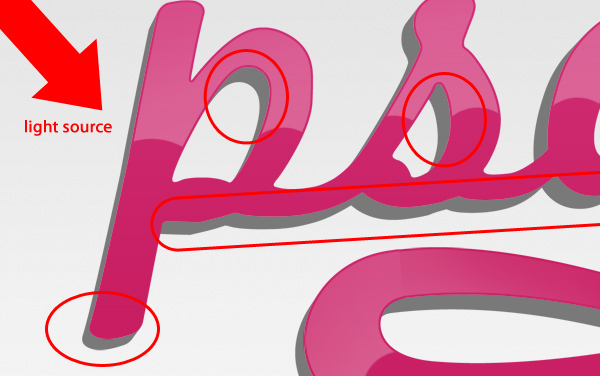
The with the layer mask in place, nudge the layer 1px up and 2px left using your arrow keys. This is to position the highlight right over the corner of our lettering – where the light would be reflecting from. You should now have something like this.

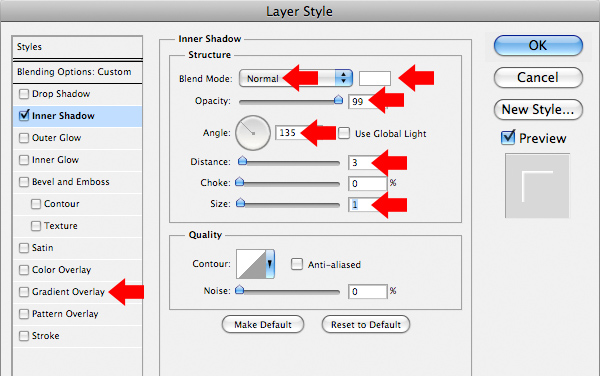
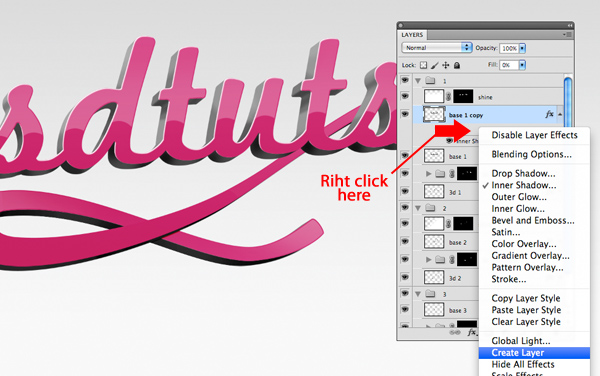
Step 19
Repeat this last step for groups "2" and "3" – duplicating the "base" layers, applying the Inner Shadow, then creating a layer from the style then masking it necessary.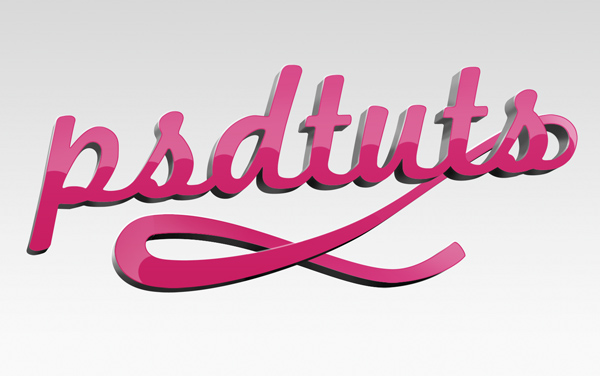
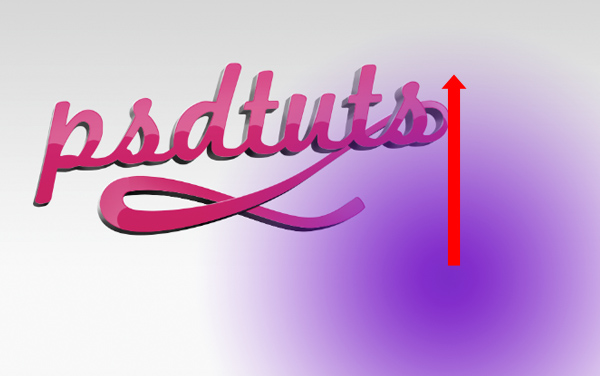
Step 20
Now create a new layer called “overlay 2″ and draw another gradient in the top right corner with the color #fee409. Again switch the Blend Mode to Color.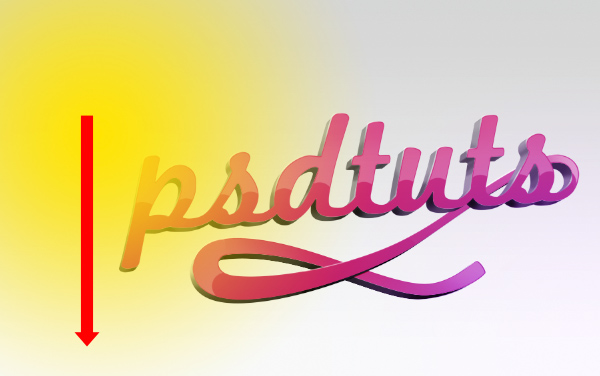
Step 21
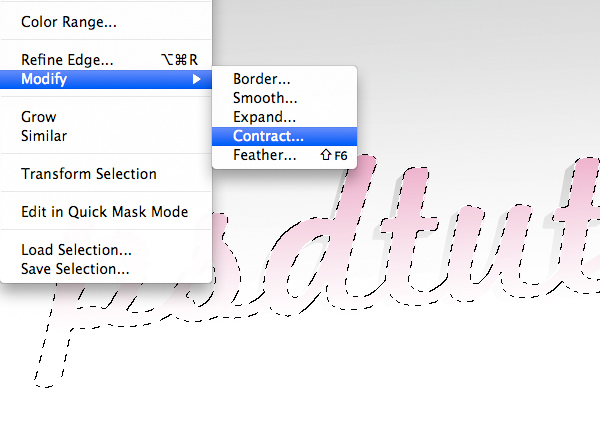
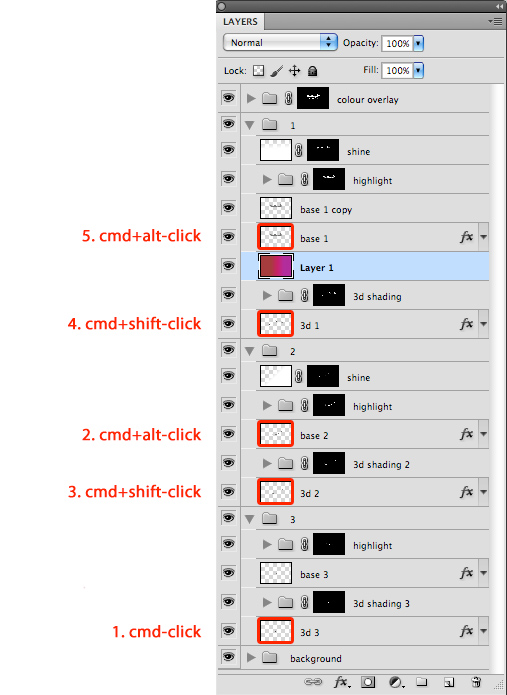
Now we want to load a selection that includes all our "base" layers. We do this by Cmd/Ctrl + clicking on "base 1", Cmd/Ctrl + Shift-clicking on "base 2" and Cmd/Ctrl + shift-clicking on "base 3".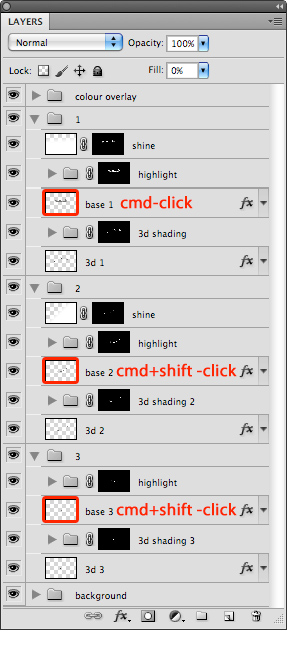
Step 22
Now we’re going to add color to the "3d" layers. Create a new layer within the group "1", name the new layer "color 1" and place it directly above the group "3d shading 1". Select the Gradient Tool and create a three-color gradient using colors #a53c3d, #c52366 and #b22d9d. On the new layer, draw a linear gradient across the length of our image and change "color 1"s Blend Mode to Color.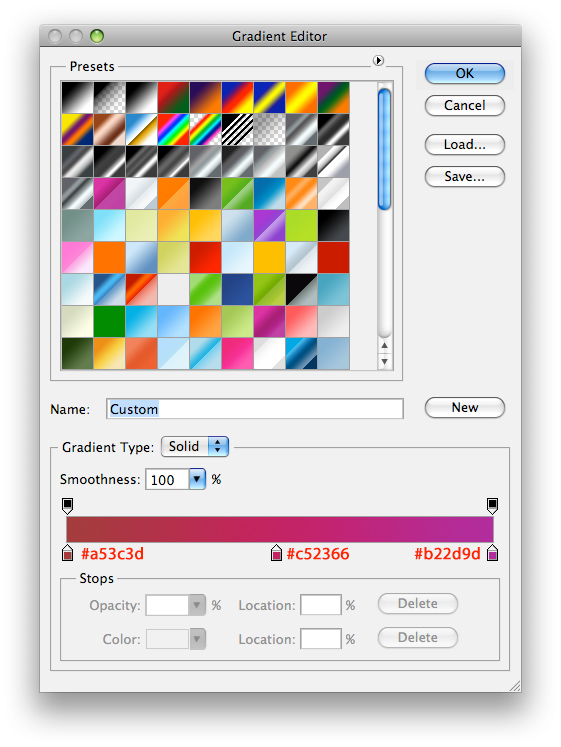
Step 23
Now we want to mask this new gradient layer in the shape of our "3d" layers, minus the shape of some of our "base" layers. This might seem a complex series of clicks but its necessary to get the right selection, so it’s important that you follow these clicks correctly, and remember, you need to click the layer thumbnail, not the full layer.First, Cmd/Ctrl + click on "3d 3", then Cmd/Ctrl + alt-click on "base 2", Cmd/Ctrl + Shift-click on "3d 2", then Cmd/Ctrl + Shift-click on "3d 1", finally Cmd/Ctrl + Alt-click on "base 1". When you’ve got the selection, apply it as a layer mask to "color 1".

Step 24
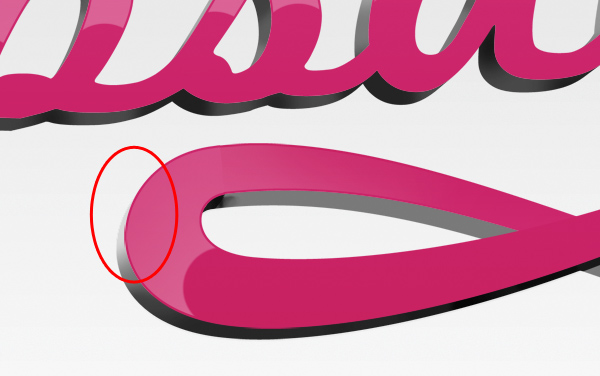
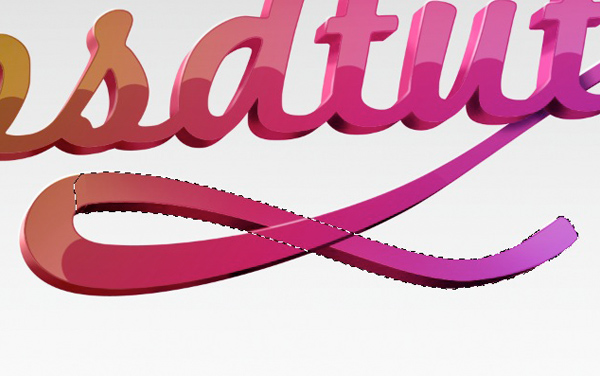
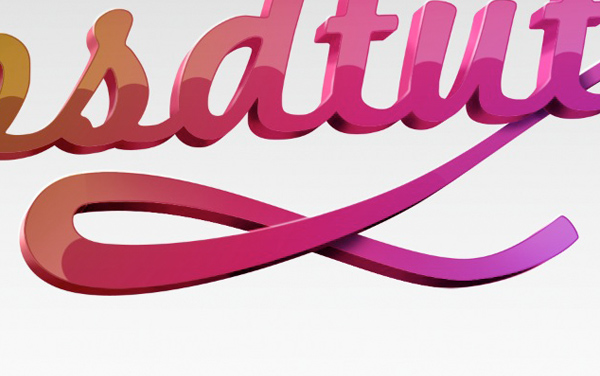
Next, create a new layer inside of, and at the top of group "2" and name it "shadow". Cmd/Ctrl + click the thumbnail of "base 2" and Cmd/Ctrl + shift-click the thumbnail of "3d 2" and apply that selection as a mask to "shadow" layer. On that layer, with a medium, soft, brush set to 30% Opacity black, paint in a small shadow where the top of our swirl disappears behind the text. This will create the illusion of distance between those two elements.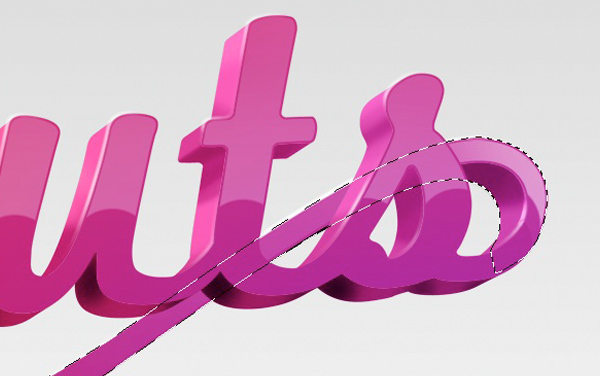
Step 25
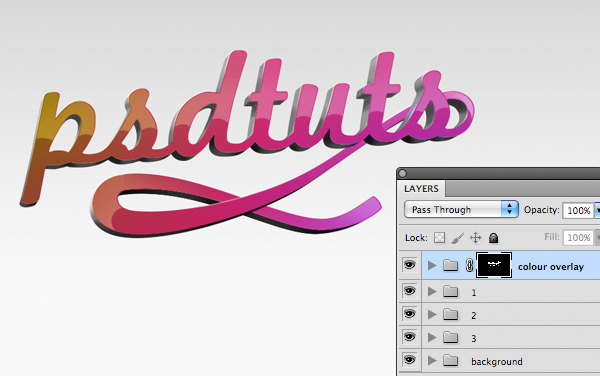
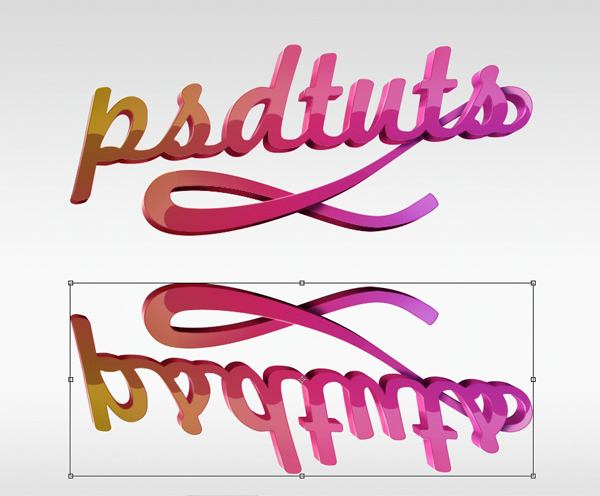
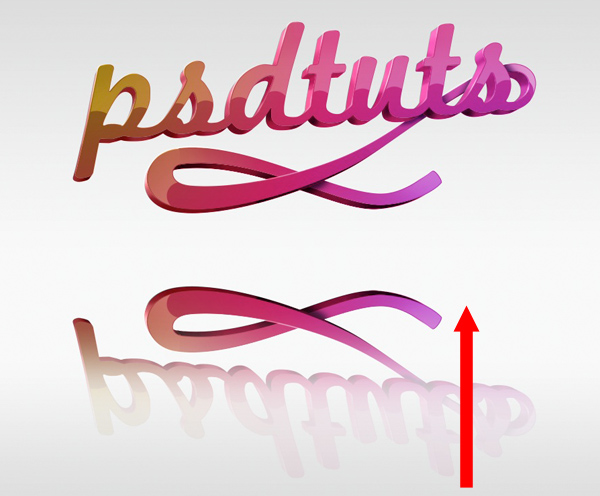
OK we’ve just about finished now, just a small shadow and reflection left to add. If you collapse all your folders now, you should be left with five main groups. Select all of them apart from "background" and drag them to the New Layer button to duplicate them. With all the duplicate folders selected hit Cmd/Ctrl + E to merge them into one layer, name this layer "reflection". Free Transform this layer (Cmd/Ctrl + T) then right click > Flip Vertical. Move this layer down the page and add a layer mask.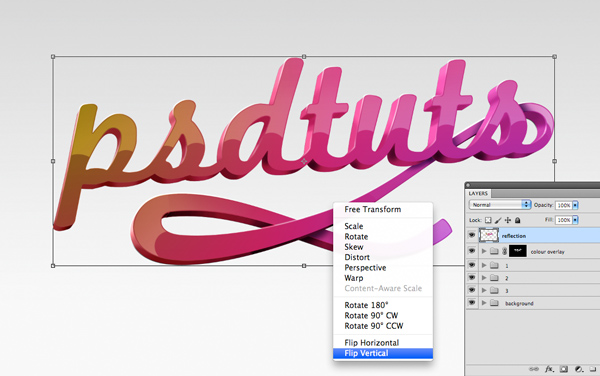

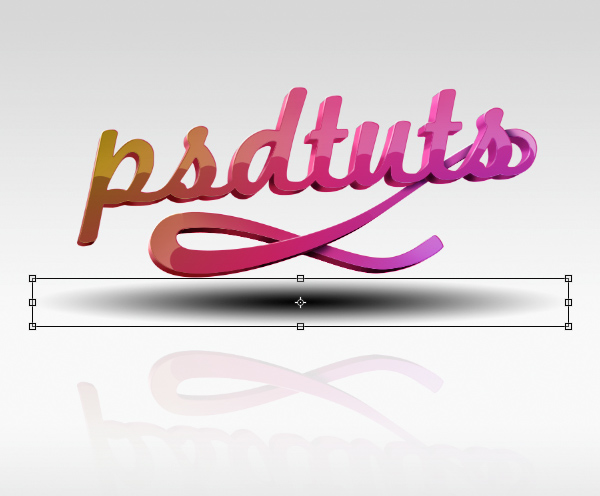
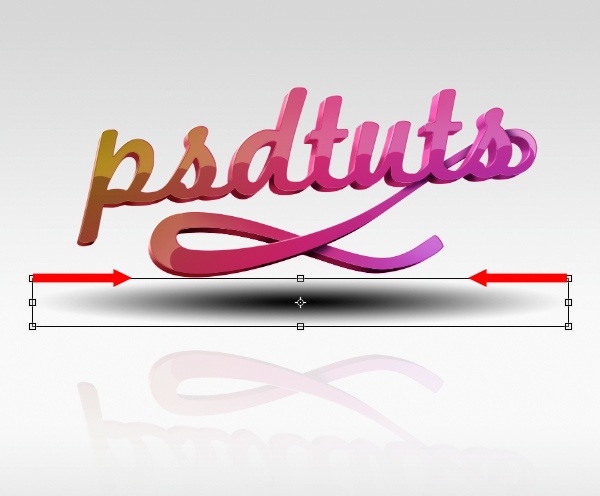
Step 26
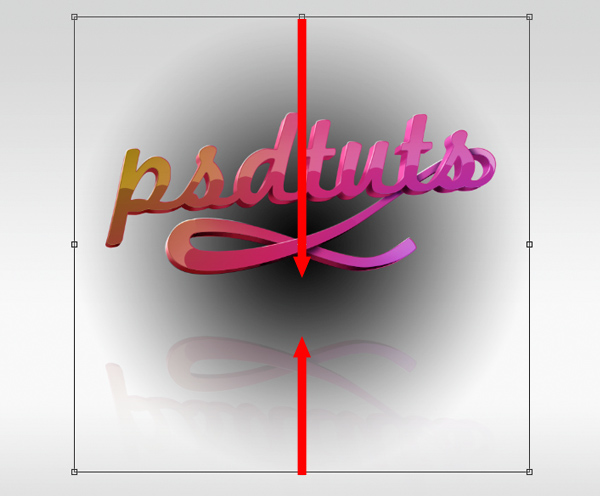
Finally, create a new layer, just above our “background” group and name it “shadow”. With black as your foreground color, select the Gradient Tool (G) choose a radial gradient and draw a large foreground to transparent gradient in the middle of our image.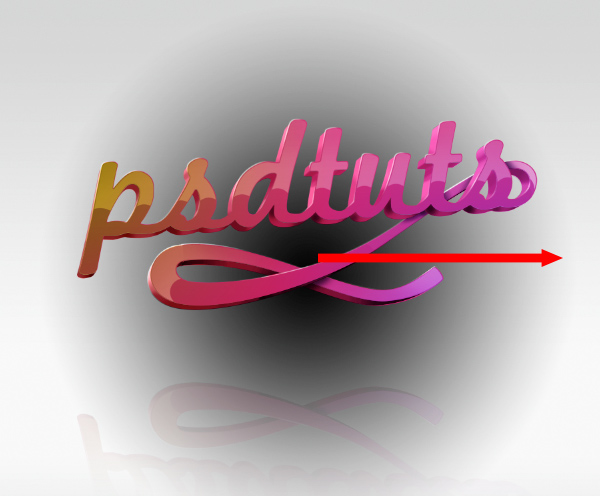
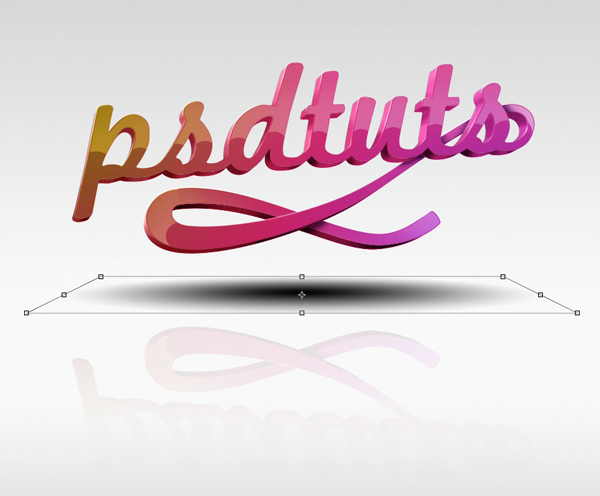
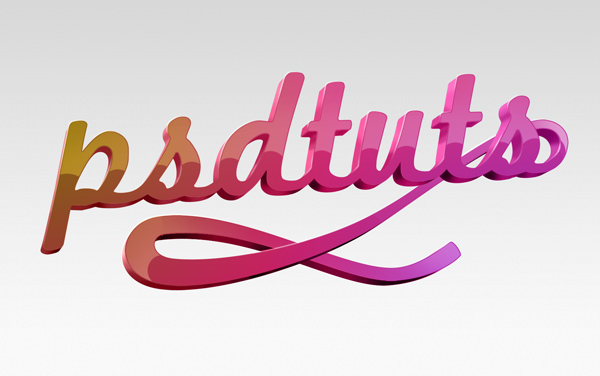
Conclusion
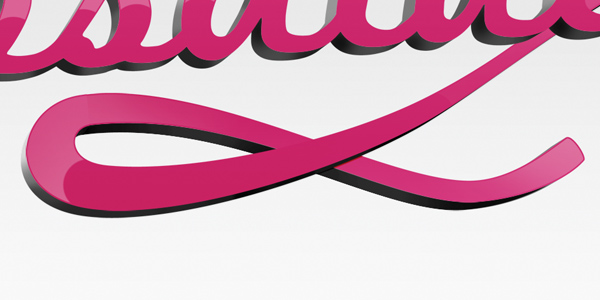
Turn the layer Opacity down to 30% and thats it!
Comments
Post a Comment