
Add Dynamic Lighting to a Flat Photograph

Editor’s note: This tutorial was originally published on Psdtuts in March of 2008.
Source Photos
For this tutorial, we’ll need two photos that I took. You can download them to follow along. These are my photos: castle photo and clouds photo.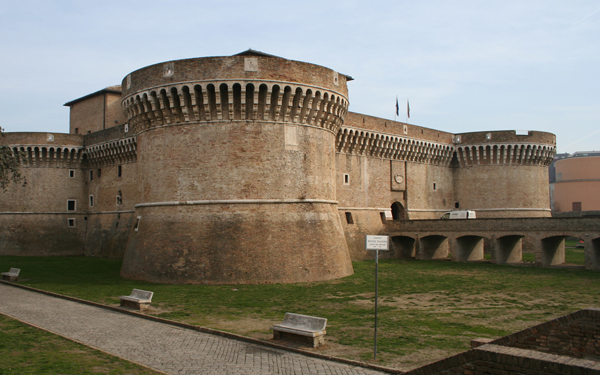
Step 1
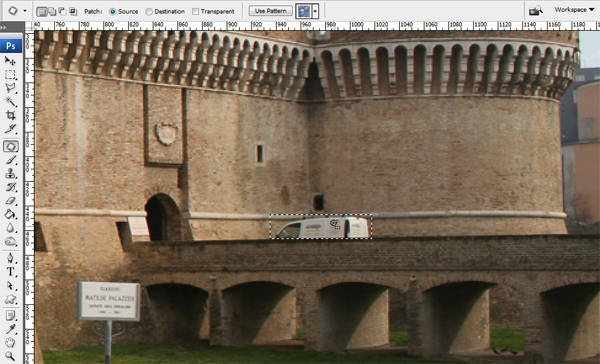
First of all, my apologies for this step. I waited for a good 20 minutes but that car didn’t move, so I had to take the photo with it!Anyway, just use the Patch Tool (J) to remove the car and the Clone Stamp Tool (S) to recreate the pattern of the bricks where it used to be.
If you’ve never used the Patch Tool, there are a couple of ways to use it. First, make a selection as you would if you were using the Lasso Tool, then click inside the area and drag with your mouse. Depending on whether you are using Source or Destination as your checked option you will either move the image inside the selection, or move the whole selection around. The Patch Tool will blend-in the area you’ve chosen when you let go. You can also use patterns and transparency. All in all, it’s a great tool.
Step 2
Once the van has been removed, apply Filter > Render > Lighting Effects to make the light come from the top right.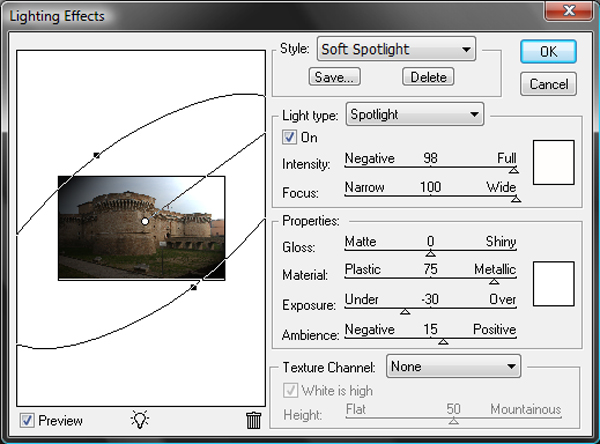
Step 3
With the tool that you prefer, create a selection of the part that you want to hide. For example, I used the Pen Tool (P) to select the sky and the buildings around the castle. With the selection active, add a Layer Mask.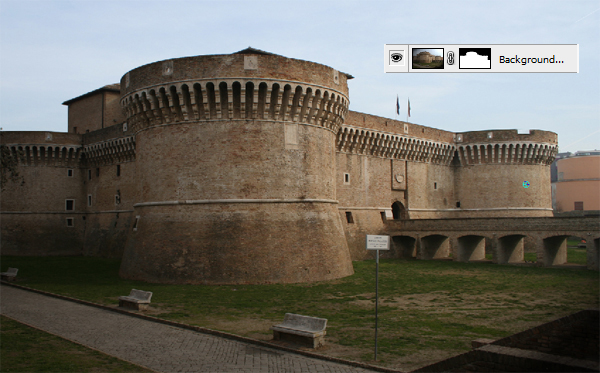
Step 4
Duplicate the background layer, desaturate it with Ctrl+Shift+U, apply Filter > Blur > Gaussian Blur with 4-pixel Radius, and set the Blending Mode for the layer to Overlay.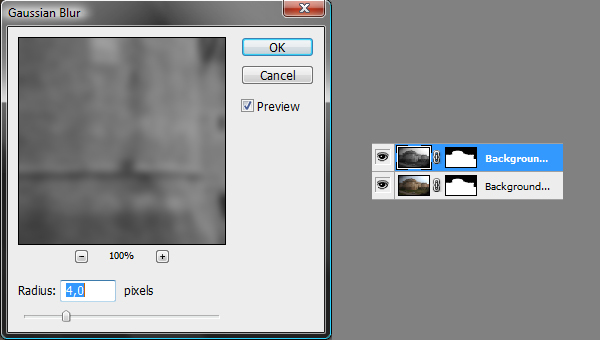
Step 5
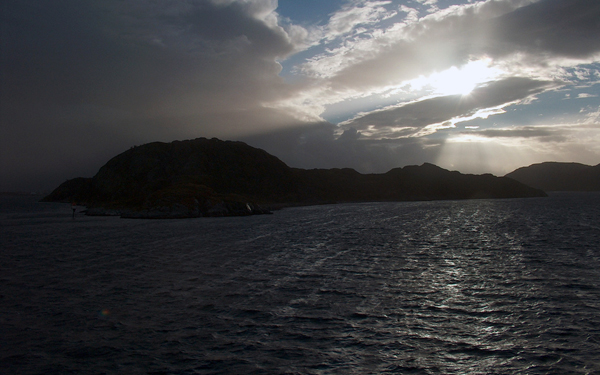
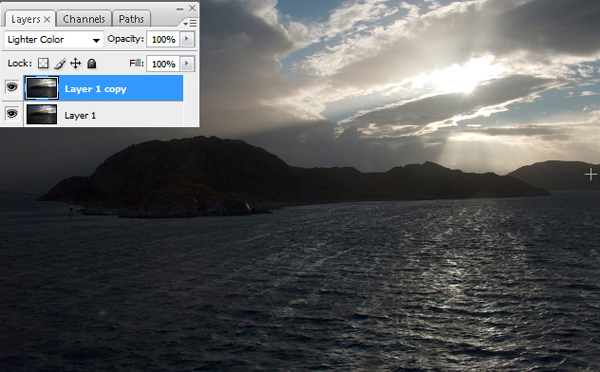
Now we need a photo with clouds and the rays of the sun coming from the right. I used this photo of mine that was perfect for this situation.Send it to the back of the other layers.
Then duplicate it and set the copy layer Blending Mode to Lighter Color.
Step 6
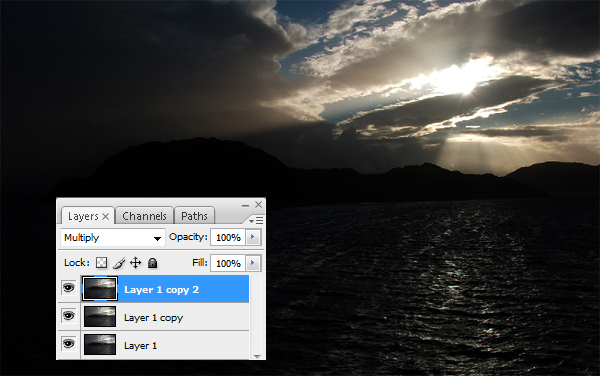
Duplicate again the original background photo (Layer 1) and put the this new layer below the Layer 1 copy.Set the Blending Mode to Multiply.
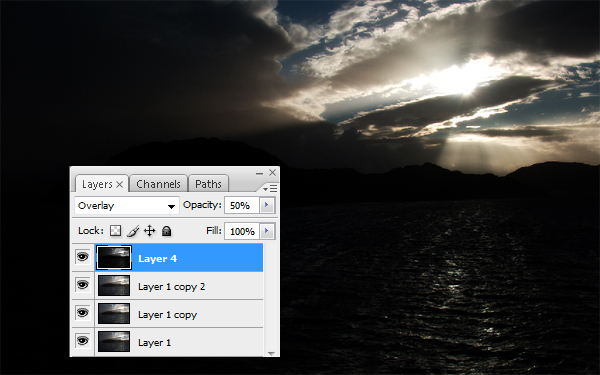
Step 7
Now turn off the visibility of the two castle layers, go to the Layer 1 copy, and merge the visible layers into a new layer with Ctrl+Shift+Alt+E.Then desaturate it with Ctrl+Shift+U, set the Blending Mode to Overlay, and the Opacity to 50%.
Step 8
Make a new layer on the top of the other.With a large, white, soft brush that matches the size of the light of the sun, just make a round spot.
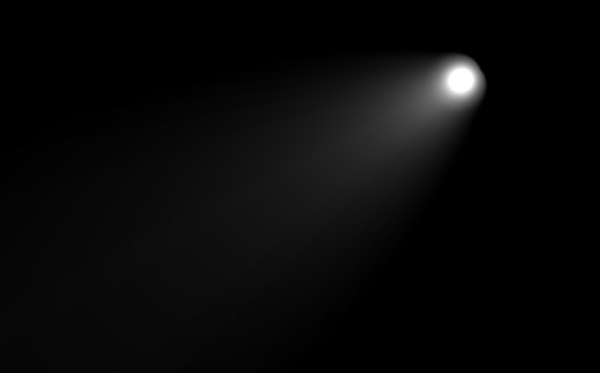
Then apply the Luce filter that you can download free or use the previous tutorial about Lighting Through Clouds here on Psdtuts+, to make this light coming through the clouds. Set the Blending Mode to Overlay.
This is an example with black background to demonstrate the effect.
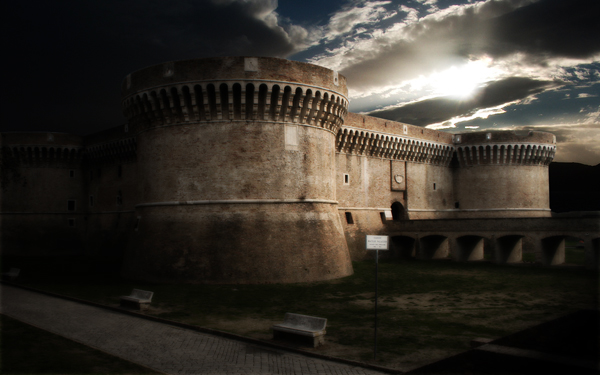
Step 9
Just Burn the dark side of the castle and Dodge the light part of it with a large, soft brush. By doing this, we make it seem as if the light is coming from the clouds and hitting the right side of the castle, leaving the other side in darkness.At this point we’re almost done, but the image is overall quite dark and our blur earlier has left it slightly too blurry, so we’ll fix that next.
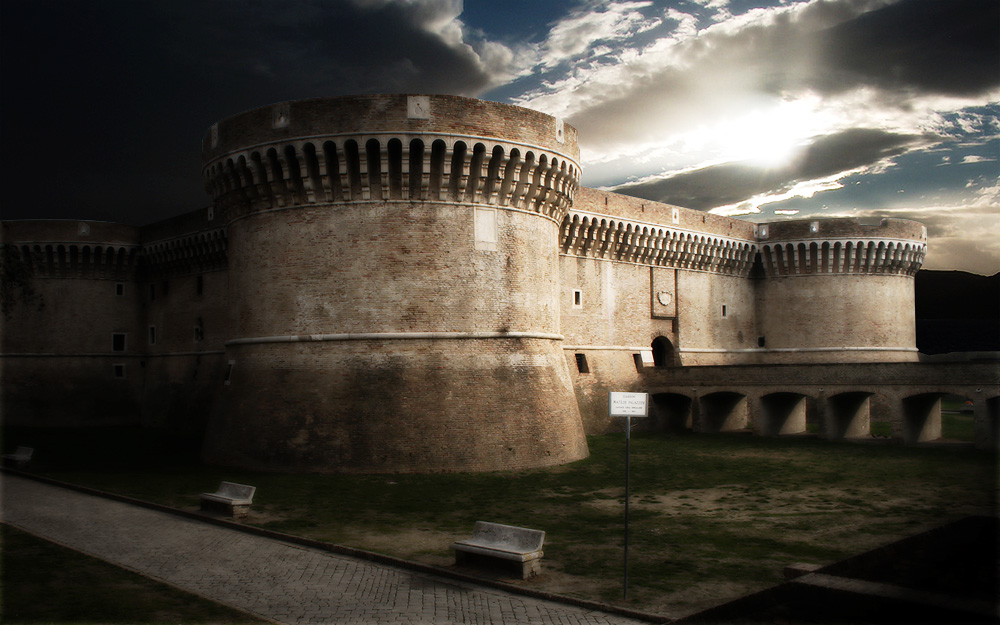
Step 10
To finish the image, create a new layer above the rest and go to Image > Apply Image, use the settings "Merged", "RGB" and "Normal" for blending. This will create a new layer above the rest holding a copy of the image. Set this layer to Screen and about 70% Opacity. Then go through each layer and apply Filter > Sharpen > Unsharp Mask and use the settings Amount: 250% and Radius .2px (Use a larger radius for larger images). This should sharpen the image back up to give us a good final result.Click on the image below to see a larger version:
Comments
Post a Comment